Another Ahab
Well-known member
- 18,140
- 4,943
- 113
- Location
- Alexandria, VA
It'll happen, rustystud. You KNOW it'll happen, right!!?You have a very "naughty" sense of humor Ahab ! LOL !
Last edited:
Steel Soldiers now has a few new forums, read more about it at: New Munitions Forums!


It'll happen, rustystud. You KNOW it'll happen, right!!?You have a very "naughty" sense of humor Ahab ! LOL !
I don't have to imagine, I just have to remember. We were prep'ing the truck for inspection when we discovered the problem.That sounds like a mechanics nightmare. I can just picture the streak of colorful language coming from somebody trying to service those wheels.
It's too bad there isn't some kind of International Machinists Code that dictates all LH threaded hardware be stamped full of "L"'s or something (or even made illegal!):RE mixed lug nuts:
I don't have to imagine, I just have to remember. We were prep'ing the truck for inspection when we discovered the problem.
Your right, it will happen and then when they do complain I'll try and not laugh to hardIt'll happen, rustystud. You KNOW it'll happen, right!!?
 .
.
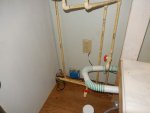
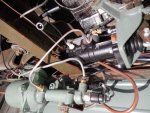
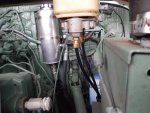

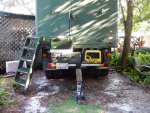
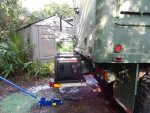
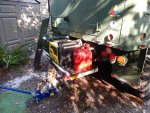
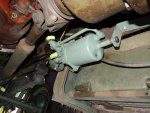
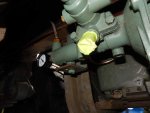
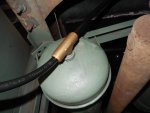
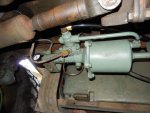
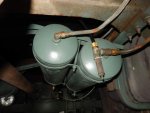
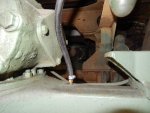
Good job dudeOk, I guess it's time to realign this thread. Too much talk about nuts! Got a little further with the brakes this weekend. Got my new nuts ( here we go again!) and new front shocks. Finished the RR wheel install and got the MR wheel off and back on after installing the A3 wheel cylinder. Also pulled the 3rd axle breather and installed a hose nipple so I can start the vent line setup. Need to get 4 more nipples and more hose to finish that. Also got both front wheel cylinders replaced as well as the new shocks painted and installed. I used Monroe 66903's. A bit slimmer and slightly longer, with a bit longer compressed stroke. Hope they work ok. Plumbed in the remote reservoir and new master cylinder. Still need to rebuild the second airpack and get it installed. Rain drove me inside this afternoon, so I started roughing in the fresh water supply piping.


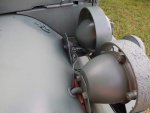


Thanks Rusty. Yes, the rear is better if only one gauge available, but with two I can see if one airpack is inop and which one. I'd think if one dropped out, it would be hard to tell which one. Like to have stainless braided lines into the cab for both gauges, but no time or money for that currently.I like the gauges on the air-pacs. I installed a brake dash gauge, but it only reads the rear axles. I figured it would be better knowing that the two rear axles brakes where going bad then knowing that the front brakes where going bad.
VERY fast approaching, for sure! Ugg.Looking great. Now with the Ga Rally you have a fast approaching goal.
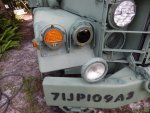
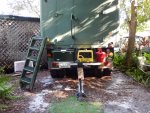
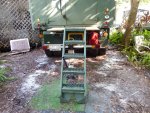
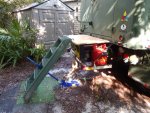
It only covers the inner tail/brake lights, the outer tail/brake lights show as well as the amber turn signals. They all are bright LED's. I will be relocating my amber strobe as well to be seen. May connect the lights on the carrier as well.Two comments:
1) MAN what a super effort you are putting into this rig!!
2) Your rear platform hides your tail lights. Might be nitpicky, but there was a thread on this site a few weeks ago about a dude who was killed when someone ran upon him in the night while he was driving an MV tractor-trailer rig. It snapped his fifth wheel and shoved his trailer right into the cab. You're going to be slower than a lot of other traffic and they can be on your bumper before they know it.
My M109 had the old, old lights which I changed out for modern, bigger ones immediately. I plan to add running lights, too.

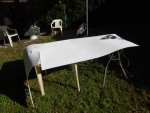
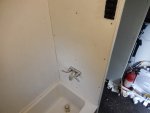
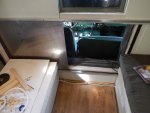
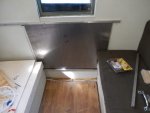
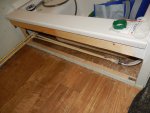
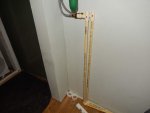
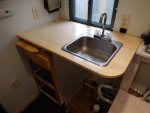
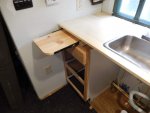
Got one (!) bathtub plastic panel up and the faucet installed and plumbed. I found many "new" words in my vocabulary while trying to work with the pathetic plastic panels. Never again. But I have two more to go. Not good.

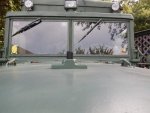
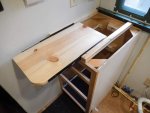
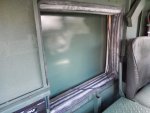
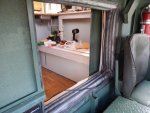
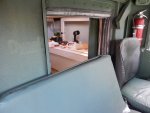
Wow, that is an impressive build-out.Also got well into the pass through sliding door. Made the tracks, lined with felt, and got them installed and the door painted on the outside and installed. Next weekend will be the door stops, handles and the dead bolt.