• Steel Soldiers now has a few new forums, read more about it at: New Munitions Forums!

  • Microsoft MSN, Live, Hotmail, Outlook email users may not be receiving emails. We are working to resolve this issue. Please add support@steelsoldiers.com to your trusted contacts.

M915 Battery Box on M809-series

MyothersanM1

19K M1 Armor Crewman
Steel Soldiers Supporter
1,957
418
68
Location
Culver City, CA
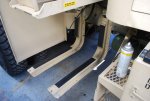
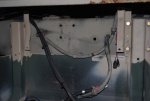
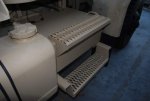
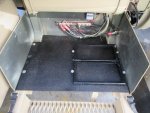
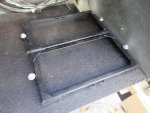
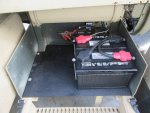
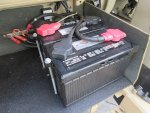
About four years ago I modified and installed an M939-series battery box up grade on my M818. It is a very sturdy, modular design allowing easy access to the batteries. In addition, if you use only two batteries, it lends to more storage space. It did come with some drawbacks including hanging lower than the original leading to less ground clearance and a somewhat awkward series of steps to climb into the cab. However, all in all, I was always pleased with the box.
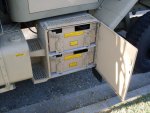
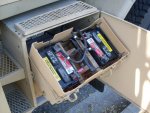
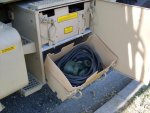
Before Shot.jpgBattery Box 12-06-11 (19).jpgBattery Box 12-06-11 (20).jpgBattery Box 12-06-11 (21).jpg

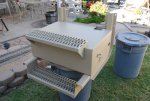
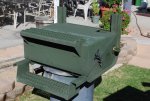
Well, while perusing items on the well-known auction site, I happened upon these really nice M915 battery boxes. These boxes more closely resembled the original style M809-series battery box configuration, especially having more ground clearance, and would be more secure if a lock system was added. I looked at the dimensions posted in the auctions and compared to the space on my truck. The box would fit perfectly. Also the OCD kicked in and I needed to have one.
DSC_0024.jpg

Now, here was the problem. The prices were decent, but all these boxes were located out of state and the freight charges were a deal killer. So I decided to “Bing” M915 Battery Box. The search lead me back to Steel Soldiers. I found a link for...
http://www.steelsoldiers.com/showthread.php?127138-My-M923A2-Battery-relocation-and-custom-battery-box-mod
I then plugged "M915 Battery Box" in the advance search and there it was. Brother Artisan had a grip of them for sale and all I had to do was drive across town to pick it up. The rest of that is history.
 
Last edited:

MyothersanM1

19K M1 Armor Crewman
Steel Soldiers Supporter
1,957
418
68
Location
Culver City, CA
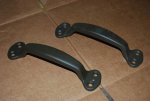
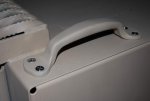
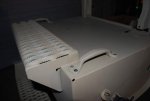
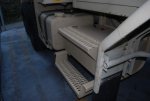
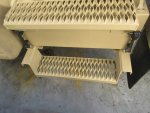
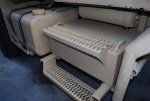
After getting the box home, I gave it a quick cleaning, removed the accessories (hold-down, wood liner, slave receptacle) and put a nice coat of 686 sand on it. While I was painting and prepping the box for installation, I found that removing and replacing the cover was a little bit cumbersome. To cure that issue, I ordered a set of the cab grab handles you find just behind the doors. I mounted the handles on either side of the step and now the cover is much easier to deal with.
DSC_0025.jpgM915 Battery Box-Right Fuel Tank Install (3).jpgM915 Battery Box-Right Fuel Tank Install (5).jpgM915 Battery Box-Right Fuel Tank Install (4).jpg

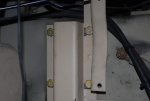
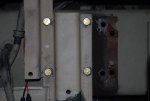
I compared the existing mounting bolt holes on the truck frame to the box saddles. The spacing is 4” W X 5” H which is a perfect match. However, the length between the saddles is 23” on the inner hole centers which falls short on the truck frame. Four new holes would have to be drilled on the frame.
M915 Battery Box-Right Fuel Tank Install (19.1).jpg

This past summer I had converted my truck to full air brakes. I had added extra air tanks on the right side of the truck behind the battery box and fuel tank. These had to be moved in order to accommodate the new box. I obtained two air tank brackets with u-bolts that came from the backside of an M931 right-side fuel tank. One existing hole on each bracket was drilled out to +1/2” and a new hole drilled to match the mounting bolt holes on the box frame saddles. The brackets are mounted toward the inside of the saddles and will accommodate an M939-series driver side air tank.
M915 Battery Box-Right Fuel Tank Install (7).jpgM915 Battery Box-Right Fuel Tank Install (6).jpg

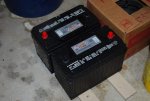
The box with the supplied hold down will accommodate four 6TL’s or four group 31’s. I have decided to use two Interstate 31P-MHD’s. I am also replacing the hold downs with two Deka 06165’s. Due to the way the wires and cables enter and terminate in the box, the supplied hold-down will not be practical.
M915 Battery Box-Right Fuel Tank Install (8.1).jpgM915 Battery Box-Right Fuel Tank Install (9.1).jpgDW06165_5_1000.jpg
 
Last edited:

MyothersanM1

19K M1 Armor Crewman
Steel Soldiers Supporter
1,957
418
68
Location
Culver City, CA
I removed the existing battery box. I also removed the two bus bars, all cables and the Solargizer box from inside that box. All those accessories would be reused in the new box.

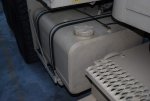
As a side note and on the same day, I also installed a "new-to-me" M931 58 gal. fuel tank to include some new locking fuel caps on both tanks. Pretty straight forward old-out-new-in project. What was a pain was draining and transferring an almost full complement of fuel. I also replaced the rubber padding on the saddles and new rubber protectors on the straps.
M915 Battery Box-Right Fuel Tank Install (10).jpgM915 Battery Box-Right Fuel Tank Install (11).jpg

Once that was in place, the new battery box was installed. Using a floor jack and a large 4 X 8 block of wood, the box was lifted into position and bolted into place using the rear existing frame bolt holes. I drilled out the new holes for the forward end of the box using the saddle as a guide. I left the floor jack underneath the forward portion of the box just to make sure it didn’t sag. Notice in the pics that the air tank brackets were bolted directly to the frame through the saddle mounts.
M915 Battery Box-Right Fuel Tank Install (20).jpgM915 Battery Box-Right Fuel Tank Install (17).jpgM915 Battery Box-Right Fuel Tank Install (19).jpgM915 Battery Box-Right Fuel Tank Install (18).jpg
 
Last edited:

MyothersanM1

19K M1 Armor Crewman
Steel Soldiers Supporter
1,957
418
68
Location
Culver City, CA
M915 Battery Box-Right Fuel Tank Install (12).jpgM915 Battery Box-Right Fuel Tank Install (13).jpg
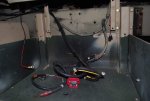
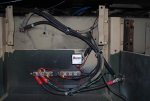
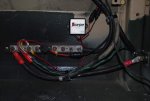
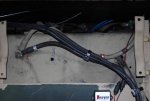
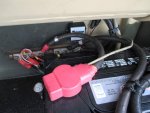
Once the box was mounted in place, the bus bars and Solargizer circuit box were installed. I made sure to mount the Solargizer box so I didn’t have cut or add to its wiring. The main positive cable was a little long, so it was cut down, a new lug terminal was swedged on and some new red shrink tubing applied. The ground cable to the hidden battery switch did not need to be altered. Both cables were attached to their respective bus bars.

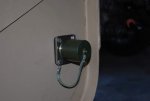
The NATO slave receptacle was installed and both cables were custom cut to include new terminal lugs and shrink tubing applied. The positive cable was attached to the positive bus bar and the negative went straight to the frame ground along with the starter ground cable.

A couple of accessories are wired into the main battery box; the cab domelight (single lead with fuse holder on positive bus) and the AM-1780 (Red/white to pos. and black/green to frame ground). I had to cut and shorten the AM-1780 leads.
DSC_0061.jpgDSC_0062.jpgDSC_0063.jpgDSC_0070.jpg

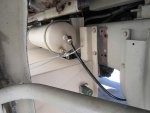
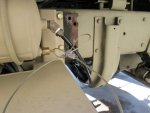
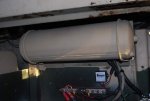
All wires and cables were dressed up with loom clamps and cable ties where necessary. Lastly, the air tank was mounted up to the brackets previously installed on the box saddle brackets. The tank fit nicely in this location filling in the void space and providing protection and security for all the electrical wiring and cables. This tank will be plumbed into the primary brake air circuit.
DSC_0064.jpgDSC_0065.jpgDSC_0068.jpg
 
Last edited:

MyothersanM1

19K M1 Armor Crewman
Steel Soldiers Supporter
1,957
418
68
Location
Culver City, CA
Once I get the batteries installed, I will pull the truck out of its space and get some better side photos. The guy who rents the space next to me, who is never there and has a big fat RV, decides to show up right at the time I want to do this project. Needless to say, it was quite the challenge maneuvering an 125lb. battery box and a fuel tank into those tight confines. Any project that will disable the truck for more than a day or two I do in the storage yard as I only have street parking at the house.
 
Last edited:
MyothersanM1

19K M1 Armor Crewman
Steel Soldiers Supporter
1,957
418
68
Location
Culver City, CA
Once the battery box was installed, the tolerance between the fuel tank and box for the rear rubber tie-down clamp was too close. The front between the box and fender was OK, but for balance I decided to move both out to the side.
IMG_0008.1.jpg

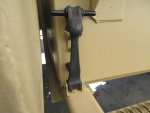
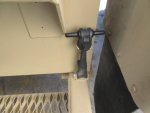
The tie-down hinge brackets were mounted on the saddle extensions for the bottom foot step. I had to allow approximately a 1/2" stand-off from the cover side with the hinge bracket mounting. This is to allow the box cover to slightly hinge upward to clear the unsecured tie-downs for cover removal.

Measuring from the clevis pin hole center-line on the hinge brackets, I measured up 3 1/4" (taken from the original mounting holes on the battery box) centered on the hinge bracket and made a mark. This is for the top hole on the tie-down latch. Using the latch as a guide placed over the top mark, I marked the bottom hole. The holes were drilled out 3/16" and both latches were bolted to there respective locations. Once the tie-downs are latched, the box cover stays in place snugly.
IMG_0015.jpgIMG_0006.1.jpgIMG_0007.jpg
 

MyothersanM1

19K M1 Armor Crewman
Steel Soldiers Supporter
1,957
418
68
Location
Culver City, CA
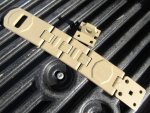
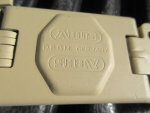
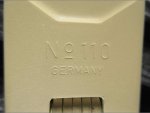
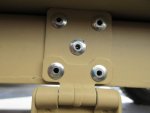
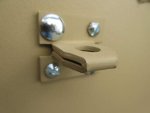
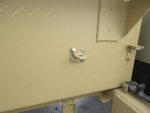
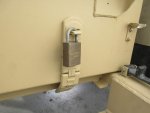
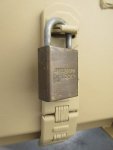
I added an Abus No. 110 multi-hinged lock hasp to secure the box. The multi-hinge design gets the hasp up and over the bottom lip of the battery box eliminating any mounting guesswork.
M915 Battery Box-M939 58 Gal Fuel Tank (37).jpgM915 Battery Box-M939 58 Gal Fuel Tank (38).jpgM915 Battery Box-M939 58 Gal Fuel Tank (39).jpg

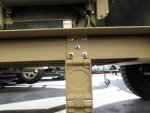
The hasp was mounted to the outer reinforcing channel under the box. I used 3/16" x 3/8 "-1/2" steel blind rivets to make the mounting a little more tamper-proof.
M915 Battery Box-M939 58 Gal Fuel Tank (41).jpgM915 Battery Box-M939 58 Gal Fuel Tank (40).jpg

The eye was mounted up to the cover using two supplied carriage screws, nuts and washers from the hasp kit and some #10 screws from the spare hardware drawer.
M915 Battery Box-M939 58 Gal Fuel Tank (43).jpgM915 Battery Box-M939 58 Gal Fuel Tank (42).jpgM915 Battery Box-M939 58 Gal Fuel Tank (44).jpgM915 Battery Box-M939 58 Gal Fuel Tank (45).jpg
 
Last edited:
MyothersanM1

19K M1 Armor Crewman
Steel Soldiers Supporter
1,957
418
68
Location
Culver City, CA
I received the Deka Group 31 battery hold-downs (Deka p/n 06165). I found these on eBay. I originally had ordered the Deka 06166, double group 31 hold-down, from eTrailer, but they were back-ordered through mid-January. I may re-order the double hold-down later, but for now I wanted to get the job finished.
M915 Battery Box-M939 58 Gal Fuel Tank (29).jpgIMG_0036.jpg

The bolt hole clips can be moved to which ever side you want to use. I used the narrow side for clamping. To butt the hold-downs snuggly together, I removed two of the punched out slots on one hold-down's long side. On the other hold-down, I flattened down the slots. The two hold-downs can butt together on their long sides at the reinforced ends.
IMG_0038.jpgIMG_0041.jpgIMG_0042.jpg
 

MyothersanM1

19K M1 Armor Crewman
Steel Soldiers Supporter
1,957
418
68
Location
Culver City, CA
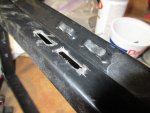
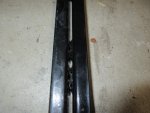
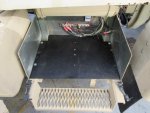
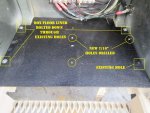
I installed the rubber coated plywood liner into the battery box. I bolted the liner down using the three existing pre-drilled hold down bolt holes; two on the left side and the right/rear. I laid in the outer most hold-down and placed a bolt through the hold-down bolt clip adjacent to the right/front bolt hole. I squared up the the outer hold-down to the box, then laid in the inner hold-down squared up and aligned with the outer hold-down. I installed all the bolt clips and marked the the holes by drilling the plywood with a 7/16" bit. The holes were then drilled completely through the box. Before installing the batteries, I test fit all the new bolt holes.
IMG_0068.jpgIMG_0069.jpgIMG_0071.jpgIMG_0070.jpg

The new batteries were set in the box with like posts opposite each other. The hold-downs were installed and tightened down. The pre-assembled "dog-bone" cross-over cable was also installed first. I had two cables one already marked red and one black that were near perfect length to connect the batteries to the bus bars. These cables were open ended left-overs from bus bar install phase, so I swedged on new terminals and installed new shrink tubing of the appropriate colors. I reused the same terminal clamps and rubber covers on all cables as they are all fairly new. All terminal clamps and bus bar nuts were tightened down. The 12VDC lead for the cold-start glow plug was shortened, a new terminal crimped on and attached to the clamp on the positive post of the rear battery.
IMG_0072.jpg
IMG_0073.1.jpgIMG_0074.jpg

I flipped on the master battery disconnect and the in-cab battery switch. I immediately heard low-air buzzer and the battery gauge sprung to life. I gave the engine a crank and it started right up. The battery box project is now complete. I plumbed the newly installed air tank above the battery box into the brake air brake primary supply circuit. I just need to dress up the pull cable for the drain valve. I also installed a similar air tank for the secondary air brake circuit behind the box, but I am missing the one proper fitting to close up the air system. I should have that by late this coming week and I'll be up and running.
IMG_0075.jpgIMG_0076.jpg

 
Last edited:
Castle Bravo

Hundredaire Socialite
Steel Soldiers Supporter
1,964
215
63
Location
Arizona
A job well done.

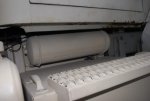
Interesting that the battery box has a rear wall. All of the 915 battery boxes I've seen are open on the back.
 

MyothersanM1

19K M1 Armor Crewman
Steel Soldiers Supporter
1,957
418
68
Location
Culver City, CA
A job well done.

Interesting that the battery box has a rear wall. All of the 915 battery boxes I've seen are open on the back.
Correct me if I'm wrong, but this box may have been an upgrade kit to the original OEM box. I dunno'?? The battery box in the -24P shows a back on it, but its construction is a little different.
 
Last edited:
Castle Bravo

Hundredaire Socialite
Steel Soldiers Supporter
1,964
215
63
Location
Arizona
Correct me if I'm wrong, but this box may have been an upgrade kit to the original OEM box. I dunno'?? The battery box in the -24P shows a back on it, but its construction is a little different.
Not sure... it otherwise looks the same to me.
 
Top
AdBlock Detected

We get it, advertisements are annoying!

Sure, ad-blocking software does a great job at blocking ads, but it also blocks useful features of our website like our supporting vendors. Their ads help keep Steel Soldiers going. Please consider disabling your ad blockers for the site. Thanks!

I've Disabled AdBlock
No Thanks