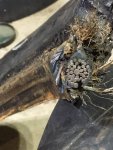
4 more hours and no success..except for a fist size hole in the sidewall hoping to break/cut the bead for some relief.
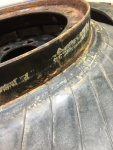
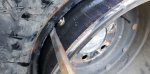
And I was mistaken, there is a beadlock inside
I thought I saw a bead lock insert in there, but I didn't want to push it since my eyes aren't on location

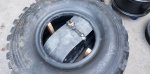
When I made my first cut in the sidewall, I cut a square in line with the turret valve so I could remove the nut and remove the turret valve, and work the tire off. That worked for the second tire. For the rest of them I decided to cut them off completely because I was running out of summer and wanted to get the job done before October. I learned that one of the Bauer bi-metal wood blades from Harbor Freight will only last two tires before losing teeth and requiring a change
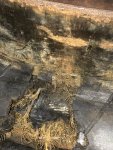
I have no qualms cutting up dry-rotted tires if I know they won't pass inspection. If they're as bad as I think they are, the cracks will be at least halfway through the sidewall, and I've heard Michelin XL tires were pretty weak in the sidewall in comparison to the newer XZL tires.
Now if I wanted to save the tires, like needing to dismount a new 395 to tighten the turret valve grommet, that would be different! Just follow the A3 rim instructions in the TM carefully and you'll get it bang-on each time as long as your brass fittings screwed into the turret valve/air pipe aren't cracked or sealed at the threads completely.