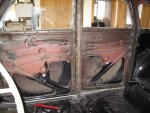
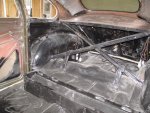
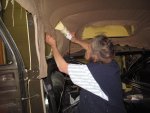
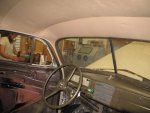
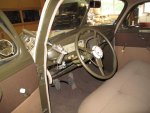
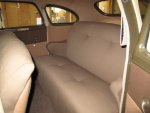
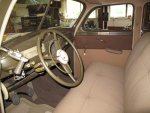
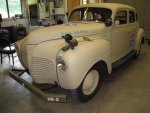
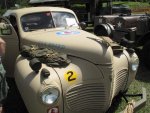
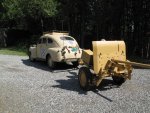
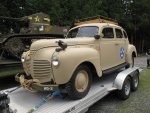
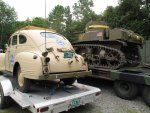
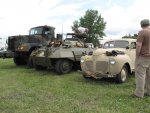
Found a 1941 Plymouth 4 door years ago and put in the back of the barn to "age". Always wanted a staff car, and finally took a break from the big truck projects to figure out how to do the job. Took about 2 years to get it done but was great fun to bring it to an antique car show this past season and watch the folks trying to figure out what they were seeing! Thought I would share the adventure...
The British were ahead of us in both staff car modifications and use and I found the best examples in the archive pictures from the North Africa theater. There, in the pre-jeep days, the cars were beefed up and used for reconnaissance, and not just for hauling the officers around.


In the US cars were either ordered from the factory as per military specs, or drafted from the dealer lots and given a standard military treatment. However, in the field the archive pictures showed the US shops doing all kinds of modifications to the cars. Heavy bumpers, military tires, b.o. lighting, external stowage and more. This was the way to go with the restoration and the car saw the light of day and the fun began.
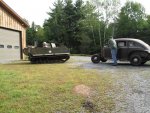
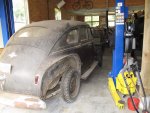
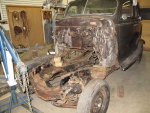
Weaseled it out, and began the process of disassembly. Quickly discovered that cars are tough to do-mechanically relatively simple but the body work rules. The Plymouth used the familiar 6 cylinder flat head and I went with the 230 cu/in version. Any in the field maintenance work was most likely to draw on the this engine, as it was the common WC Dodge truck version. It has a basic 3 speed on the column, 4.1 rears, and a 6 volt positive ground electrical system(tried not to forget).
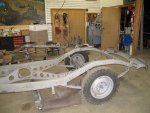
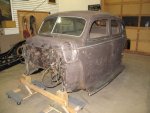
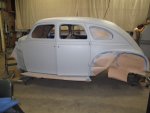
Pulled the body off the frame, then mounted everything on dollies. Sandblasted the frame, followed with POR 15 (requires careful surface prep). Kept after the engine at the same time, with the crank turned and the cylinders bored at a local machine shop, then careful assembly and test running on a home made run in stand. The Plymouth parts TM indicates that no bright work should show both on the outside and inside of the car. All normal chromed parts were required to be painted. Sanded the body, fixed dents and primed and top coated. Did the large body parts separately to avoid the sprayed over look and instead get it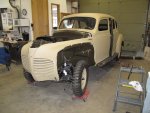
 more like the factory assembly approach.
to be continued....
The British were ahead of us in both staff car modifications and use and I found the best examples in the archive pictures from the North Africa theater. There, in the pre-jeep days, the cars were beefed up and used for reconnaissance, and not just for hauling the officers around.


In the US cars were either ordered from the factory as per military specs, or drafted from the dealer lots and given a standard military treatment. However, in the field the archive pictures showed the US shops doing all kinds of modifications to the cars. Heavy bumpers, military tires, b.o. lighting, external stowage and more. This was the way to go with the restoration and the car saw the light of day and the fun began.


Weaseled it out, and began the process of disassembly. Quickly discovered that cars are tough to do-mechanically relatively simple but the body work rules. The Plymouth used the familiar 6 cylinder flat head and I went with the 230 cu/in version. Any in the field maintenance work was most likely to draw on the this engine, as it was the common WC Dodge truck version. It has a basic 3 speed on the column, 4.1 rears, and a 6 volt positive ground electrical system(tried not to forget).


Pulled the body off the frame, then mounted everything on dollies. Sandblasted the frame, followed with POR 15 (requires careful surface prep). Kept after the engine at the same time, with the crank turned and the cylinders bored at a local machine shop, then careful assembly and test running on a home made run in stand. The Plymouth parts TM indicates that no bright work should show both on the outside and inside of the car. All normal chromed parts were required to be painted. Sanded the body, fixed dents and primed and top coated. Did the large body parts separately to avoid the sprayed over look and instead get it

 more like the factory assembly approach.
 to be continued....


