rmgill
Active member
- 2,479
- 14
- 38
- Location
- Decatur, Ga
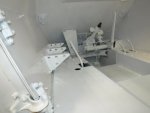
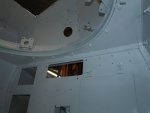
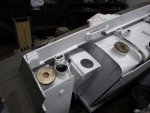
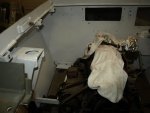
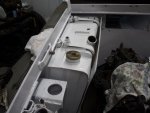
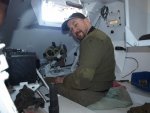
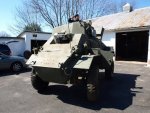
So, as some of you may know, about 7 years ago myself and two friends jumped into an armored car restoration project. A dealer in the UK, Chris Wilkinson, who has now passed away, had a small set of about 6 Ex Portugues-Ex-British Army Humber Mk IV armoured cars. WE bought the last one for $6,000 US. This is what it looked like when we bought it. The car had a lot of problems. Parts were missing, the main gun was gone, no mantlets (inner or outer), the engine block was cracked, and there was a lot of corrosion on the outside sheet metal. The Interior was similarly manky.
Here's looking up at the turret rear
Turret Roof
And forward towards the Driver's Compartment.
Jim Burrill, the main partner in this project took these photos in about 2004 during a visit with his wife. Time passed and we put the money down on the vehicle and had it shipped to Hughes Fabrication. Clive Hughes is the last Humber Guy in the UK with Military parts. He in fact had another MK IV to work on at the same time and this helped because both vehicles needed new external sheet metal to be fabbed. Clive had other projects and we were fine with having the project back-burnered from time to time in exchange for a lower shop rate.
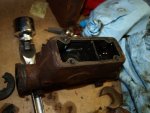
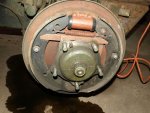
Clive and his chaps pulled the turret off. Then pulled the hull off. All the interior bits were stowed in triwalls and set aside. The engine had a new block sourced, a replacement radiator adapted (the original radiators were too far gone to repair and are not to be found). The transmission, transfer box, and axles all got a going over and moderate rebuilds to seals and affected parts. The frame was sand blasted, brakes rebuilt and all manner of mechanical components rebuilt or replaced. This netted us a rolling chassis with a sandblasted hull and turret (outside) and a pile of rusty stowage bins, a non functional dash and a bunch of other parts to locate.
This process took about 5 years and the car finally was ready to be stuffed in a container and shipped to us in the US. It was shipped to Port of Baltimore and several of our WWII re-enacting group was at Alan Cor's place to help with the unpacking from the container. Jim's photo array is at this url.
http://www.youtube.com/watch?v=0RV0uA0pqZI
Last edited:


