albersondh
Member
- 78
- 3
- 8
- Location
- MI Detroit
Kicking this idea around for a while and finally decided an LS swap is going to work for me. Why? Already have the motor and trans. I got a LY6 with the 6L90, harness, ECU, and DBW pedal for around $3500. Got a few different Holset turbos on the shelf but thinking Ill do a single HX52 just to keep it simple. The HX52 is a 67mm turbo with a 16cm hot side. This will do 600HP/TQ without breaking a sweat. Down side to the HX52 is that the turbo is designed with a sweet spot well above the boost level I will run but should still spool just fine with the 6.0. Plan is to flip the truck manifolds, hack off the flanges, weld on some 2.5" v-bands, then build a cross over, for front mounted turbo placement. A single 3" DP/exhaust should do just fine with my modest power goals.
Thought about a simple 700R4 but then I feel like towing would be sketchy. 4L80 would work but factor in a fresh trans, TCM, and junk (tach signal, VSS, ect) to make it work and its not much less than a LS swap and still crap 6.2 power. LS motors are known to go well over 200k with proper maintenance and in stock form can take 10psi all day. I consider my LY6 the holy grail of LSX swap motors. It is a steel block with LS3 heads. So no issues with cracking cylinders under boost and these heads are said to flow around 300CFM out of the box!
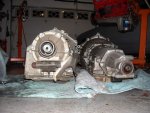
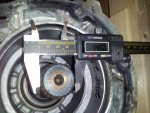
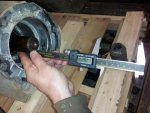
What about the trans? The 6L90 is a 6 speed auto that is stronger than a 4L80, with a lower first, and taller OD gears, no brainer. Only issue is the trans output is some wonky spline count, mounting flange is common though. Well I found a x-fer case input that will match the spline count and should be a direct replacement in the 208.
Plan for the motor is simple, pull the heads, add studs, re-gap rings for boost, new Felpro MLS gaskets. Probably do some stiffer valve springs as well. Still debating on new bearings and rod bolts....
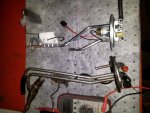
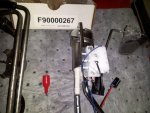
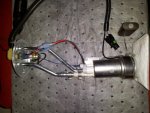
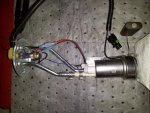
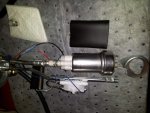
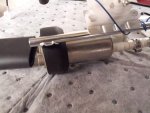
For fuel Im going to get a poly replacement tank and run an 87 TBI sender with in-tank pump. Ill run a Walbro 460LPH so volume should not be an issue. I may do some return rails (LS stockers are return-less) and boost referenced adjustable FPR. Run some -8 sending and -6 return in some Ethanol compatible line. I suspect MPG's (on gasoline) will be on par with the 6.2 and TH400 but a second tank may work its way in for added range.
Ill try and use the CUCV radiator but need to make space for a front mount intercooler so we will see how space works out.
Debating on tuning. I have experience tuning turbo imports with open source software but never used GM stuff (HP tuner, ect). I feel that tuning forced induction EFI is a transferable skill from platform to platform but there is the obvious software interface learning curve.... So depending on how long this takes and how anxious I get I may outsource tuning.
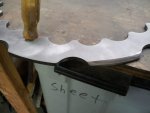
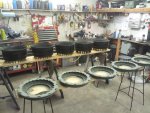
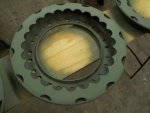
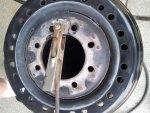
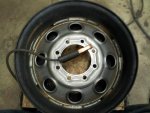
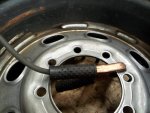
Suspension is staying OE until the swap is done. I have already sourced some HMMWV 37's, cut out and recentered the 24 bolt wheels. Got some front spring brackets (B52's) from DIY4x4 and shackle flip, disc brackets, ect, from ORD. Going to shoot for 5" and 37's. Plan on throwing the 1028 springs in the back of the build truck (M100 and use the 1008 rears in the front for lift.
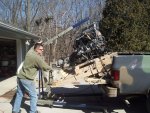
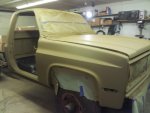
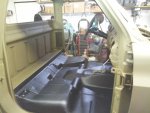
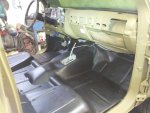
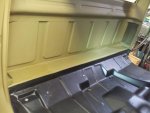
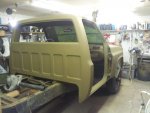
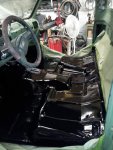
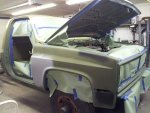
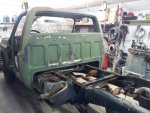
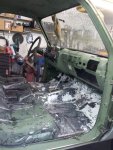
For now the shop is tied up with a 1028 rust pile that Im parting out. Once that is out the way and I have scavenged up all the parts I want as spares work will start. Should be in the next couple weeks.
Thought about a simple 700R4 but then I feel like towing would be sketchy. 4L80 would work but factor in a fresh trans, TCM, and junk (tach signal, VSS, ect) to make it work and its not much less than a LS swap and still crap 6.2 power. LS motors are known to go well over 200k with proper maintenance and in stock form can take 10psi all day. I consider my LY6 the holy grail of LSX swap motors. It is a steel block with LS3 heads. So no issues with cracking cylinders under boost and these heads are said to flow around 300CFM out of the box!
What about the trans? The 6L90 is a 6 speed auto that is stronger than a 4L80, with a lower first, and taller OD gears, no brainer. Only issue is the trans output is some wonky spline count, mounting flange is common though. Well I found a x-fer case input that will match the spline count and should be a direct replacement in the 208.
Plan for the motor is simple, pull the heads, add studs, re-gap rings for boost, new Felpro MLS gaskets. Probably do some stiffer valve springs as well. Still debating on new bearings and rod bolts....
For fuel Im going to get a poly replacement tank and run an 87 TBI sender with in-tank pump. Ill run a Walbro 460LPH so volume should not be an issue. I may do some return rails (LS stockers are return-less) and boost referenced adjustable FPR. Run some -8 sending and -6 return in some Ethanol compatible line. I suspect MPG's (on gasoline) will be on par with the 6.2 and TH400 but a second tank may work its way in for added range.
Ill try and use the CUCV radiator but need to make space for a front mount intercooler so we will see how space works out.
Debating on tuning. I have experience tuning turbo imports with open source software but never used GM stuff (HP tuner, ect). I feel that tuning forced induction EFI is a transferable skill from platform to platform but there is the obvious software interface learning curve.... So depending on how long this takes and how anxious I get I may outsource tuning.
Suspension is staying OE until the swap is done. I have already sourced some HMMWV 37's, cut out and recentered the 24 bolt wheels. Got some front spring brackets (B52's) from DIY4x4 and shackle flip, disc brackets, ect, from ORD. Going to shoot for 5" and 37's. Plan on throwing the 1028 springs in the back of the build truck (M100
For now the shop is tied up with a 1028 rust pile that Im parting out. Once that is out the way and I have scavenged up all the parts I want as spares work will start. Should be in the next couple weeks.


