- 2,960
- 33
- 48
- Location
- Tiro, Ohio
Been busy this last week!
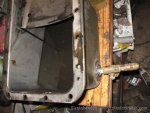
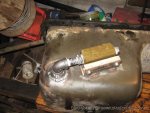
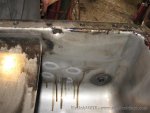
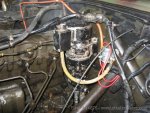
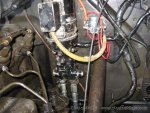
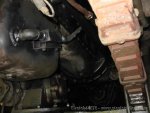
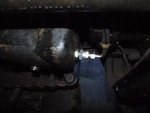
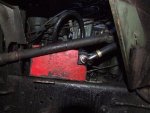
Installed a prelube system. Pulled the oil pan, welded a 1/2 pipe fitting to a large washer, drilled a hole in the pan, then welded the washer to the pan. Pretty proud of myself, one pass with the welder and no leaks! Installed a check valve on the pan, to keep the pump primed. Also welded a bracket to the pan to support the check valve/fittings.
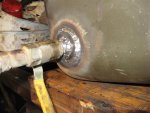
The pump was a garage sale special. 5 bucks! 24 volt, 160 amp, and 7200 rpm. Talk about a screamer. Intermittent duty motor, 80 seconds on, 240 off. Appears to be a aircraft pump. EVERYTHING is safety wired, or soldered. Also had some aluminum fittings in it. Brushes were stuck on it, so fixed that. Pump wouldn't pump at first. Tried priming it, that didn't help. Took the relief valve out of it, and it's missing parts. So I used my hillbilly ingenuity, and spaced a rubber washer behind a spring in it. So now it pumps!
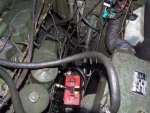
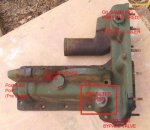
Hoses are standard hydraulic hose from TSC. Plumbed the pump to the pre-filter port that cranetruck posted before(Thanks!) Also installed a check valve there, in case of any leaks in the prelube, it would prevent oil from backflowing.
Wiring is pretty simple. 24v solenoid, and extra cold start switch to activate it.
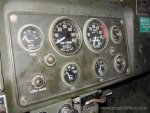
With a gauge at the filter housing, pump gets to 25 psi after 30 seconds. The gauge on the dash shows 20 psi.
Big difference when started. Before, you could tell right when the oil pressure came up, the engine got quiet. Now it starts quiet.
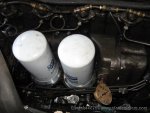
Now on to the filter adapters from John Tennis. Was a little worried about spending 200 bucks on them, thought about making them myself. After getting them, I'm glad I didn't. I'm so used to the junk you get a parts stores, that it was a pleasant surprise to see how well made the adapters were. They are darn near a work of art, everything deburred, clean cuts, and fit perfect. Took all of 10 minutes to install.
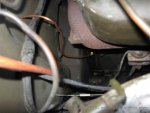
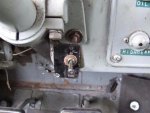
Last and least, I installed a air gauge for the oil gauge, and ran a 1/8' copper line to the original gauge location. So now have a mechanical oil gauge. The electrical one was flaky, and I trust the mechanical one.
Now on to the pics!
Dennis
Attachments
-
45.7 KB Views: 269
-
55.2 KB Views: 267
-
53.4 KB Views: 277
-
44.1 KB Views: 269
-
73.3 KB Views: 281
-
71.1 KB Views: 280
-
44.5 KB Views: 274
-
45.1 KB Views: 274
-
36.3 KB Views: 263
-
57 KB Views: 261


