- 467
- 274
- 63
- Location
- Seville, OH
I have the full wiring and control kits for the Cascadia mirrors, including a timed heated mirror circuit.
Ohiobenz@gmail.com
Ohiobenz@gmail.com
Steel Soldiers now has a few new forums, read more about it at: New Munitions Forums!


Here's another install picI have the full wiring and control kits for the Cascadia mirrors, including a timed heated mirror circuit.
Ohiobenz@gmail.com

And we now return to our regularly scheduled broadcast.....
Some forward progress and some stagnation: radiator was successfully removed, repaired, and replaced. I didn't take many pictures during the process and just followed along with the TM, and it pretty much went right along with how I would have logically done it if I went in blind. There were no tricks, which was nice, and it all went back together fairly easily with just the shroud bolts being finicky.
While I was in there, I discovered I have what appears to be the updated fan (no rubber to degrade and toss a blade into the rad) and I took the opportunity to replace all the belts and check the nut on the compressor (was tight, yay!). All in all, things went well.
Next up, I replaced the OEM shocks with the Fox offerings from Grigsby, which came in from backorder in February.
New shocks:

Where I haven't made progress is in dealing with a persistent shimmy while driving at speed (~55-60 MPH), and I have compelled myself to resolve it prior to moving on to any other chassis work or the actual camper build.
At this point, I have swapped all the tires for the new ones I got when I bought it, had all the driveshafts completely rebuilt, installed the new shocks, rotated the tires through different positions around the truck, and statically balanced all the tire/wheels assemblies on a balancer which I made.
The static balancer:

The balancer is made from VW Bug front hub with an adapter plate I had laser cut from 1/2" steel plate. I added a few studs and things seemed to work out pretty well.
Front view, the taped on spacers were used to make up for brake drum thickness and keep the lug nuts on the threads:

In practice, I mounted up the tire assembly to the drum, let it spin til the heavy side was down and then would move it 90° one way and add weight on the light side until it wouldn't spontaneously spin with gravity. I would then check that it remains static through 360° and adjust accordingly and I had figured this to be good enough to address any major imbalances. The weight I had to apply ranged from ZERO(!!!!) on one assembly to 3.6 pounds, most of them being in the 1-2 pound range. I then used some adhesive to secure the slab of lead to the inner surface of the wheel.
The left rear wheel about to be reinstalled, 2.25# of lead on board:

Despite all this work, I still get to mid-50's mph and there is a pronounced vibration which feels like it's gotten better below that but seems like it's gotten worse once I get there. It almost feels like one of the tires is severely out of round but the shimmy also fades in and out as I progress through bends, which makes me feel like it's phasing in and out with other tires. If it was an out-of-round unit, it wouldn't matter what the speed- it would always be lumpy and I should always feel it.
Speaking of which, while I had them on the balancer, I started checking how concentric the wheels/tires were but managed to forget to do it after the 2nd tire. I was very disappointed when I realized I forgot to keep checking this and I intend to pull them off and check them sometime during the remainder of this week. I anxiously await seeing where that leads me.
If anyone has any suggestions of how to better address the shimmy issue, I am all ears. If I am missing something in my balancing procedure, please point it out to me. I certainly don't feel like an expert but am willing to try anything to knock this out. Thanks in advance!

It's been pretty quiet on the truck front lately but managed to empty a few rattle cans. Pretty happy with the change, but it does look like a rattle can job. Will look better once we get some dirt on it.
Still need to do the chassis but quite pleased enough with it so far.
Nope. It's a family livery...Curious, with all the "unrest" out there, did this encourage you to paint the vehicle another color?
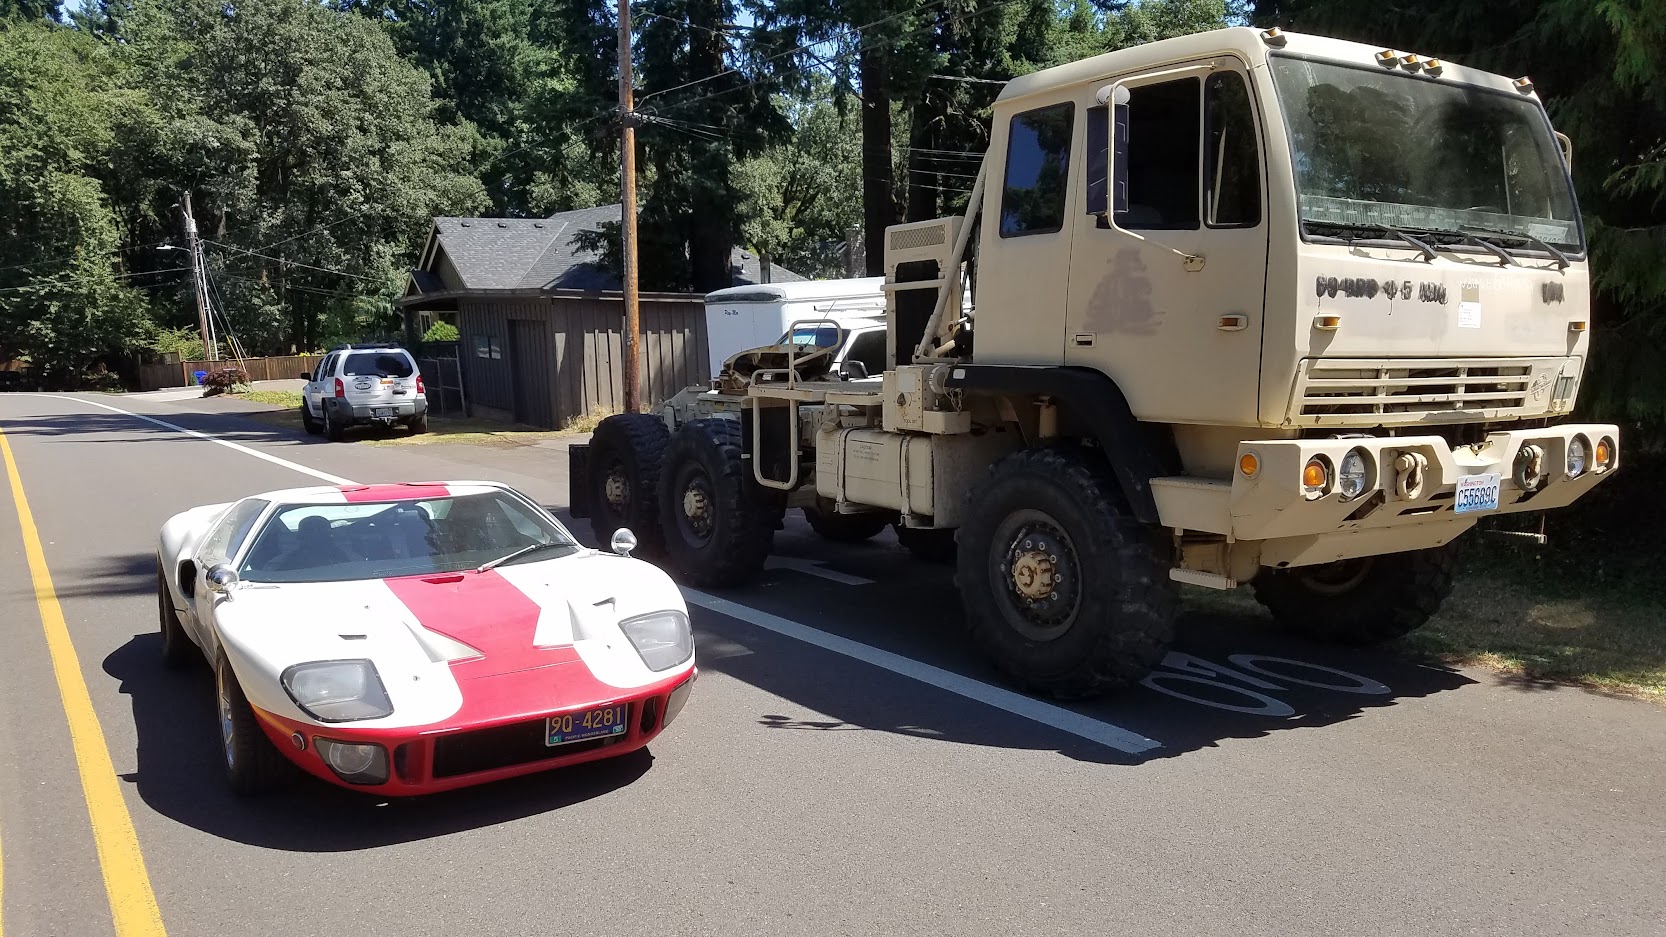


Did you use reinforcement plates inside the door for the mirrors?The GT is siiiiiick!
Here's my $0.02 for when you do mirrors...I did the Freightliner mirrors and they're too heavy for the door without reinforcement/modification. I think I would do the same ones again if I were to go back in time. However, you might look at some that attach to the top of the door like the stock ones as long as you can find some that will fold in. *shrug
I did and they do OK but could be better. The pass side seems more stable than the driver despite doing the same thing on each side. I will probably take another run at it shortly, but the proof of concept (placement, field of view, etc...) was worth the effort. I do like them, just need to reduce the shake and get the switch powered up and wired in.Did you use reinforcement plates inside the door for the mirrors?
We get it, advertisements are annoying!
Sure, ad-blocking software does a great job at blocking ads, but it also blocks useful features of our website like our supporting vendors. Their ads help keep Steel Soldiers going. Please consider disabling your ad blockers for the site. Thanks!
")

