• Steel Soldiers now has a few new forums, read more about it at: New Munitions Forums!

  • Microsoft MSN, Live, Hotmail, Outlook email users may not be receiving emails. We are working to resolve this issue. Please add support@steelsoldiers.com to your trusted contacts.

Kinda got carried away..... M1028 rebuild

Sharecropper

Well-known member
Steel Soldiers Supporter
1,836
987
113
Location
Paris KY
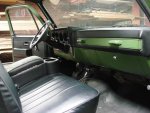
OK, I am ready to make a decision on my instrument panel and I would like everybody's imput. I can purchase a new aluminum cluster face to mount the new gauges, so now I need to settle on the gauges themselves. Thinking about using new M35A3 or Humvee gauges, with large speedometer and tach mounted in the middle as normal. In the upper left of the panel I will mount the GEN1 (12 volt) and oil pressure gauge. In the lower left I will mount the fuel & temp gauge. Then in the upper right dash depression, next to the existing 24 volt meter, I will mount a new GEN2 (24 volt) meter. Since I plan to bypass the Glow Plug module and use a switch instead, I will eliminate the "Wait" light, as well as the "Water in Fuel" light. The only thing I am wondering about is getting a speedometer that reads more than 60 mph.

What do yall think? Please chime in.

Thanks in advance for your thoughts.

Mike Gresham
 
It's kind of hard for me to picture the setups well without seeing them contrasted in picture-form. Not sure if you've ever seen an old suburban instrument panel of the same vintage. But they had one with a factory tach that I always thought would look great in one of these trucks. Last one I saw was sold on ebay before I could bid on it. Anyway, if you could mock up the clusters a little and post pics, I think we would have a better vision of what you are talking about doing. Just my $0.02
 

mr.travo

Member
422
0
16
Location
Comfort, TX
I would stick with the stock one. Leave it factory looking. Love the build!!!! I like how you are showing your progress. That's something I never do even though I keep promising myself I will.
 

Sharecropper

Well-known member
Steel Soldiers Supporter
1,836
987
113
Location
Paris KY
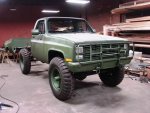
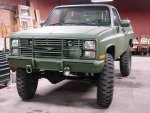
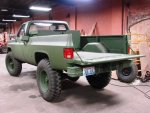
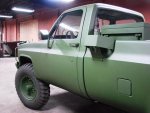
Well folks, after a couple months of inactivity due to my busy work schedule, I am now ready to finish up and get the truck back on the road. It was exactly one year ago in June 2010 when I pulled the M1028 into my shop for a simple hood replacement. What followed was a complete loss of self control and the beginning of a complete frame-up rebuild. For all you out there in MV land that have followed this thread, I hereby promise that I am going to get this thang finished in time for the July 4th parade.

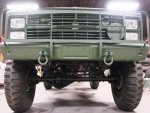
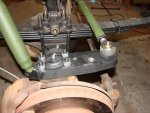
All the body work is done and the front lift kit is complete. I used ORD's 4" HD kit with Zero Rates which provides 5" of lift. Because I don't intend to abuse the truck off road (heck it may never leave the pavement), I opted for a steering block and drop-down pittman to correct the drag link angle. If I were to ever decide to go serious off-roading, I would indeed install cross-over steering and possibly with hydraulic assist. But for now, the block and arm will suffice.

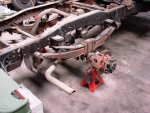
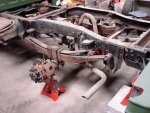
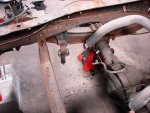
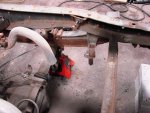
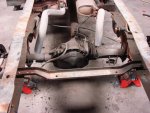
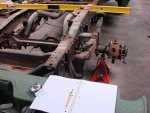
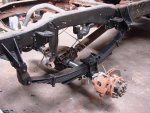
The next thing on the list to do was install the ORD rear shackle flip kit. I removed the bed to improve work-ability, and the first thing I realized was the tail pipes were going to interfere with the flip kit. So, I chose a good spot to cut them off square to facilitate new tailpipes added after the lift kit was installed. The photos below show this situation and the cut pipes.

More later.
 

Attachments

Sharecropper

Well-known member
Steel Soldiers Supporter
1,836
987
113
Location
Paris KY
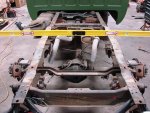
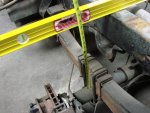
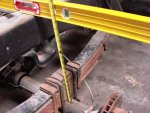
I had already removed the shocks and rear brake proportion lever, so the next thing to remove were the u-bolts and spring packs. But before I did this I used a straight level across the frame and measured the distance from the top of the rear axle to the top of the frame as a reference point, so that after the rear lift kit was installed I could repeat the procedure and know exactly how much the kit raised the truck. The dimensions were recorded in my project nootebook.

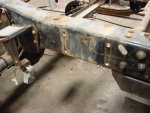
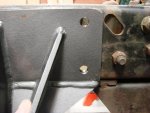
The u-bolts and spring packs came off easy, but then I had to determine the best way to get the factory rear spring hangers off. They are riveted on at GM, so after consulting a few mechanics who are knowledgeable in such matters, I simply used my grinder to grind off the rivet heads. I then drove a cold chisel in between the bracket and frame, and the thing just popped off. I then simply used a hammer to drive what was left of the rivets out of the frame.

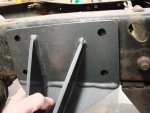
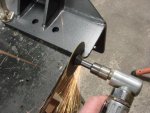
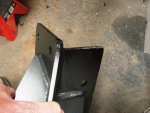
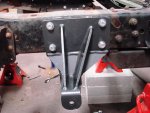
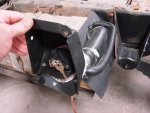
The ORD Shackle Flip brackets require opening up the frame holes to accept new Grade 8 7/16" bolts, washers, and nuts. This was also easy to accomplish with a step drill, but then I discovered another issue. The flip brackets would not align with the frame holes because the rear lifting hook brackets extended through the rear bumper and were bolted to the underside of the frame. So, I had to cut approximately 1/2" off of each flip bracket so the holes would align. Once I got this done they bolted up perfectly.
 

Attachments

Sharecropper

Well-known member
Steel Soldiers Supporter
1,836
987
113
Location
Paris KY
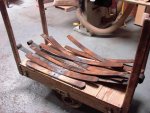
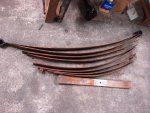
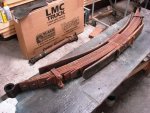
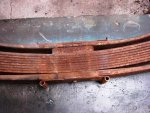
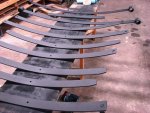
Well folks, when I got my rear spring packs off, I realized that they were just too dang rusty. So, I decided to completely disassemble, sandblast, phosphate, and paint each leaf, then reassemble. Here's some photos up to the disassembly phase. They are now at the sandblasters.
 

Attachments

Sharecropper

Well-known member
Steel Soldiers Supporter
1,836
987
113
Location
Paris KY
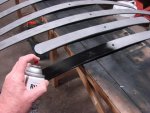
Got the springs back from the sandblaster, sprayed 'em with zinc phosphate solution, and shot a coat of flat black. Did the same for the alignment brackets and bolts. Cleaned up the poly spacers between the springs and then reassembled. Better than new. Will now shoot a coat of Chassis Black on the assembled spring pack and reinstall.
 

Attachments

Sharecropper

Well-known member
Steel Soldiers Supporter
1,836
987
113
Location
Paris KY
While I had the bed off I installed a civi fuel filler neck, locking gas cap, new hoses and clamps. Had to fabricate a radius adapter of 1/8" aluminum to marry the smaller-diameter civi neck to the larger-diameter military housing.
 

Attachments

Sharecropper

Well-known member
Steel Soldiers Supporter
1,836
987
113
Location
Paris KY
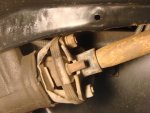
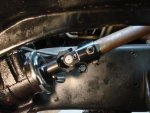
I deceided to install ORD cross-over steering, which was quick and easy. Used a rebuilt PSC 2WD steering gear, which also installed easy. However I could not bring myself to re-using that primitive rag joint, so I ordered a new universal from Flaming River to replace the thing.

The PSC gear steering shaft output is a 3/4" 30-spline, and the factory steering shaft is 1" with opposite flats, a/k/a Double-D. So I ordered Flaming River part #FR1939-8 3/4"-30X1"DD. The unit is produced from super-tough chrome moly and cost $72.95 + shipping.

The rag joint flange on the lower steering shaft had to be cut off because the shaft was flanged to keep it on. I accomplished this with a thin cut-off wheel, then ground the flaring to match the shape of the shaft so the new universal would slip on and fit perfectly.

I installed the PSC gear and Flaming River joint and quickly realized that the factory steering shaft was too long and needed shortening. This was also easy, as I simply pushed the shaft towards the cab as far as it would go into it's universal housing at the firewall, and then marked the shaft at the end of the FR joint. I then removed the factory shaft assembly by simply removing the carriage bolt at the firewall universal. Once I got it on my bench I realized that the factory shaft assembly is in fact a solid shaft inserted inside the 1" round shaft, held together by two plastic pins. I drilled out the plastic pins and freed the shaft. I then pushed the lower 1" round shaft upwards by the amount of shortening needed, and then drilled two 3/16" holes through the solid shaft to align with the factory plastic pin holes. Threw in a couple nuts and bolts to hold it in the proper length, and re-installed it in the truck. The steering now has no slop whatsoever.

If you do not plan to change to cross-over steering, you may not need to shorten the shaft. If you order a universal from Flaming River, you will need to make sure you order the correct unit to fit your steering box. Shaft diameter and spline count on the gear side, 1" DD on the shaft side.

Hope this helps anyone contemplating such modification.
 

Attachments

Sharecropper

Well-known member
Steel Soldiers Supporter
1,836
987
113
Location
Paris KY
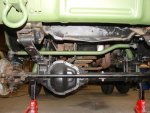
srodocker, I had not originally intended to do cross-over steering. Because I do not plan to do any hard off-roading or rock-crawling, I had installed a drop pitman arm and a steering block, thinking that would be fine for my highway needs. However once I saw the limited steering geometry after raising the truck, I knew then that I needed crossover. With the drop pitman arm and steering block, the wheels would not turn all the way to lock. There just wasn't enough geometry to allow that much movement. But with the ORD cross-over steering installed, the wheels turn lock to lock and the movement is positive without any slop. Here's a couple photos -
 

Attachments

Sharecropper

Well-known member
Steel Soldiers Supporter
1,836
987
113
Location
Paris KY
Thought about hydro-assist steering, however the slim profile of the 11.00/20 NDT tires turn easy without it.

I will post new photos as soon as I recover from back surgery.
 

Sharecropper

Well-known member
Steel Soldiers Supporter
1,836
987
113
Location
Paris KY
I am almost finished. Had to take a month off for back surgery, but now ready to finalize the details.

Still left to do -
Apply stencils whenever Rick Larson gets them to me
Install 12 volt accessory plugs in cab and bed (marine plug in bed)
Adjust toe-in, headlights
Adjust rear brake proportioning valve
Lengthen rear shaft 1-1/2", install new U-joints
 

Attachments

Top
AdBlock Detected

We get it, advertisements are annoying!

Sure, ad-blocking software does a great job at blocking ads, but it also blocks useful features of our website like our supporting vendors. Their ads help keep Steel Soldiers going. Please consider disabling your ad blockers for the site. Thanks!

I've Disabled AdBlock
No Thanks