Truckoholic
New member
- 492
- 13
- 0
- Location
- Colorado Springs, CO
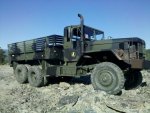
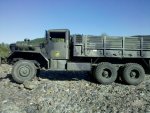
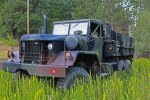
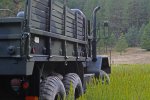
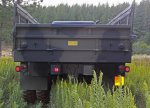
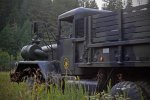
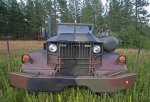
Well, just got done painting my M813A1, so I had to take some pictures to share. There are still a couple pieces missing, and it's not perfect, but it sure is one heck of an improvement over what it was when I got it!!
Also I got my SF97 in the mail this morning, so I was able to go to the DMV and got it registered as a vehicle of historical interest since I allready had all the other paperwork filled out and ready and put it on my insurance last week. The DMV lady was quite confused for a while, but she didn't have too much trouble doing it. Cost me just $342 altogether with use tax and everything. Will be much less per year of coarse now that the initial expense is out of the way.
Insurance is costing me $63 a month which I can definitely live with. State Farm would not insure it as a historical vehicle for some reason, but that's fine with me. And I don't intend to drive it more than should be a problem with it being registered as a historical vehicle.
It's going to be in atleast one parade in a couple weeks. Possibly another one I'm not sure about yet.
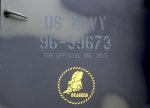
I put the bumper guides on there so I'd have something to attach my flag poles to. I'm gonna have the American flag where it belongs on the right front, and a US Navy, And Seabees flags on the left side.
Notice, I started out doing a three color camo job, but after I got the brown sprayed on the front fenders, I decided that was as far as I wanted to go with the brown. I was thinking of just doing away with the brown altogether, but then I started kind of liking it just like this. But don't want brown anywhere else.
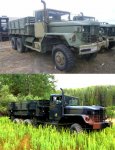
Here's a before and after pic:


