• Steel Soldiers now has a few new forums, read more about it at: New Munitions Forums!

  • Microsoft MSN, Live, Hotmail, Outlook email users may not be receiving emails. We are working to resolve this issue. Please add support@steelsoldiers.com to your trusted contacts.

1986 CUCV M1009 Decade after being wrecked.

cucvrus

Well-known member
11,474
10,441
113
Location
Jonestown Pennsylvania
Family night tonight. No work will get done. All is well. Tomorrow I will proceed to make progress. Over the weekend I have a few ideas to get my undercoating task started and completed by mid week. No rush job here. Easy does it. It will get done in good time. I do tend to like things as designed. I may change a few things for purpose of preservation but not much. I like the original blue print. Very timeless. Like Classic Rock. Have a Great Evening. More CUCV stuff later.
 

fitz

Member
268
13
18
Location
Mass
Cucvrus is taking the night off?
Tonight was the night I was going to ask him for advice on how to install a lift kit, big mud tires, and a spin on fuel filter on my truck. Ha ha.
Family time is important, looking forward to catching up on your trucks progress later in the week.
 

Merddin

Member
91
-1
6
Location
Cape Girardeau, MO
https://www.tptools.com/Evercoat-Rage-Gold-Premium-Body-Filler,2714.html?b=d*8174
This is the filler I use. works well and sands easy. Very smooth.
https://www.tptools.com/Evercoat-Metal-Glaze-Ultra-Finishing-Putty,8737.html?b=d*8175
The glazing putty
The primers are available thru auto body paint stores. Use what you like. I have a shop line from PPG paints. Good Luck.

I just got some Rage Ultra from my cousins body shop for free. It is a night and day difference between the Rage and the Bondo brand. Applies easier and smoother and sands much better. Thanks for the tip. When is the glazing putty used and what are it's benefits?
Thanks
 

cucvrus

Well-known member
11,474
10,441
113
Location
Jonestown Pennsylvania
You put the glazing putty over the area that you put the filler on. It is even smoother and hinds some of the sanding scratches. And then finally the sandable primer should hide all of them scraches if properly applied and sanded. But all the steps must be done correctly or you will still be able to spot the repaired area. Block sanding, hose sanding and hand sanding are critical to get a nice job. Take a course at a Vo Tech school or just learn from a guy that yells at you when ever you do crappy work. That was my teacher. Sketchy body men are like sketchy mechanics. They are everywhere. I see the sketchy work on a daily basis. Start small. I don't fix and paint shiny stuff. The flat colors help hide a few minor imperfections. Besides its a CUCV it isn't supposed to be perfect. Have a Great Day. More action shots later.
 

cucvrus

Well-known member
11,474
10,441
113
Location
Jonestown Pennsylvania
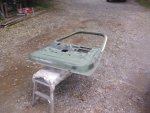
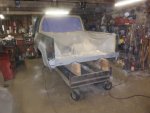
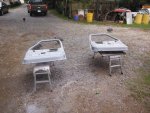
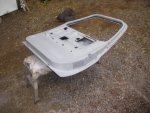
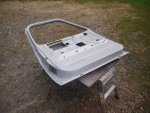
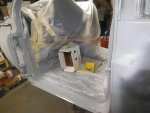
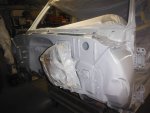
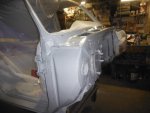
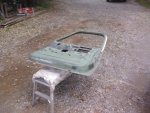
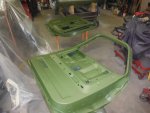
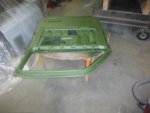
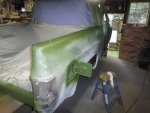
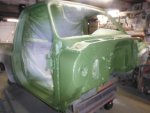
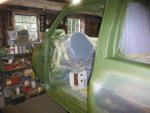
DSCF5418.jpgDSCF5419.jpgDSCF5420.jpgDSCF5421.jpgDSCF5422.jpgAfter a long day I wanted to keep on schedule. I came home and washed all the parts and mixed the sealer. Dried and wiped everything down. Sealed it and called it a day. I then went to my M1010 shed and dug out a gallon of paint/coating. DSCF5423.jpgDSCF5424.jpgDSCF5425.jpgDSCF5426.jpgAll in a days work. Paint can dry while I go rest and return to work in the AM at 0500. I will get the edges painted after work tomorrow and call it goal met. I am still thinking about my next step. Have a Great Day. More later.
 

cucvrus

Well-known member
11,474
10,441
113
Location
Jonestown Pennsylvania
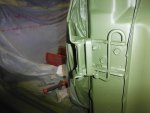
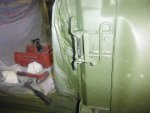
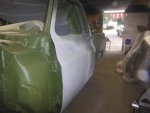
DSCF5418.jpgThat weather stripping is taped off. And yes I choose to tape it rather then remove it because the new weather strips for M1009 front doors do not fit and these are original replacement GM ones I installed 10 years ago when I repainted the truck. So I figured why not just tape them and let them on. The paint was decent on the door jams. The only one was the small section on the drivers door which I pointed out in a previous post. I wire brushed it primed it and seam sealed it with 3M seam sealer. It will be good as new. So Yes I painted over the seals but I placed a thin barrier between them and the paint. Today I will be doing the green on the jams. I have the paint all mixed/stirred/shaken. I have several hours of work at my main job then on to the painting. I have a lot of work to do to get moving along on my M1009It may not be completed this season. But we shall see. Most of the hard work is completed. The rain this year really put the hurting on my time. Thank you for looking and your support. I hope it inspires someone to get out and do something to their vehicle. Can you see my taped up weather strip in the picture above? Come on. You know better then that. I would have torn it off before I painted over it.
 
Last edited:

firefox

General
Steel Soldiers Supporter
1,845
51
48
Location
Berkeley CA
Thanks for the clarification! I figured something wasn't as it appeared. I couldn't tell if it was just paint on the weather striping or tape in that picture. I knew there would be a logical explanation for whatever you did. I have complete faith in the quality of your work!
 

cucvrus

Well-known member
11,474
10,441
113
Location
Jonestown Pennsylvania
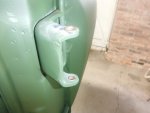
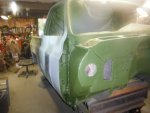
DSCF5427.jpgDSCF5428.jpgFor the record the doors are painted inside and I removed the tape from the upper door seals. Mr. Firefox. See the black seals? See Rick paint. Rick don't paint rubbers or trim. EVER. DSCF5429.jpgDSCF5430.jpgDSCF5431.jpgDSCF5432.jpgThe super structure/cab has been edge painted. I want to install and fit the doors and get it spun around in the shop. If I can get it 180* I can reassemble the frame and doo all the driveline. Tow it out the front doors and get the body on the winches for remounting. And yes I have the right lower door hinge painted. with the cab turned 180 I can reassemble the heater box and all the fire wall components. Of course after being cleaned or repainted. No slacking off here. Nice day to paint high 60's today. Good air movement thru the barn. I have a lot of parts to paint. 1 day at a time. Thank you for looking.
 

firefox

General
Steel Soldiers Supporter
1,845
51
48
Location
Berkeley CA
Mr. Firefox. See the black seals? See Rick paint. Rick don't paint rubbers or trim. EVER.

I didn"t think you would. That is why the original question. I couldn't imagine you making any mistakes.......well, maybe a little one....

Keep up the outstanding work!
 

cucvrus

Well-known member
11,474
10,441
113
Location
Jonestown Pennsylvania
I couldn't imagine you making any mistake

Oh I make quite a few. I just try not to make them again. And I sure don't photo document them. Because opinions as to the cause will confuse me and the masses. If they happen I step back analyze as to the cause fix them and move on. Like my wheel painting. I still have that issue to complete. They are sand blasted again and ready for paint. Thank you for your confidence. I was just funning with you.
 

cucvrus

Well-known member
11,474
10,441
113
Location
Jonestown Pennsylvania
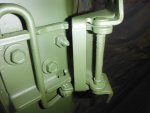
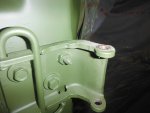
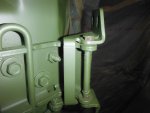
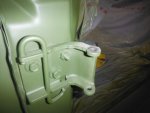
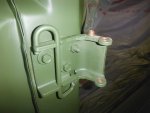
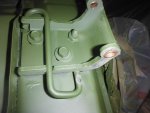
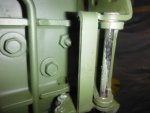
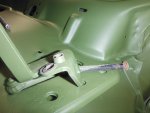
DSCF5433.jpgWhile I was cleaning and wiping the structure/cab down preparing for sealer and edge painting I observed the door pin bushings being bad. Never thought about looking at them.DSCF5436.jpgI had replaced them 10 years ago. No problem. DSCF5436.jpgDSCF5434.jpgI used the GM door pin bushings. DSCF5437.jpgDSCF5438.jpgDSCF5439.jpgDSCF5440.jpgEasy enough. Hammered out the door pins and old bushings. A little oil on the pin and tap them back in. No damage to the paint surface. The pin will get a little paint thru the door gap during the finally. These pictures are a bit out of order. I am sure you will get the idea out of it.
 

Attachments

Last edited:

cucvrus

Well-known member
11,474
10,441
113
Location
Jonestown Pennsylvania
DSCF5441.jpgDSCF5442.jpgDSCF5443.jpgDSCF5444.jpgDSCF5445.jpgMoved the bushing replacement to the passenger side door hinges and found the top ones only bad on that side. That is the one that takes the most abuse. The upper hinge bushings have the door springs to take the pressure and a lot of the door weight hangs from the top hinge. Oil and grease are the key to eliminate the wear. WD40 and aerosol lubricants waste of time. I was sweeping up and tired of the doors in my way so I just hung them up on the rebuilt hinges. I will do the fine tuning and adjustment later. They are hung and out of my way. Thank you for looking. The hinge bushings were still available from GM when I bought these. 20 in a pack. That's a lot of happy door hinges. Have a Great Day.
 

cucvrus

Well-known member
11,474
10,441
113
Location
Jonestown Pennsylvania
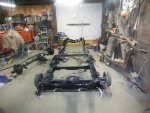
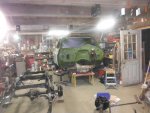
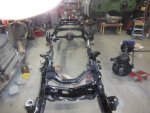
Tonight after work I done the fine tuning and adjustment to the doors. It will require a bit of touch up on the left threshold. No problem it happens. I would like to meet the guy that thought the upper hinge needed to be bolted on the inside also. I had to adjust both upper hinges to get the fit and even gap all the way around. These are built like hay wagons in comparison to new trucks. I remember seeing these trucks new and the poor fit of doors and fenders. But that was then and that was the standard. Spun the structure/body around and tucked it in the corner. I set the frame down on the floor and installed the rear springs and rear axle. I installed the front leaf springs and winched the front axle down from the work bench. I did find out that the hub center on 2014 Silverado wheels are NOT big enough to fit over the hubs or the rear axle centers. So I will be buying a new set of tires to continue past the frame reconstruction.
 

cucvrus

Well-known member
11,474
10,441
113
Location
Jonestown Pennsylvania
I did not get around to posting any progress reports because I was busy making progress. I did manage to get the front differential bolted in and was short the right inner U bolt. I had a new one but think it may have been for a Dana 60. But it does seem too small for the 60 and too big for the 10 bolt. So I have my wife taking a ride to Stanley springs today to get me 1 new bolt. I could have used a used on but the threads were 1 inch shorter to match the new ones. No half fast work in my shop. I will have lots of play time this weekend. I can pick and choose what I want to work on. A couple acres of grass to cut, weed whacking, leaves, and bushes to trim seems to be the norm these days. Rains every day and the yard is a mess 2 days after I get it groomed. Maybe in between my labor and job responsibilities I can make some m1009 progress. Seems legit. I will paint a few parts and then go work outside while the paint is drying. The steel tubing from the old frame will be time consuming to prep, clean and paint before I reinstall it but it can be done. More later I have work to do. Gotta run. Have a Great Day. Stay safe.
 
Top
AdBlock Detected

We get it, advertisements are annoying!

Sure, ad-blocking software does a great job at blocking ads, but it also blocks useful features of our website like our supporting vendors. Their ads help keep Steel Soldiers going. Please consider disabling your ad blockers for the site. Thanks!

I've Disabled AdBlock
No Thanks