• Steel Soldiers now has a few new forums, read more about it at: New Munitions Forums!

  • Microsoft MSN, Live, Hotmail, Outlook email users may not be receiving emails. We are working to resolve this issue. Please add support@steelsoldiers.com to your trusted contacts.

Another M1010 owner

Mad Texan

Well-known member
Steel Soldiers Supporter
657
1,150
93
Location
Chester County, PA
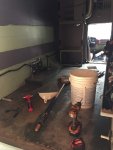
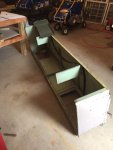
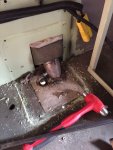
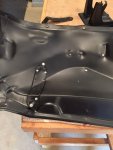
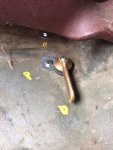
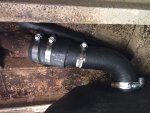
Some interior disassembly... Lower bunk 81lbs... ramp between seats 12lbs... Wall padding 6 lbs. Finally getting to that last hose clamp to replace the hose... a pain in the ass! What is this green stuff they used to seal around the filler neck? It is seriously hard.
 

Attachments

Last edited:

Recovry4x4

LLM/Member 785
Super Moderator
Steel Soldiers Supporter
34,012
1,808
113
Location
GA Mountains
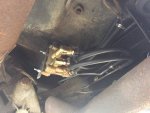
There is that yellow Anderson connector that rarely gets noticed. Note that as shipped, it has both plugs. This one does too. I hook my combat crock pot up here.
 

Mad Texan

Well-known member
Steel Soldiers Supporter
657
1,150
93
Location
Chester County, PA
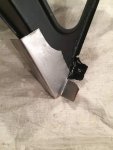
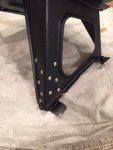
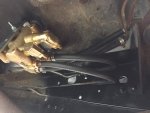
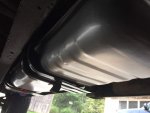
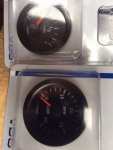
Trying to keep moving... I tightened all the bolts on the tank so it's secure. I got the valve installed after finding all the fittings that I needed. On the lines going forward I just straightened them some and bent them closer to the frame rail. Two barbs waiting for the second tank to be installed. Some basic markings on the floor the keep the theme going. Started cleaning the frame before putting the tank in and the underside of the cab. I've had this gauge panel for a while, it might work here...
 

Attachments

Mad Texan

Well-known member
Steel Soldiers Supporter
657
1,150
93
Location
Chester County, PA
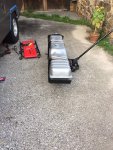
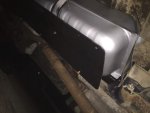
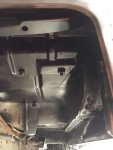
While dodging some rain. I got the second tank in place and bolts installed loosely after a test fit and moving the heater fuel line and a wiring harness for the box upwards on the frame. All hoses are on the valve now. I also finished up the filler neck and vent hose on the drivers tank (no pic of vent installed). I'm going to fab a shield for the valve and hoses before she hits the road...
 

Attachments

Mad Texan

Well-known member
Steel Soldiers Supporter
657
1,150
93
Location
Chester County, PA
A quick update and note to self and possibly others... check fuel lines for kinks. DOH!

I finally added fuel to the tank and starting trying to vacuum fuel up to the new fuel filter. It just wasn't happening! I gave up the other day and decided to regroup. I talked with a friend who is a diesel tech and he said pressurize the tank and it will push up. Easier said than done by ones self. I finally read on another site about putting pressure through the return line at the injection pump. By applying pressure you can find any little leaks. First one was the Ironically at the handle of my valve, snugging up the nut for the seal quickly solved that. Back to adding pressure when I popped one of the small hoses at an injector. Knew something was off and started tracing all lines. It's always the last place you look... both the feed and return were kinked at the tank. That extra inch I put on those lines to help reinstall the tank... bit me. Had to lower the tank, get the lines off, cut the hoses, and reinstall. Triple checked... No kinks! Finally able to bleed fuel up to the injection pump and then cracked the lines on the injectors till they were wet. I tried starting. Ran briefly and stalled, but it started! I had solid fuel at the injection pump and finally went back to the filter. I hooked up the bleeder, and opened it... air, cranked till straight fuel came out. Started again, she was running, and finally settled into an idle. I got out to start check some things when my buddy points under the truck to the puddle... quick sniff diesel. Running off the bell housing... shut her down...drain pan and rags. Double check the line to the injection pump...dry. Valley...wet...now with a light...full of stuff also. Cleaned it all out and started one more time... valley filled in no time.

The good - It Lives! The bad - injection pump! I knew it was a calculated risk not to send it out but worth a shot! On the upside, bleeding will go faster next time!
 

Mad Texan

Well-known member
Steel Soldiers Supporter
657
1,150
93
Location
Chester County, PA
I spoke with Chris at Diesel Care & Performance about my pump and after getting numbers off my pump as well as the part numbers listed in the TM's he discussed with the techs whether an exchange or sending mine in was better. They wanted me to send mine in as it is listed as HD. Is there really a difference? I read on the site here that the HD pumps were supposedly ok with ultra low sulfer diesel because the military uses JP8. I don't know... took pictures of the tag on the pump before sending it, we'll see if the same one comes back.

Some extra time now for cleaning areas not often seen... maybe a little more painting
 

Attachments

Mad Texan

Well-known member
Steel Soldiers Supporter
657
1,150
93
Location
Chester County, PA
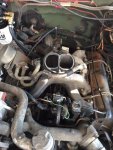
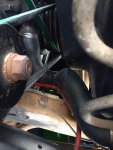
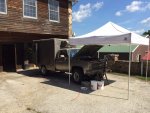
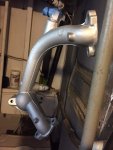
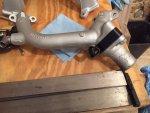
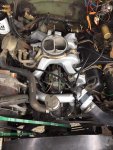
While waiting on the injection pump I started on coolant hoses. Being forewarned about the lower hose I had read up on the issues with most hoses off the shelf. I compared the old and new and trimmed to get closer to the radiator. I can get the palm of my hand in the space around the belt currently but I might fidget with it a little more. Need to straighten the clamp on the one end which I most likely missed due to the sweat in my eyes today. Crossover is cleaned and shined up, gasket surfaces are cleaned and my friend 'Jim' might have helped me order a paradox cooling kit the other night. Tent kept me from cooking but not sweating...

Waiting on parts...
 

Attachments

Last edited:

Mad Texan

Well-known member
Steel Soldiers Supporter
657
1,150
93
Location
Chester County, PA
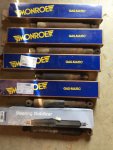
After using a speedperks reward, a coupon code and finding out there is a $30 rebate visa card on the shocks there were only $9.87 each. They aren't the best but better than what was on there. Out with the old and busted and in with new gas charged. I got the steering stabilizer for another $25. Busy with some other things this week also... Paradox was delivered but is incorrect... they are already working to correct it. Injection pump shipped out for return trip today also...
 

Attachments

Last edited:

Mad Texan

Well-known member
Steel Soldiers Supporter
657
1,150
93
Location
Chester County, PA
Congratulations on the checkered flag! Specs on cart?
It's a quarter midget running a Briggs motor. Makes 8.5hp with a restrictor plate in it. First year in senior classes at 9 and racing against kids up to 16. I think this was our 8th win of the season with this car.
 

Mad Texan

Well-known member
Steel Soldiers Supporter
657
1,150
93
Location
Chester County, PA
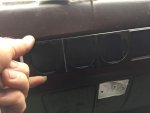
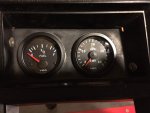
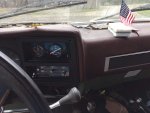
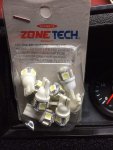
Worked a little despite the rain today... will be moving voltmeter down by the diagnostic port. Hole saw slipped some so I need to do some touch up. Dug around and found some LED bulbs I didn't use from another project, I'll have to dig into the cluster. Test fit
 

Attachments

Last edited:

Mad Texan

Well-known member
Steel Soldiers Supporter
657
1,150
93
Location
Chester County, PA
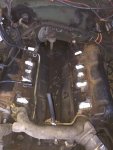
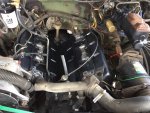
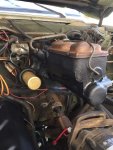
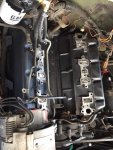
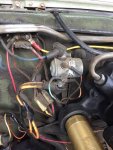
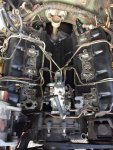
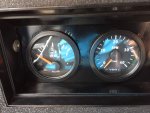
So the injection pump came back, Paradox has corrected the wrong part and I have started moving forward again... and the east coast rain continues off and on. It could be much worse! If you are in the north Carolinas... stay safe! One of my loose wires... time to study wiring diagrams...
 

Attachments

Mad Texan

Well-known member
Steel Soldiers Supporter
657
1,150
93
Location
Chester County, PA
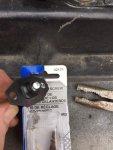
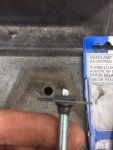
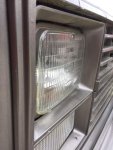
My first vehicle was a square body... the headlight adjusters weren't that good back then. I still went looking for the Dorman replacements despite the terrible reviews and while searching I found these. Dorman / Help 72171 for Fords. It looked more solid that the originals which I also bought to compare. I found that there is way more thread contact in the Ford ones than the Chevy ones which is good! I first installed them like they came out of the box and when the spring tension became too high... POP.. the bushing pulled out of the metal bracket. Well... I finally reversed them on the adjuster shaft so the tension pulls the bushing into the metal bracket. I have installed them without mounting screw to see how they work... so far so good. I think I need to pick up a few more... Working on assembling everything back together...had to stop when I realized the bolts for the coolant crossover were at home from when I glass beaded the crossover... Doh!
 

Attachments

Last edited:
Top