gslader
Well-known member
- 109
- 291
- 63
- Location
- California
I picked up a 2003 M1078a1 in mid-February of this year and have this forum (and its members) have been a huge help in helping to fill-in my meaningful knowledge gaps so I'm looking forward sharing the mistakes I make - so others won't make them and give back to what has been a great community. The quick parts reference sheet has been a huge help and in a similar vein I've been keeping a working maintenance log of work down, parts used and their source and cost and time to complete. I've made the link public in my signature or here: https://docs.google.com/spreadsheets/d/104Vj_ovOgtdSRR80fiOTwCENxiusQvJt4MmeSUEtAuo/edit?usp=sharing
Hopefully it will be of help to others.
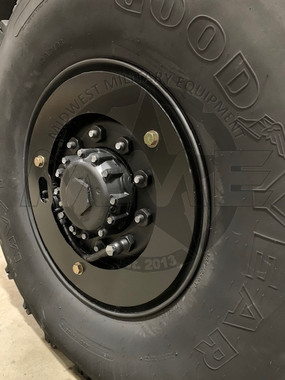
I picked up my LMTV in Boise, ID in mid-February at around 8pm at promptly headed SouthEast towards Lake Tahoe where I planned on keeping the truck while I worked on it. Thanks in part to an in operative fuel gauge, a misclocked odometer (due to 3.07 gears) and no shortage of hubris on my part I ran out of diesel at 1:30am just outside of Lovelock, NV - so it begins I thought.
After an eventful few hours I got her gassed back up, primed and started and back on my way, arriving just after 6am into North Lake Tahoe. I've shared below a walk around from the truck after I first got her and plan to share more of experiences as the work continues.
Hopefully it will be of help to others.
I picked up my LMTV in Boise, ID in mid-February at around 8pm at promptly headed SouthEast towards Lake Tahoe where I planned on keeping the truck while I worked on it. Thanks in part to an in operative fuel gauge, a misclocked odometer (due to 3.07 gears) and no shortage of hubris on my part I ran out of diesel at 1:30am just outside of Lovelock, NV - so it begins I thought.
After an eventful few hours I got her gassed back up, primed and started and back on my way, arriving just after 6am into North Lake Tahoe. I've shared below a walk around from the truck after I first got her and plan to share more of experiences as the work continues.
 !
! lol.
lol.