ldmack3
Well-known member
- 849
- 1,740
- 93
- Location
- N. Central Idaho
Buy NOS off of Ebay. I bought 10 have done 4 with nary a problem.
They are a little pricy.

They are a little pricy.
Steel Soldiers now has a few new forums, read more about it at: New Munitions Forums!


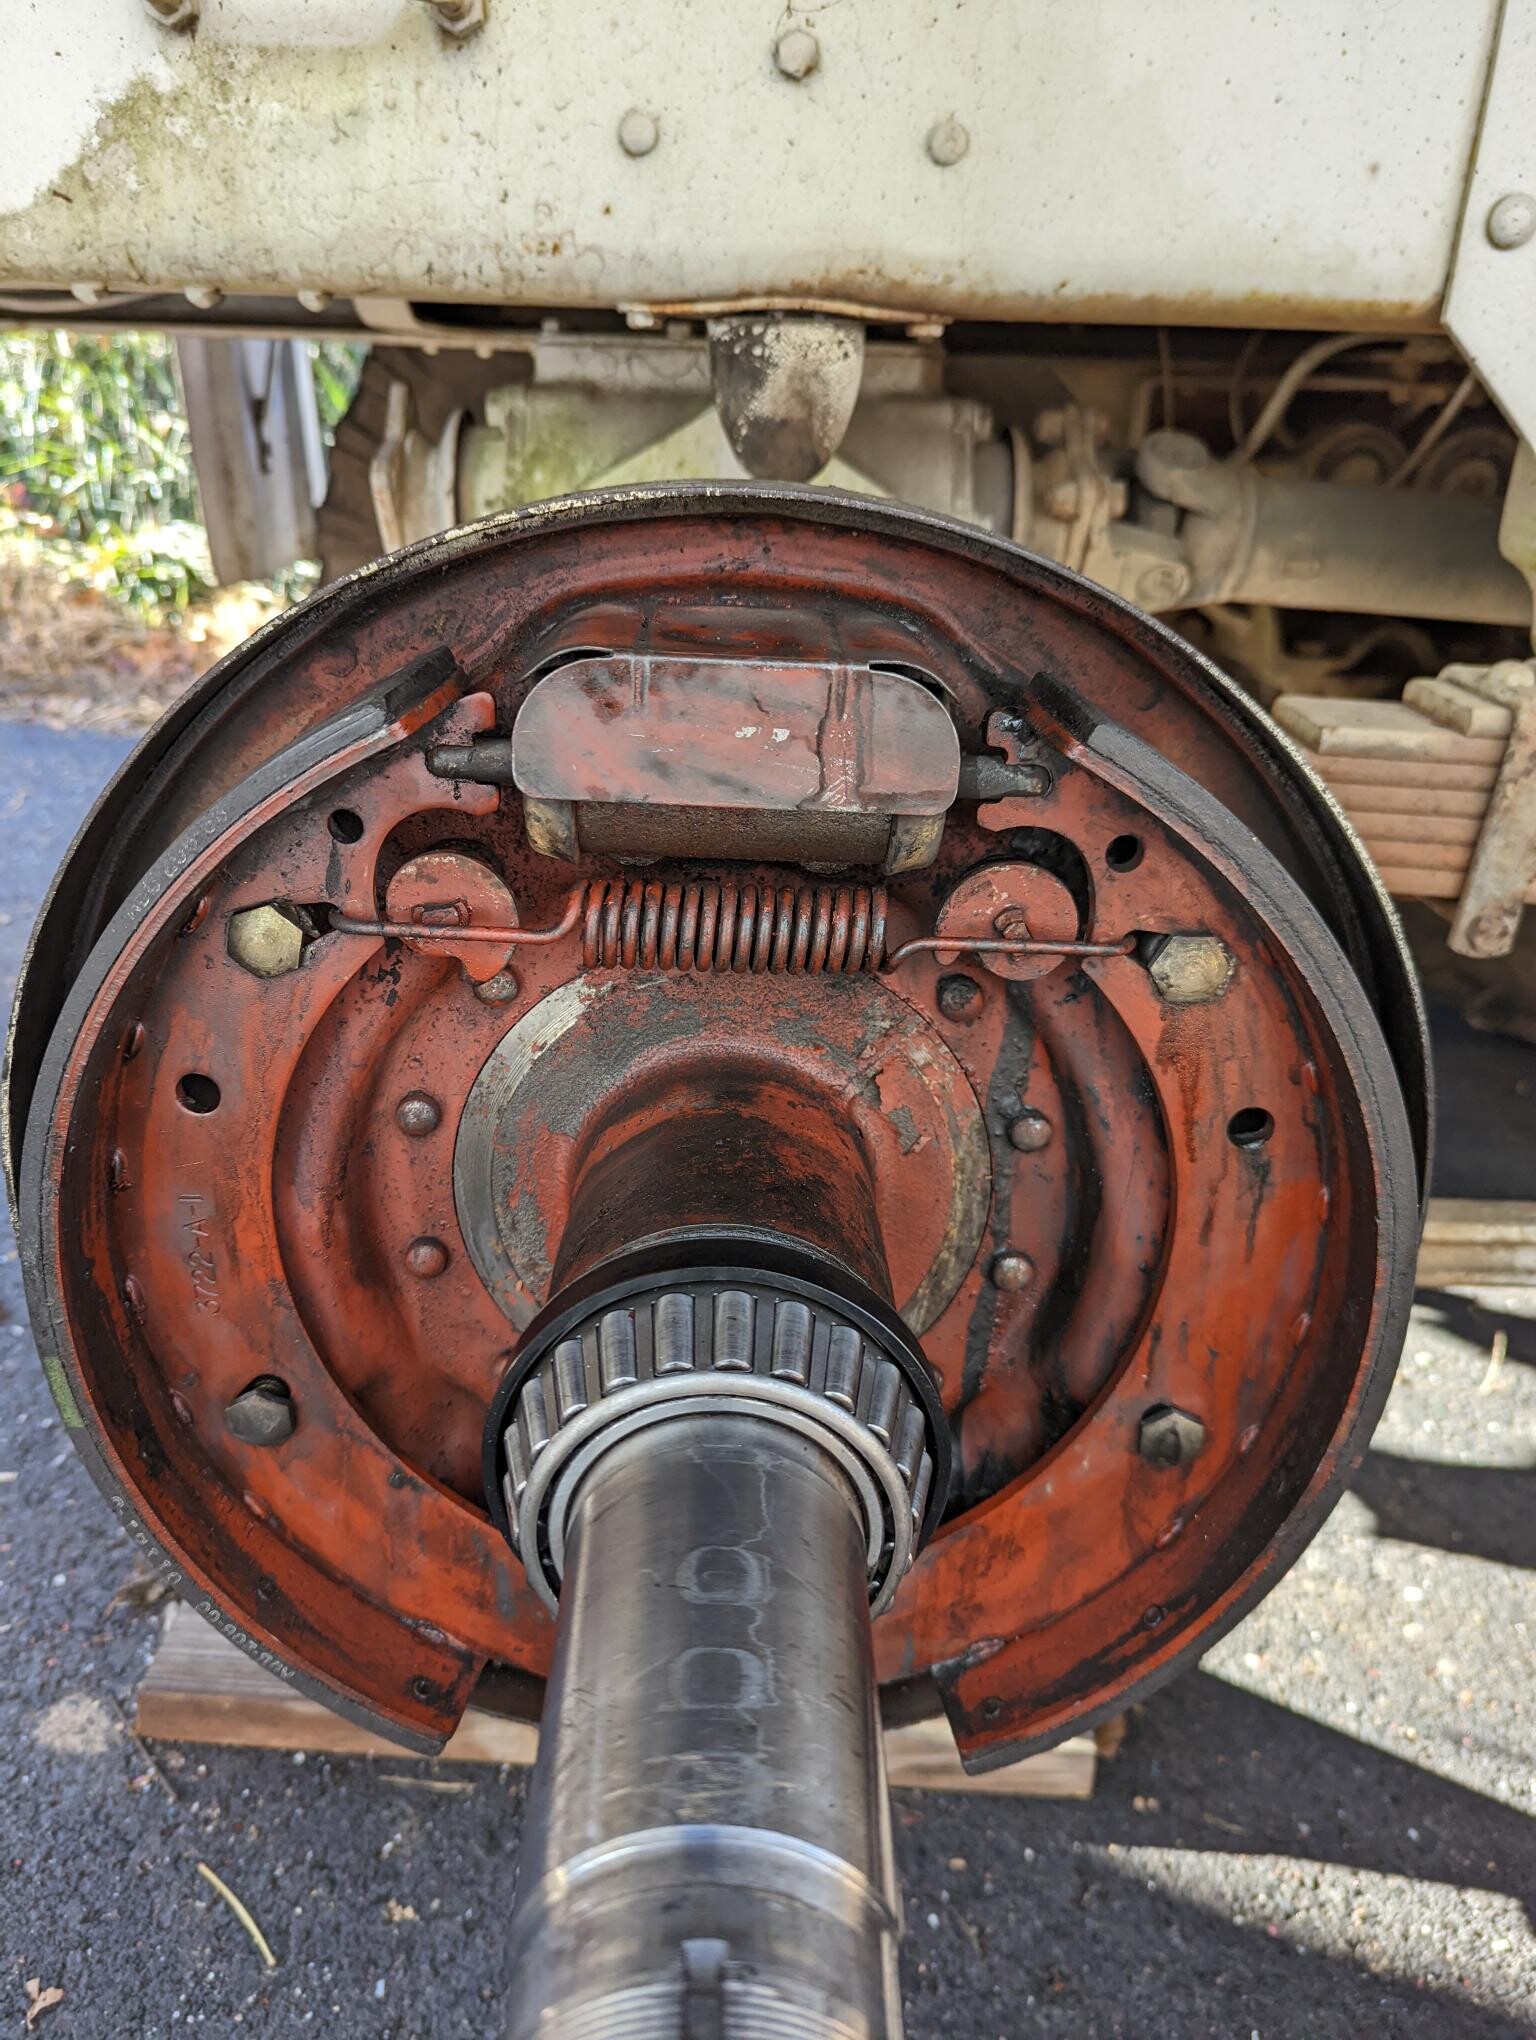
I bleed out some brake fluid and it compressed. Put the hub back on and set the brakes. Seems to work ok.Stuck wheel cylinder maybe? My brakes were good at about 1 inch..before I started working on them! haha


.Sorry for the delay, Covid hit my family before Christmas and we have been under the weather for a while.
Took advantage of the warm weather here in VA and power washed both trucks again. Amazing how much grime there is on them.
The Red truck I cleaned and sealed any holes in the Cab top and painted it with Por15. Used a small foam roller that worked well. Sprayed the entire underside and bed with a catalyst for rust. Set that truck aside for later.
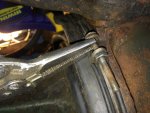
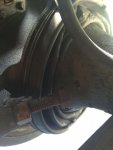
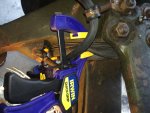
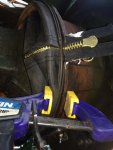
Brought the white one in to the shop (Wish I had a big enough shop to put it inside) and decided to tackle the front boots. They were toast. This truck has a lot of clingy sand on it that is a pain to deal with but at least its not clay!
Both UV joints had grease and it was grit free and water free amazing enough. From the amount of grease slung around I thought they would have been dry. I was hesitant to do this job but it hasn't been bad so far. Waiting on new boots from Rockwell Offroad.
Axle oil was milky though so I drained that and put in new 80-90w. I need to get a small pump for oil transfer.
These trucks are Nickle and Diming me! Make me wonder if I should have purchased the nicer truck instead.
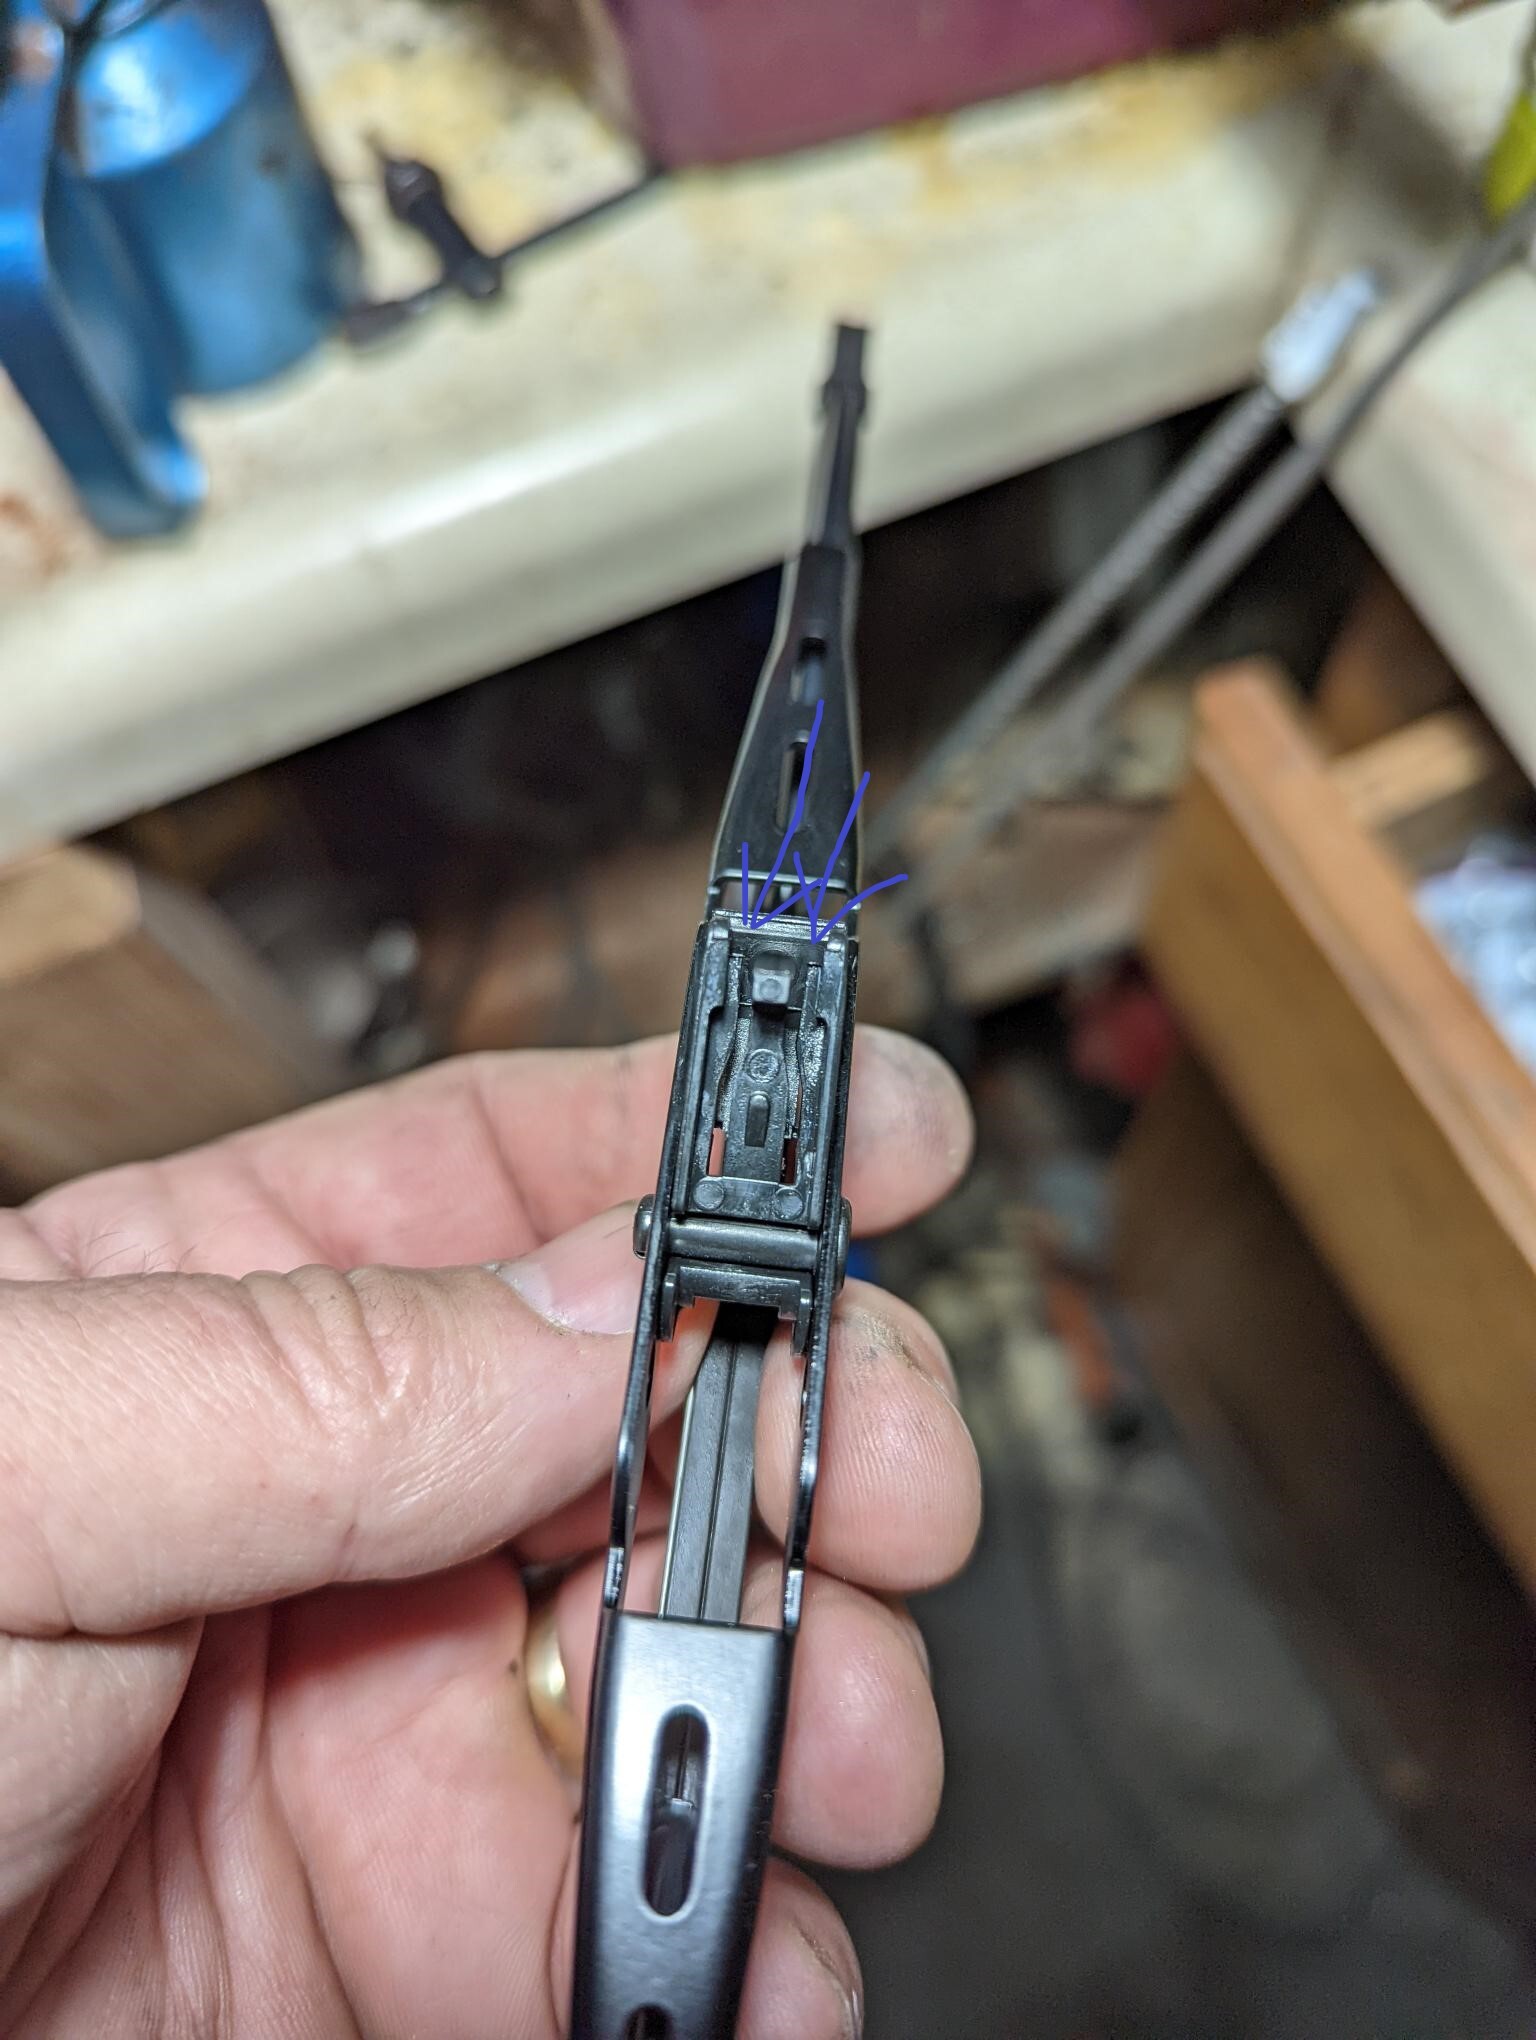
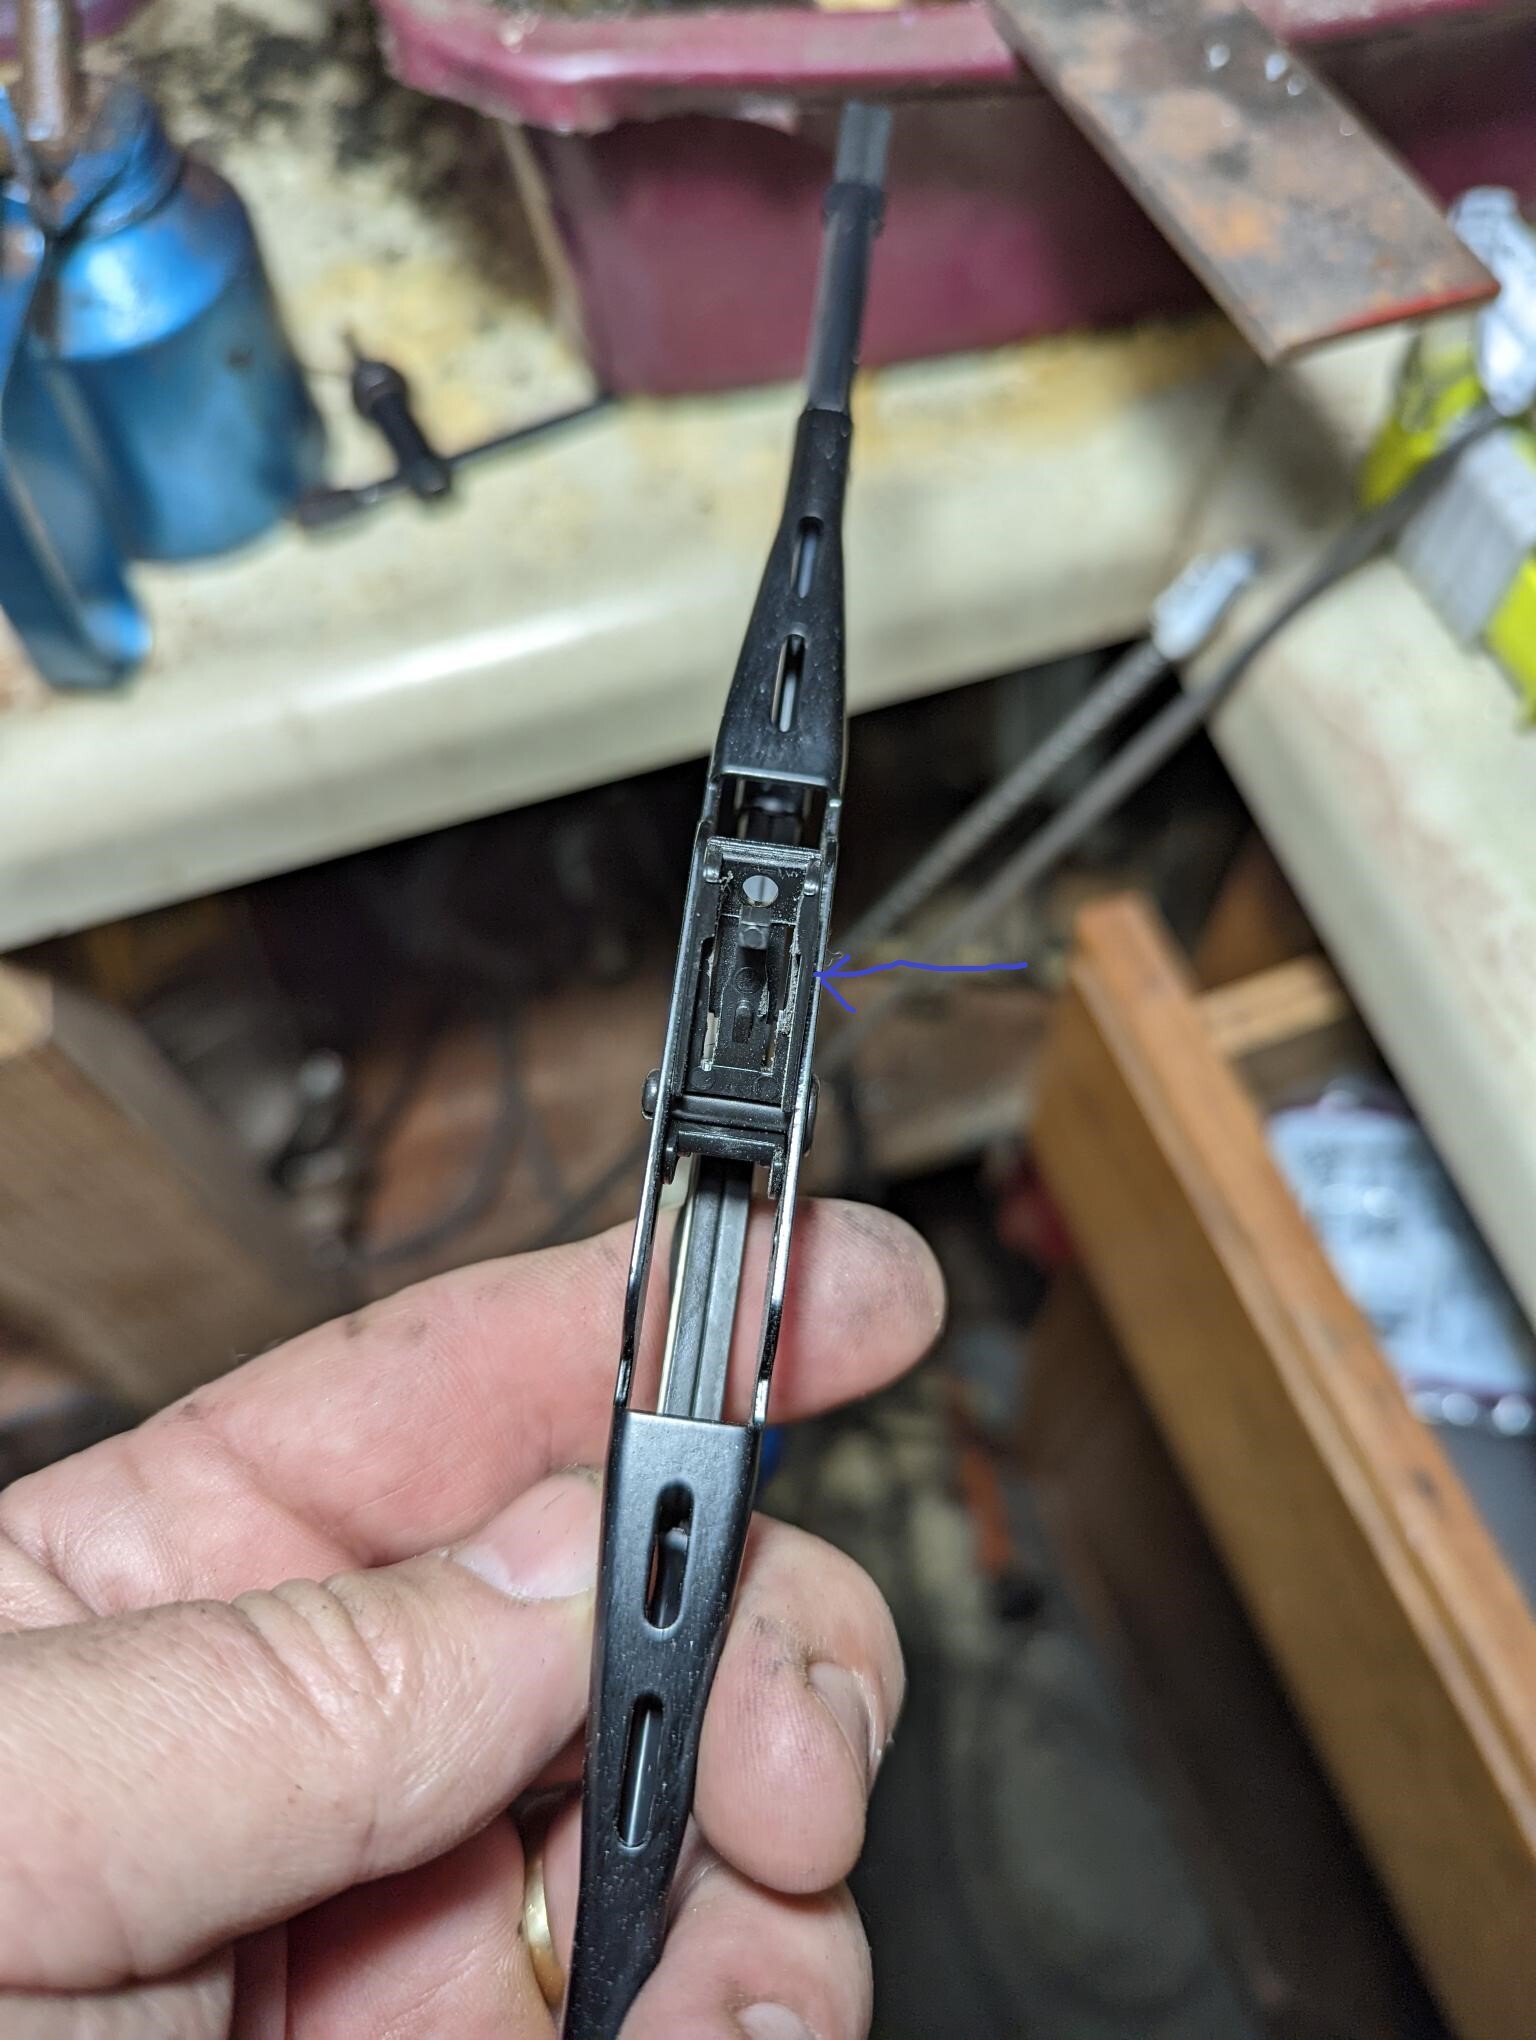
.Forgot to mention I rolled down the driver window and it went clunk and the hand crank just free wheeled. I could pull the window up but it wouldn't engage. Took the access cover off and couldn't see much but eventually got the scissor frame down and one of the sides was off. Put that back together and it cranks now all the way up but only comes half the way down. It like it gets jammed. I can't see much so I have no idea what is getting stuck. The TM diagram shows the parts so I guess I will have to tackle that when it gets warmer again, snow today so back to winter!
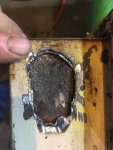
Remember that when you replace the DUST boots to open up the grease "goesoutagh" plug before you grease it. It is the designed GAA outlet hole.Sorry for the delay, Covid hit my family before Christmas and we have been under the weather for a while.
Took advantage of the warm weather here in VA and power washed both trucks again. Amazing how much grime there is on them.
The Red truck I cleaned and sealed any holes in the Cab top and painted it with Por15. Used a small foam roller that worked well. Sprayed the entire underside and bed with a catalyst for rust. Set that truck aside for later.
Brought the white one in to the shop (Wish I had a big enough shop to put it inside) and decided to tackle the front boots. They were toast. This truck has a lot of clingy sand on it that is a pain to deal with but at least its not clay!
Both UV joints had grease and it was grit free and water free amazing enough. From the amount of grease slung around I thought they would have been dry. I was hesitant to do this job but it hasn't been bad so far. Waiting on new boots from Rockwell Offroad.
Axle oil was milky though so I drained that and put in new 80-90w. I need to get a small pump for oil transfer.
These trucks are Nickle and Diming me! Make me wonder if I should have purchased the nicer truck instead.

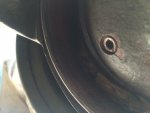


Thanks for the pictures, I will look for that hole.Remember that when you replace the DUST boots to open up the grease "goesoutagh" plug before you grease it. It is the designed GAA outlet hole.
They are dust boots not grease boots. Less grease on the inside of them and the longer they will last.
.Remember that when you replace the DUST boots to open up the grease "goesoutagh" plug before you grease it. It is the designed GAA outlet hole.
They are dust boots not grease boots. Less grease on the inside of them and the longer they will last.