• Steel Soldiers now has a few new forums, read more about it at: New Munitions Forums!

  • Microsoft MSN, Live, Hotmail, Outlook email users may not be receiving emails. We are working to resolve this issue. Please add support@steelsoldiers.com to your trusted contacts.

"D" Turbo Rebuild

rustystud

Well-known member
9,299
3,078
113
Location
Woodinville, Washington
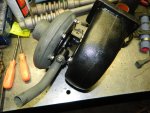
022.jpg After the turbo was disassembled I started the "fun" part of this project. Cleaning this filthy little beasty !

033.jpg034.jpg035.jpg036.jpg024.jpg

After weeks of soaking and scrubbing, I finally got the parts clean.
 

rustystud

Well-known member
9,299
3,078
113
Location
Woodinville, Washington
015.jpg019.jpg


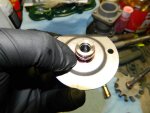
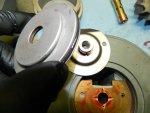
Picture one shows the bushing plate going in, and picture two shows the sling plate (shield) and oil ring retainer.
It's late, so I will up-load the rest of the pictures tomorrow night.
 
Last edited:

yolner

Active member
393
68
28
Location
Rockville, MD
Could you post your source for the D rebuild kit? I've only seen kits for the C. Looking forward to the rest of the pictures!
 

Aussie Bloke

Well-known member
729
404
63
Location
Lost, out bush in OZ
G'day everyone,....


Great work Rustystud, that is a heck of a lot of oil and carbon built up.
I hope your D turbo never fails after this.

I'd also like to know where you got a rebuild kit for the turbo as my Deuce came with the D turbo, would be handy to have a set or two in my spare parts bin.


Aussie.
 

rustystud

Well-known member
9,299
3,078
113
Location
Woodinville, Washington
020.jpg022.jpg021.jpg024.jpg025.jpg027.jpg029.jpg030.jpg031.jpg

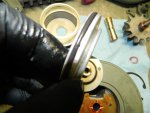
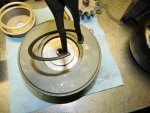
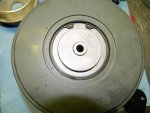
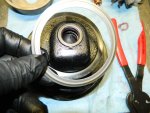
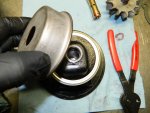
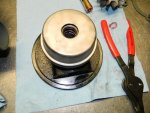
In picture one you see the sling plate and the ring retainer. You must install the retainer into the sling plate first then install the seal ring. Then in picture two you install the retainer into the housing ('O' ring was installed earlier) .
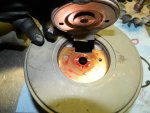
Then in picture four you install the whole assembly into the main housing ( you might need to persuade it with a rubber hammer) and install the snap-ring.
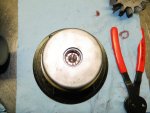
After that flip over the housing and install a metal crush gasket (pic 7) and the cooling shield (pictures 8, 9) .
 

rustystud

Well-known member
9,299
3,078
113
Location
Woodinville, Washington
032.jpg033.jpg034.jpg035.jpg036.jpg037.jpg038.jpg039.jpg041.jpg

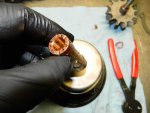
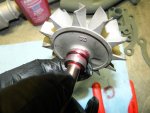
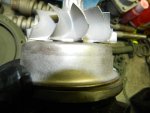
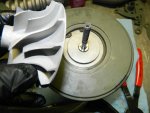
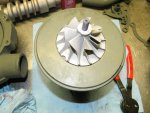
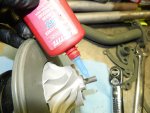
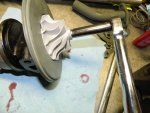
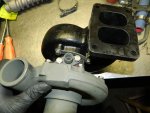
Picture one shows the bushing going in. Note the small holes facing out. This end goes to the "Turbine" side (exhaust). Picture three shows the new seal ring going on, and in picture four you see the turbine and shaft going into the bushing/housing. Now flip over the bearing housing and install the "Impeller" (pictures 5 and 6) . Picture seven shows me applying some medium Loctite to the threads and then the new nut. Torque the nut to 20 Ft/Ibs. . I know the TM 9-2990-201-45 says to torque the nut to 30 Ft/Ibs. but that is too much for this smaller shaft. That manual is for a different turbo.
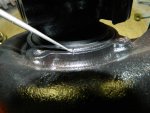
In picture nine you can see the scribe marks I made to the turbine and bearing housings. This way it is aligned up perfectly and will go straight back into the truck with no problems.
 

rustystud

Well-known member
9,299
3,078
113
Location
Woodinville, Washington
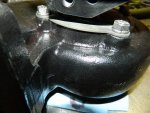
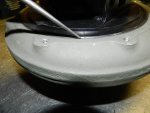
043.jpg046.jpg047.jpg048.jpg Picture one shows the bolts and straps going on. I used stainless steel bolts with "Marine Grade" anti-seize on them. Picture two shows the scribe marks on the "Impeller Housing" and "Bearing housing". Picture three shows the drain tube installed. You can leave the outside bolt loose as the "Draft" tube bolts here. Also install the drain tube "hose" now. Just push it up on the drain tube, then after the turbo is up you can pull it down into the block tube.
Picture four shows the oil pressure fitting installed.
One other thing, this kit did not have the correct exhaust gasket so you will have to buy one. Make sure it has the separation strip and is not just a large square gasket, as our turbo uses the two sides to mix the flow of exhaust gasses.
Now it is ready to go back into the truck.
 

rustystud

Well-known member
9,299
3,078
113
Location
Woodinville, Washington
033.jpg034.jpg036.jpg

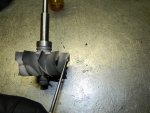
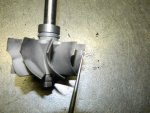
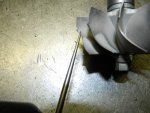
I thought I would take this time to warn everyone that is planning on buying or thinking about buying a used Turbo something to look out for. Last year I bought a "good running" used "C" turbo from a fellow Steel Soldiers member. After tearing it down I found this damage to the Exhaust Turbine blades. I took it to a respected Turbo rebuild shop in Seattle to see if it could be repaired. According to the shop foreman it is junk ! Since the Turbine and Impeller is the heart of a turbo and the only replacement parts are made in China (and are of inferior quality) and still expensive I would be best served just buying another complete turbo. Now anyone who buys a used turbo is going on the word of the seller and since no one (even the seller) can know the condition of the turbines unless they see them, then you must have the seller disassemble the turbo and take pictures of the turbines. The person who sold me this faulty turbo had no idea what condition it was really in. Only that it was running OK when it was taken off. So I never contacted him. It was just as much my fault as his, maybe even more my fault since I know better. So, before you buy a turbo on the internet have the seller take good quality pictures of the "disassembled" turbines. At least that way you have a better chance of getting a good unit. If the seller doesn't want to be "bothered" then walk away ! In my opinion it is not worth risking $100 to $600 for a used turbo that ends up in the trash.
 
Top
AdBlock Detected

We get it, advertisements are annoying!

Sure, ad-blocking software does a great job at blocking ads, but it also blocks useful features of our website like our supporting vendors. Their ads help keep Steel Soldiers going. Please consider disabling your ad blockers for the site. Thanks!

I've Disabled AdBlock
No Thanks