number9
Member
- 455
- 0
- 18
- Location
- Lexington, KY
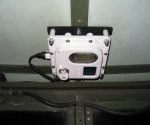
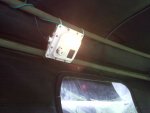
I have searched many times but never found an easy clean install of the armor dome light in a hardtop truck. Thought I'd post up the route I went in case others wanted to get some ideas.
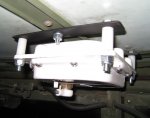
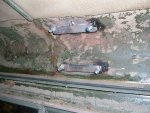
I picked up a joint of flat stock steel at Lowes to make brackets out of. Cut them to length and drilled mounting holes, then shot them with some walmart camo flat black.
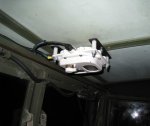
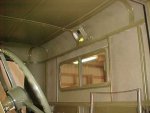
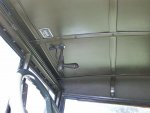
I drilled holes in the headliner support strip to bolt the brackets to. Used 1" long nylon spacers from the parts drawers at Lowes to space the light down to clear the headliner support. I ran power along the channel where the hardtop meets the cab above the windows, around behind the passenger door and down the back of the cab, through the hole in the floor for the slave cable and down to the battery + terminal. I couldn't seem to find any other easy tap for power. I ran ground also along the hardtop channel to the 1/2" bolt that secures the hardtop to the windshield frame above the steering wheel.
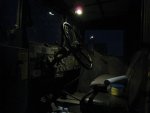
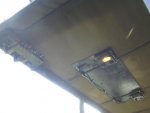
I decided that the light would work out better turned sideways - this would allow the light to evenly and directly light the floorboard at night without my body casting any shadows and also located the light switch in a position that turned out to be very ergonomically friendly as when I reach up for the light my thumb falls right on the push button to flip the light on.
The light is MUCH brighter than it looks in the pic.
***ETA*** - I just realized I forgot to install an inline fuse. Guess I'll have to go back and do that.
......
I picked up a joint of flat stock steel at Lowes to make brackets out of. Cut them to length and drilled mounting holes, then shot them with some walmart camo flat black.
I drilled holes in the headliner support strip to bolt the brackets to. Used 1" long nylon spacers from the parts drawers at Lowes to space the light down to clear the headliner support. I ran power along the channel where the hardtop meets the cab above the windows, around behind the passenger door and down the back of the cab, through the hole in the floor for the slave cable and down to the battery + terminal. I couldn't seem to find any other easy tap for power. I ran ground also along the hardtop channel to the 1/2" bolt that secures the hardtop to the windshield frame above the steering wheel.
I decided that the light would work out better turned sideways - this would allow the light to evenly and directly light the floorboard at night without my body casting any shadows and also located the light switch in a position that turned out to be very ergonomically friendly as when I reach up for the light my thumb falls right on the push button to flip the light on.
The light is MUCH brighter than it looks in the pic.
***ETA*** - I just realized I forgot to install an inline fuse. Guess I'll have to go back and do that.

......
Attachments
-
38.9 KB Views: 407
-
99.5 KB Views: 379
-
98.2 KB Views: 387
-
37 KB Views: 414


