daddy2
Member
- 276
- 3
- 18
- Location
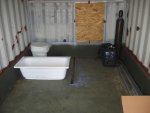
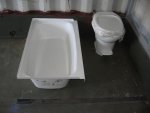
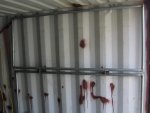
- Easton, PA
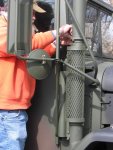
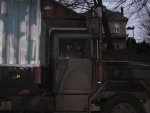
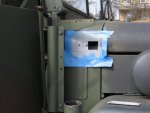
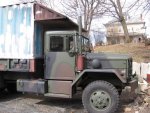
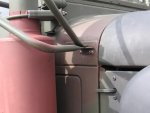
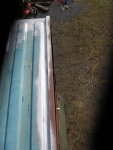
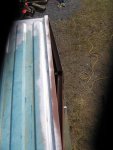
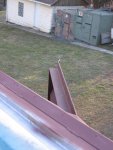
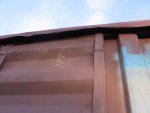
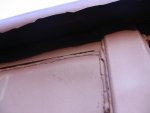
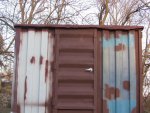
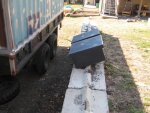
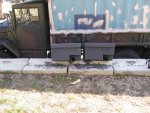
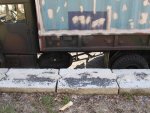
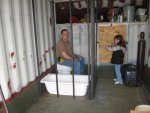
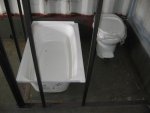
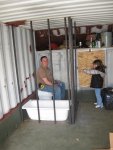
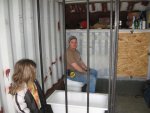
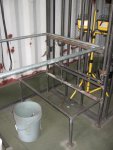
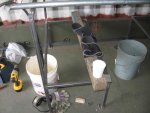
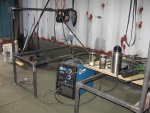
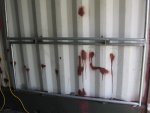
I got the truck inspected. All is good. When I got back from the inspection I noticed some things I need to think about. The stack blew soot on the cabover and the decking so I will need a new piece of osb board to paint. I did some archiving and I think I am giong to put on a Donaldson muffler. I like the M070050. It is a little longer than the M070028, but it allows for more flow. I can do the mirror bracket modification and it will keep the top of the stack even with the camper box. I have also ordered some of the things that I am going to need for the inside. I got the toilet and I am waiting on the two 42 gal. fresh water tanks, the two 28 gal grey and brown holding tanks and the 24" x 40" tub. When I get these in I will be able to lay-out the framing for the bathroom. I am using 11gauge 1x1 tubing on the framing. But for the rest of this week I am still working on straitening out the mess in the sheds. I'll send some pics when I get back to the truck.