Howdy,
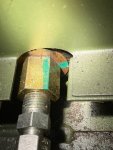
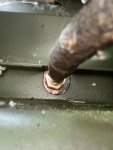
The MEP-802A has 2 well nuts. 1 on top of the tank from your first posting, and inside by the 1/4 turn valve for oil draining.
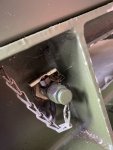
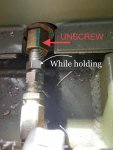
The MEP-803A has 2 well nuts. 1 on top of the tank from your first posting, and outside which you show in post #3
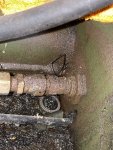
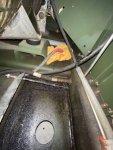
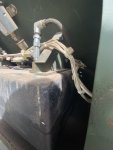
All the junk collection appears to be from a oil change, filter change, and fuel filter changes. No one cleaned up the mess when it got down and around the battery boxes.
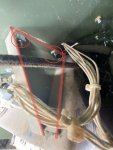
While you have the front panels off by the fuel tank. A few things to accomplish. Change out all the fuel returns lines. Replace all well nuts. Either with the original A3816 well nuts, or the brass bulkhead well nut. The top well nut could be a source for a leak if the fuel tank is topped off to the brim. You also have a rubber connection sleeve between the tank fill, and the tank itself which kinda breaks down over time.
start in this thread.
MEP-802A MEP-803A Filters and Parts | SteelSoldiers
the 2nd post has quick links to the things you seek.


 117.6 KB Views: 44
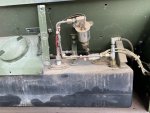 166.3 KB Views: 45
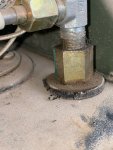 88.6 KB Views: 45
 91 KB Views: 45
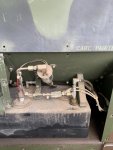 76.7 KB Views: 42
 69 KB Views: 41