- 4,394
- 3,879
- 113
- Location
- Near Austin, Texas
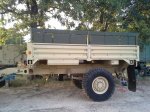
A while back, I had the pleasure of babysitting Agazza's M1082 at my place until he could arrange transport for it to Arizona.
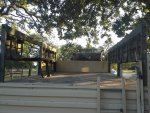
I also had a pallet of NOS LMTV troop seats I had bought in a junkyard, with the intent of seeing if I could fit them in my M105A3. Needless to say, with an M1082 at hand, I began experimenting, and found that the seats could be fitted pretty easily. The stock trailer is about 60% ready as is.
Recently, Mkcoen's M1082 became surplus to his needs, and quickly found a new home with me. No need for seats in the M105 now.
I was asked to haul some Vietnam veterans in the Independence Day parade on the 4th, so that provided the impetus to go ahead with the fitment.
What follows is how I did it, why I did it this way, and is provided for informative or entertainment purposes. I'm sure some of you can find a better way of doing it, but this worked for me.
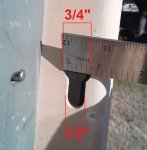
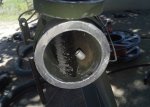
The LMTV seats themselves are mostly aluminium and fiberglass, and are a simple design. The aluminium uprights attach with T-shaped pins that fit into slots in the bed stanchions. The lower pins go into a keyhole shaped slot - the head of the pin goes in through the large part, then shaft drops down into the narrow bit. A spring loaded pin above the T-pin then pops into the top part and prevents the upright from being lifted back out unintentionally. The top pin just drops into a slot at the top of the stanchion. Once in, the T-pins are tightened up with a nut (more on that later).
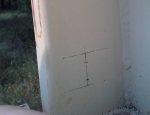
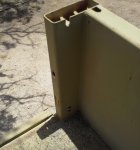
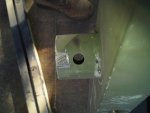
All these slots are on the center and rear bed stanchions, but not on the front ones on the M1082. It is a simple matter of drilling the holes to add them. Sort of.
During the test fits, I realized that on my trailer at least, there was just not enough room to get the front seats in. I was lacking perhaps 1/8", which was frustrating. But that little room also meant the drilling was going to be difficult anyway, because the drill wouldn't fit perpendicular to the surface. So the best answer for me was to shorten the seats by 3/4".
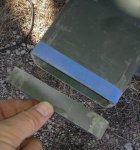
The fiberglass backrest was easy, just remove 3/4" in one cut. But the way the tubes for the seats are set up, you couldn't take 3/4" off one end, it had to be 3/8" from both ends.
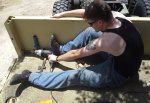
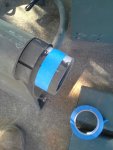
My method for cutting (with the tools I have available), is to measure the cut line with an adjustable t-square, mark it with masking tape, and use a cutting wheel. The tape gives a nice easily visible line when the dust starts flying. I then used a Dremel to dress the metal edge. Wear proper safety gear while doing this! I wear close fitting ballistic lens goggles and a filter mask, you do NOT want to breath in metal or fiberglass dust/chips, or get it in your eyes.
Once the seats are trimmed to your specs, they are quickly fitted together. It is far easier to install them starting at the front of the trailer and working towards the rear! They'll fit however you want them, but the "proper" way is with the small seats at the opposite ends, and the long seats together in the middle.
My son and I did this project in a few hours. Probably would have been quicker if it hadn't been 105*.
My one whine about the seats - the T-pins are a good idea, poorly executed. They were designed by some European cousin of the guy who thought putting the brake master cylinder under the floor of the M35 was a good idea. Basically, they are wobbly and hard to get them both lined up for their respective slots at the same time. Cussing some does seem to help. Once they are in, they are tightened by putting a wrench on the nut, then sticking a flat-edge screwdriver in the center to keep the pin from turning. Good idea, except the nuts are self-locking type, so they are stiff to turn to start with, and they are painted on to the pins, with no way to get the paint off first (they are enclosed in the seat upright). This means that a LOT of torque is being applied to that narrow slotted end, so they can end up not being pretty when you are done, and the likelihood of them living through more than one evolution are slim.
Anyway, more comments in the captions to the photos in post 2. I broke this into two parts because I think we have a maximum of 10 photos per post.
Cheers
Attachments
-
232.8 KB Views: 43
-
235.3 KB Views: 41


