• Steel Soldiers now has a few new forums, read more about it at: New Munitions Forums!

  • Microsoft MSN, Live, Hotmail, Outlook email users may not be receiving emails. We are working to resolve this issue. Please add support@steelsoldiers.com to your trusted contacts.


M1114 roof on m998

TOM R

Active member
227
81
28
Location
sewell n.j.
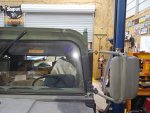
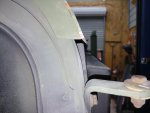
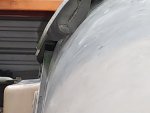
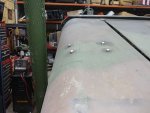
M1114 roof is now sitting bolted on the 4 corners

It overhangs the from if the windshield frame about 1"

It overhangs the side of the windshield frame about 4"

More to come as I work, we lifted this onto the truck with the backhoe and a 2x6 through the turret hole and a chain20210319_160454.jpg20210319_160503.jpg20210319_160517.jpg
 

TOM R

Active member
227
81
28
Location
sewell n.j.
Right off the bat I see the corner roof mounts will need to come off to narrow the roof then be modified and reattached to the modified roof , I also need to decide if I'm gonna fill the gap in front of the windshield or move it back which will require relocating a lip on rear of roof

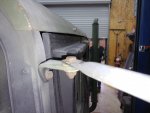
Obviously I need to make door jambs which will end up resembling soft top upper jamb but steel


I actually like where that turret hole sits seems to me to make alot more sense there than forward to keep feet away from the radios
 

TOM R

Active member
227
81
28
Location
sewell n.j.
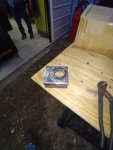
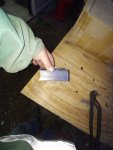
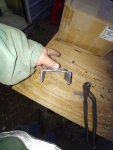
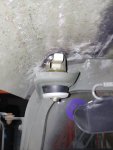
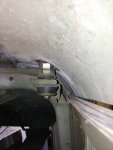
Center rear roof tab is fabricated,it's probably not the same as original but dimensionaly works , I used 3/16 box an 1/4" thick washer with 1 1/2" id , smallest washer I found local has 3"od

I ended up fitting the mount to the roof with the bushings then had to Jack up the center of the roof and use a straight edge from the bottom of the sponson roof mounts to set the height and weld to the c-pillar tube20210323_192536.jpg
20210323_192541.jpg20210323_192546.jpg
 

TOM R

Active member
227
81
28
Location
sewell n.j.
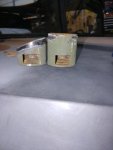
Front roof mounts are done and roofs bolted all the way around now,time to measure and start cutting the roof,thanks to Andy for measurements on the turret support bracket holes20210330_142926.jpg20210330_142935.jpg20210330_143007.jpg
 

TOM R

Active member
227
81
28
Location
sewell n.j.
Measured 32" from seam and cut front to back ,removed the roof mounts and set back on got where I wanted it and drew a line at the overlap, ended up 3 3/4" at front and 3.5 at rear ,removed that strip from section I cut off and welded back on

Still need to cut down the roof mounts and weld back on then we do the other side

I left what should be a 1/2" overhang at the doors as a drip edge
 

TOM R

Active member
227
81
28
Location
sewell n.j.
One sides done and bolted down,modified the mounts and welded back on, I left the gap on rear of roof for future use and had to massage the edge of the roof for the rear door to open without hitting,went faster then I thought, welds will get made pretty when it's done and I pop it off to do the top door jamb20210331_161932.jpg20210331_181907.jpg20210331_181914.jpg20210331_181928.jpg20210331_181938.jpg20210331_181945.jpg20210331_182031.jpg20210331_182048.jpg
 

TOM R

Active member
227
81
28
Location
sewell n.j.
Fully bolted down and welded,next is making the upper jamb

Yes the snorkel intake bracket still fits, it touches a tad so I may mark it and touch with a grinder when I take the roof 20210410_162236.jpg20210410_164921.jpg
 

TOM R

Active member
227
81
28
Location
sewell n.j.
To cut down and reweld the roof and fabricate the extra 3 mounts I'm confident that a motivated experienced person can get to the point I am in 2 days 3 tops if your moving slow, I recently had hand surgery so I'm dragging my feet and working on it here and there, second side obviously way faster since I already had the measurements
 
Top
AdBlock Detected

We get it, advertisements are annoying!

Sure, ad-blocking software does a great job at blocking ads, but it also blocks useful features of our website like our supporting vendors. Their ads help keep Steel Soldiers going. Please consider disabling your ad blockers for the site. Thanks!

I've Disabled AdBlock
No Thanks