• Steel Soldiers now has a few new forums, read more about it at: New Munitions Forums!

  • Microsoft MSN, Live, Hotmail, Outlook email users may not be receiving emails. We are working to resolve this issue. Please add support@steelsoldiers.com to your trusted contacts.

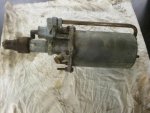
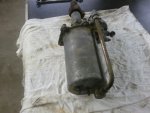
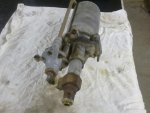
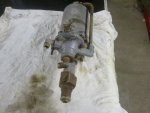
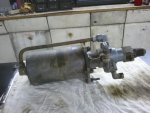
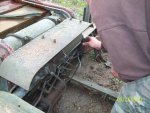
M220 AirPak rebuild.

jollyroger

Member
647
5
18
Location
Centennial, Colorado
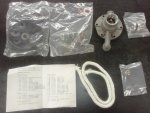
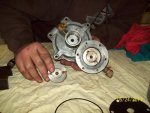
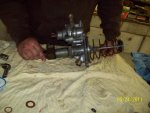
Rebuilding the 200 series AirPak is possible with the 800 series AirPak rebuild kit. Two seals are different between the two series of AirPak. Of course the two seals that were bad in our AirPak.

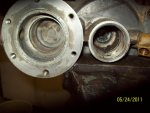
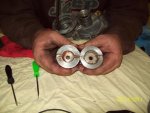
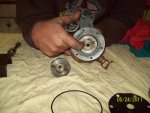
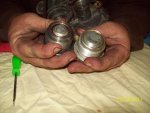
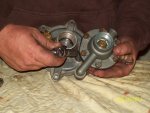
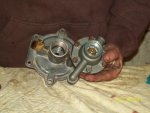
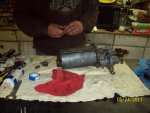
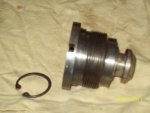
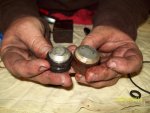
The meat of the matter is the power piston seals are smaller in the 200 series AirPak. We had an M54 Chasis with an AirPak on it. The AirPaks are very similar. So the power piston assembaly from the M54 AirPak threads right in to the 200 series AirPak.

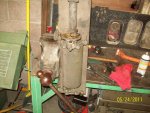
We decided to go with the M54 "modification" to our m220 AirPak. After getting the system back together we like how it all works. We put about 100 miles on the truck so far with the M105 in tow.

I like how the brakes feel. The lockup condition is much more controlable with the M54 power piston in the system.

My Mom drove the truck to and from the Commerce City Memorial Day parade and had no complaints.

In our opinion using the 800 series rebuild kit, getting a power piston assembaly from an M54/800 series truck and threading it into the 200 series AirPak main valve body is an easy and functional modification. [thumbzup]
 

jollyroger

Member
647
5
18
Location
Centennial, Colorado
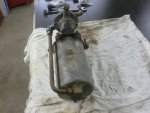
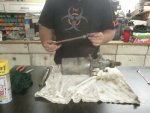
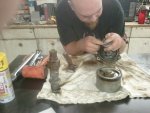
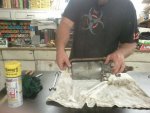
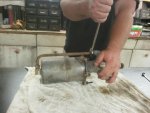
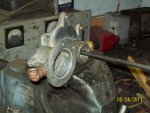
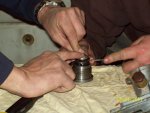
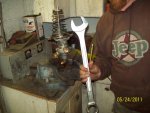
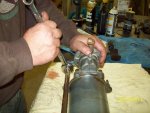
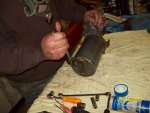
More tear down and rebuild.
 

Attachments

jollyroger

Member
647
5
18
Location
Centennial, Colorado
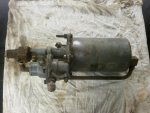
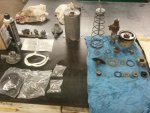
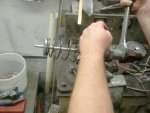
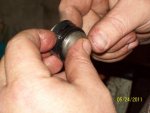
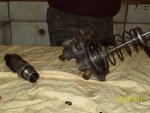
The meat of the matter.
 

Attachments

jollyroger

Member
647
5
18
Location
Centennial, Colorado
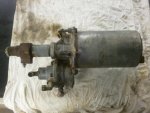
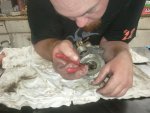
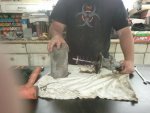
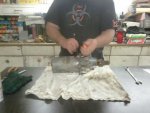
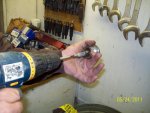
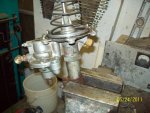
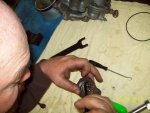
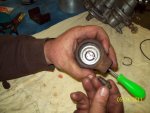
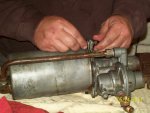
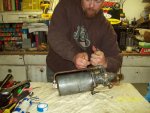
More rebuildin'.
 

Attachments

jollyroger

Member
647
5
18
Location
Centennial, Colorado
NICE! Thanks for posting this. Now I know what lays ahead in my future when the times comes to get working on the brakes. Sweet:jumpin:

Start to finish how long did it take?
There was a lot of time spent contemplating the options and reading the 800 series TM. But overall with the side tracking and everything we spent about 7 hours. But there was a lot of cleanup time, time trying to get the 800 series seals in the 200 series power piston and cylinder, calculations about the change the M54 power piston will make, removal of the M54 AirPak with hand tools from the parts chasis etc. If we did it again it would only take a couple hours since we know what tool to use for what and how everything comes a part and the overall plan of attack.
 

Gunfreak25

Well-known member
1,561
620
113
Location
Yuma, AZ
Lets give a huge, huge thanks to Jollyroger and Oldfart. **** fine tutorial and very self explanitory. They are actually pretty simple in design and I had no troubles taking mine apart. Mine had over 1q of fluid inside it, every darn seal inside was melted or crumbled and clogging up many of the internal ports. Oldfart and I had a few long discussions on this modification and this pictorial cleared it all up. Thanks for taking the time to post this for all us GMC guys, you guys are hero's in my book for coming up with such a simple solution to the elusive GMC air pak issue of NON EXISTENT rebuild kits. If the brakes don't lock up as easily that is also another plus. Been told they work too well sometimes!

I vote STICKY worthy!
 
Last edited:

Oldfart

Active member
1,063
26
38
Location
Centennial,CO
I want to add a couple of things to Jollyrogers’ post. After reading Mangus' comments about why he removed his threads, I have pondered at length about what responsibility or liability one may have for posting information for others on this site. Jollyroger has made it clear that we made a modification and that it works well for us. What others do is their decision and that decision should be made understanding that our rebuild solution is a modification.
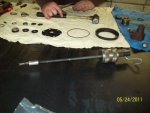
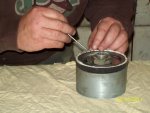
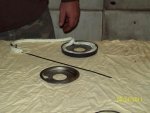
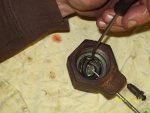
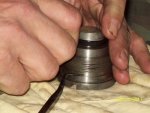
We took over 100 photos of the tear down and rebuild. Jollyroger posted a few that show a spring and snap ring install. The 5 Ton TM (Searched for days for a TM on the M200 series air pak rebuild and could find none) which covers everything needed to rebuild our M220 air Pak. It simply says drop the spring in place, then the retaining washer and then install the snap ring with needle nose pliers. This brevity is a joke. Not having special snap ring pliers for that type of snap ring, it does take some effort to get all that compressed and the snap ring in place. Note the photo of the spring and washer with the pick inserted through the bleeder valve opening. Use the pick to hold the spring and washer compressed. This allows you to use both hands to insert the snap ring. Inserting the snap ring against the spring pressure is next to impossible given that you are working in a pretty small hole.

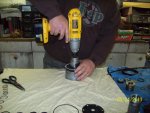
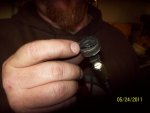
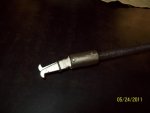
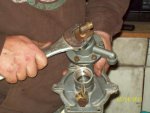
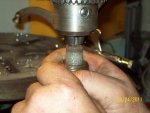
Jollyroger’s Dewalt impact tool made short work of the air piston tear down and reassembly because we did not need to hold anything on the opposite side. Jollyroger has a well equipped tool box which helped this rebuild move more quickly. The seal around the air piston rod was difficult to remove and there is a photo of the small slide hammer tool used to pull that seal. We did try the TM process of a ½ inch screw (looks like a lag screw) screwed into the seal from one side and then using a pin punch to drive the screw and seal out of the housing. The screw would pull out of the seal instead. We decided to use the slide hammer before we tore up the old seal to the point there was nothing left to grip.
 

Gunfreak25

Well-known member
1,561
620
113
Location
Yuma, AZ
I just used a set of needle nose pliers for the snap ring that holds the check valve in place. Came right out but I forgot about the spring underneath and it all went flying into my face. Luckily missed my eye, but I'll use your method next time. I used a fine thread tight fitting metric screw to remove that vinyl washer. It came out quite easy. One question Oldfart, does the 5 ton kit have this replacement seal? The vinyl/plastic one that is.

It's unfortunate to hear the mods gave Jolly some flak about his posts. It's called individual responsibility and we're all accountable for OUR choices in what we do to our trucks, or with our lives for that matter. :soapbox:
 

Oldfart

Active member
1,063
26
38
Location
Centennial,CO
Excellent pictures on how to do this. I know way back in the day I paid a good chunck of money to Memphis Equip to get a rebuilt air pack and I have the feeling all I got was an air pack that had been repainted but still worked.. My question is since you used the parts from the M54 aka 5ton truck air pack to rebuild the M211 serries air pack is it possible to just use the air pack off of a 5 ton on the M211?

Yes, no and maybe.

The 5 ton air pak is much longer and has additional components. There are two parts to the 5 ton rebuild kit left over after rebuilding our M220 air pak. They are a couple of rubber parts that go in the double relief valve on the end of the air can on the 5 ton air pak. Our M220 air pak does not have that valve. Not only is the air can on the 5 ton longer, the internal spring is longer as is the air piston push rod. The slave cylinder assembly on the other end of the 5 ton air pak is also longer. It would be difficult to mount the larger air pak in the same space as our M220.

It is my opinion that one could use the 5 ton air pak and replace the air can and slave cylinder with the M200 series air pak components that make it the right length to fit. But since one would have most of the air pak apart and need to replace gaskets and some seals anyway, I think it is easier to swap the 5 ton power piston into the 200 series air pak as part of a rebuild.
 

Oldfart

Active member
1,063
26
38
Location
Centennial,CO
I just used a set of needle nose pliers for the snap ring that holds the check valve in place. Came right out but I forgot about the spring underneath and it all went flying into my face. Luckily missed my eye, but I'll use your method next time. I used a fine thread tight fitting metric screw to remove that vinyl washer. It came out quite easy. One question Oldfart, does the 5 ton kit have this replacement seal? The vinyl/plastic one that is.

.

No, that plastic cover is not part of the rebuild kit. It is the same in the 5 ton air Pak. I think that is what you are talking about. It is a cover so to speak above the power piston. The seal is on the other side of the power piston assembly. If you mean that seal and the rubber washer under it, they are in the kit. The air piston rod goes through the seal to push on the power piston.
 

Oldfart

Active member
1,063
26
38
Location
Centennial,CO
Awesome job Gentlemen! I wish there could have been a bit more narrative since I am a bit slow in the Lightbulb Department when figuring out the photographs LOL!

Again, thanks for your patience and time. This has been especially helpful.
I am glad you find the thread useful. The 5 ton (800 series) TM has a section on rebuilding the 5 ton air pak. It is fairly long and detailed with step by step instructions. It sticks in my mind that the air pak section is more than 20 pages. The instructions move you through the process in a relatively clear fashion. Except for the dual relief valve the process on the M200 series is the same as the M800 series. Since the SS resource section is down you can find prpbably find the 5ton TM on Google Books with a downloadable pdf.
 

jollyroger

Member
647
5
18
Location
Centennial, Colorado
Awesome job Gentlemen! I wish there could have been a bit more narrative since I am a bit slow in the Lightbulb Department when figuring out the photographs LOL!

Again, thanks for your patience and time. This has been especially helpful.
Honestly I had several fabulous, Pulitzer prize winning naratives and every time I went to post they got ditched because I needed to log back in. So I truncated the verbage and saved the last narration in an effort just to get it posted. Sure enough that one got ditched too so I just logged back in and copied what I saved and posted. That worked, finally.

So I know the narative leaves a lot to be desired. But I figured with the post Oldfart and I would maintain the narative with answering questions and imparting tips and techniques along the way.

And the 800 series TM for rebuilding the AirPak is really good except for a couple of places. Like where it says remove seal using the 1/2 inch screw method. When that does not work what do you do?

You get the mini slide hammer kit from Harbor freight and use the double hook end. My slide hammer is Snap-On but Harbor freight sells a kit just like it for $20.

And using the pick through the bleeder hole to hold the spring down so you can install the snap ring.......I know a lot about wrenchin'......But the old man came up with that one.

The TM just say's install snap ring. Really? thanks for the help TM. Ha Ha

So if you guys have questions please PM us or ask.

Oh. And none of the moderators jumped me about my posts or anything. Oldfart was refering to Magnus removing all of HIS posts from SS so as to avoid any he told me to do it that way and it did not work or it killed me liability.

That's why "in our opinion the modification to the M220 AirPak using the M54 power piston worked well for us" is stated several times in this post. We did it and you can too. We are not saying you have to do it this way.[thumbzup]
 

m1010plowboy

Well-known member
Steel Soldiers Supporter
3,928
2,784
83
Location
Edmonton, Canada
G749 air pac rebuild

Bump gigity

Found this in an 'archive' search so I hope it works. For those that are servicing the G749 Air Pak this can be a helpful read. Thanks to Mr. Rogers for the original thread.

The archive link below contains 900+ threads for the G749 trucks and is just another way to search for information.
The Early Deuce [Archive] - Steel Soldiers::Military Vehicles Supersite
 

m1010plowboy

Well-known member
Steel Soldiers Supporter
3,928
2,784
83
Location
Edmonton, Canada
G749 air hy cyl

Good to hear Dr. Oldfart. We've got a US member on the bottom of a re-build that can use some extra help.
http://www.steelsoldiers.com/early-deuce/87716-m135-brake-problem-please-help.html

Instead of firing up a new thread the Jolly build might help. I don't see a G749 Air pac rebuild TM but me eyes are tired.

I see the 800 series TM mentioned and will try and make a direct 'link' to that page so it's easier to find.
 

Gunfreak25

Well-known member
1,561
620
113
Location
Yuma, AZ

DDC2StrokePower

New member
15
0
1
Location
North Dakota
great thread, was much help to me rebuilding mine, over the last couple days now, i been workin on rebuilding my air pak. and ive got it all back together except for the little slide valve on the top. i was wondering how easily it is supposed to move. on mine i need to use a punch and some small driving force to get it to move around. i wasnt sure if this is normal or not.

thanks
 

Gunfreak25

Well-known member
1,561
620
113
Location
Yuma, AZ
You mean the little piston with the 2 seals on it? This is your control valve, one side of the piston see's air pressure and the other side see's hydraulic pressure (brake fluid). I am unsure which side is which off the top of my head. Call Brake Systems Inc in Oregon and ask for Dale. Tell Dale you rebuilt your Bendix Air Pak and need to know how hard the control valve piston should move in it's bore. Dale's been in them all, great guy with loads of info. It seems to me like the seals should be lubed with something before assembly to aid in seal life. I'm doing mine in silicone grease but that is only because I am using Dot 5 silicone brake fluid in the system.
 
Top
AdBlock Detected

We get it, advertisements are annoying!

Sure, ad-blocking software does a great job at blocking ads, but it also blocks useful features of our website like our supporting vendors. Their ads help keep Steel Soldiers going. Please consider disabling your ad blockers for the site. Thanks!

I've Disabled AdBlock
No Thanks