It took a while, but I figured it out. For anyone else looking for information, here are the steps I followed.
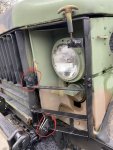
Brush Guard Removal
Remove 2 bolts toward middle of brush guard. Loosen 2 bolts securing bottom of brush guard (these don’t have to be completely removed). Pull top of brush guard toward you and lift up and out of bottom brackets.
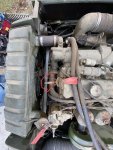
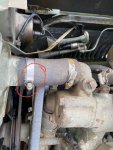
Belt Removal
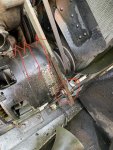
Loosen bolt securing alternator to bracket. Use a pry bar to push alternator toward engine, removing tension from belts. Using a flathead screwdriver, carefully work belts loose.
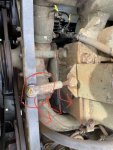
Radiator Removal
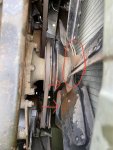
<edit> Important 1st step. Place a 5 gal bucket on the ground, under the front center of radiator. Open the petcock valve at the bottom of the radiator and remove the radiator cap (make sure it’s cool) to drain the coolant out of the radiator. Remove bolt at top center of radiator. Slide short arm to the side. Remove two nuts at bottom of radiator (ID correct bolts by finding bolts that have springs on them). Note these were pretty rusted and required PB Blaster and a breaker bar. Loosen clamp around top hose to radiator. Once radiator is loose, tilt top of radiator toward you. Now you can get access to 4 bolts securing heavy metal fan blade. Remove these bolts and remove the fan blade being careful not to damage the fins on the radiator. Once fan is out, lift radiator up to free bottom studs from housing. Now you can access the bottom radiator hose. Loosen clamp and remove radiator. You may need to break the hose seal with a flathead screwdriver.
Remove Water Pump
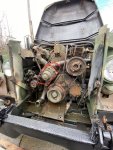
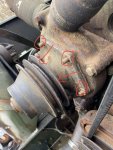
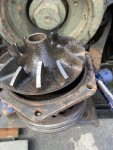
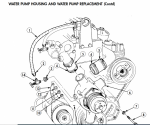
Now you are looking directly at the water pump which previously had the fan mounted to it. Remove the 6 bolts. Using a block of wood and 4 lb sledge hammer, tap around flange until it comes loose. Then carefully use a pry bar or large flat screwdriver to remove it. Be careful not to damage or dent the metal to where it won’t seal back.
Finish
Now you can install the new 5702725 water pump and gasket. I recommend a little RTV silicone sealant as well. Replace everything in the reverse order.
