HDN
Well-known member
- 2,285
- 5,557
- 113
- Location
- Finger Lakes Region, NY
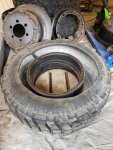
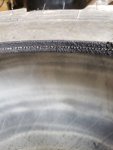
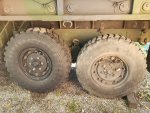
I just got a 1700 psi peak pressure washer from Harbor Freight. It came with a detergent sprayer too, so I sprayed a Dawn mix on everything to degrease then turned the pressure all the way up. It got the GAA right off the inside of the rim, so that was easier than using a rag and drill brush! However, the hardest thing to get off were the stupid Gypsy Moth caterpillar nests!I used a 4000 psi pressure washer with a very small orifice nozzle on my wheels, followed by a brillo pad and sandpaper, prior to painting.
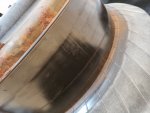
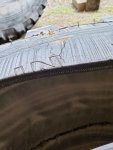
For painting the rim this time, I set it upside down instead of on its side, which made spray paint coverage a lot more uniform than before. My only concern is resting it on the studs, but they're supposed to hold the clamp ring on at ridiculously high torque, so they shouldn't pop out of the ~60 lb rim easily, right?

 So far it's taken all my free time to work on the wheels, free time that others feel should be spent elsewhere