I don't have a diagram but I can explain the process with pictures.
Remove the screws holding the dust cup then remove the dust cup. This can be difficult with paint on the outside and grit on the inside. Just remember that it's plastic before you go grabbing the hammer.
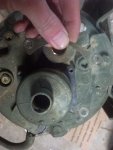
Next you need to remove the snap ring so the whole assembly can be pulled out.
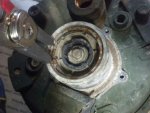
Next you need to pull out the assembly. This was the most difficult part as there are two O-ring in there to seal the two chambers and they do their job well. You need a pair of pliers like in the picture with good teeth. Needle nose flex to much and Channellocks make you pull at an angle. Pull on one side and then the other. You will think you are getting nowhere but it'll eventually start coming out. There is nothing behind there to pop out at you. You're pulling the whole assembly.
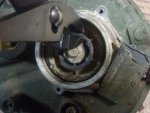
After you have the assembly out you can see the plunger for the signal air chamber. When the governor detects cut out pressure it sends signal air that depresses the plunger, which vents system air to atmosphere. When signal air is removed, the spring below the plunger closes the valve. When grit and grime get into the signal air chamber, or if everything was really dry, the spring is not strong enough to close the valve.
Use a Allen key to hold the plunger while you remove the bolt on the bottom. Remember the spring inside while doing this. After it has been cleaned, apply a thin film of marine grease (usually green) to the plunger seal and inside the chamber. Moisture doesn't affect marine grease as much and the O-rings won't mind it.
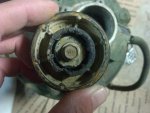
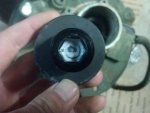
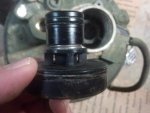
Here you can see the signal air chamber which is in the center. The walls need to be clean and smooth. Apply a light coat of grease in here.
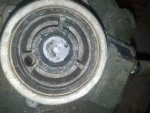
This will get your valve back in shape but the whole dryer still needs to be serviced. I just bought an updated one since the cost would've been about the same to service the old one.
Hope this helps.


