• Steel Soldiers now has a few new forums, read more about it at: New Munitions Forums!

  • Microsoft MSN, Live, Hotmail, Outlook email users may not be receiving emails. We are working to resolve this issue. Please add support@steelsoldiers.com to your trusted contacts.


M998 AC install

Mogman

Moderator
Staff member
Moderator
Steel Soldiers Supporter
5,965
8,321
113
Location
Papalote, TX
I am in the planning stages of installing AC in a M998 Basic truck, I will be installing this front evap.
EVAP.JPG
And the dual rear fender condensers.
I have not decided yet on what secondary evap I will install yet, I have a RedDot unit, I may go with the standard unit that normally mounts between the rear seats only mounted to the helmet top to give me as much clearance as possible and I have a third party universal EVAP unit.

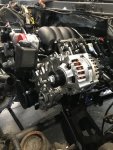
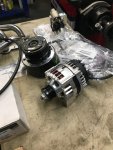
I will be using a DENSO 10S20F compressor mounted to my Duramax engine which has a little more capacity, about 26-28KBTU vs the 24KBTU R4 so that is a good thing.

Right now I am mostly interested in what physical preparation/work will be necessary to install the front evap in a Basic truck.

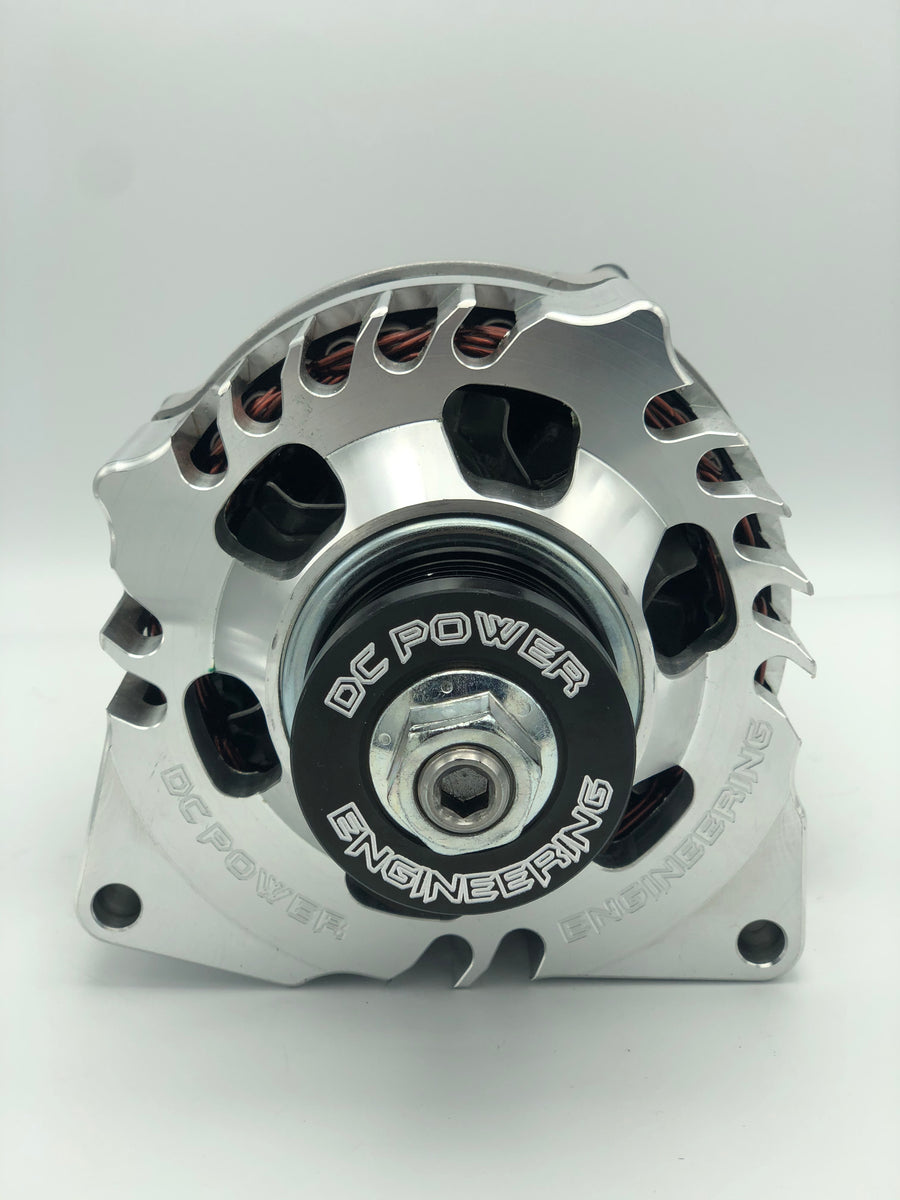
I would also be interested if anyone has figured out any 12V blower motors that would fit these condensers and evap units, my truck has dual alternators a 12V and a 24V but if I can reduce the 24V load I would install dual 12V alternators, dual 12V batteries and an inverter or three for the 24V stuff.
BIG 12V alternators are easier to find that will fit the Duramax than 24V units, IIRC I am running a 60A 24V alt and a 130A 12V alternator at this time But up to 300A 12V alternators are easy to find,,, at this time I am running a 24V battery out of a gen set and a 6TL 12V battery, I would prefer to run dual 6TL batteries
 

Mogman

Moderator
Staff member
Moderator
Steel Soldiers Supporter
5,965
8,321
113
Location
Papalote, TX
The factory radio tray bracket came in today from 86humv THANKS!!
So I decided to start on the front evap install, I pulled the old heater ass. and the cover that goes across the dash, that huge Fleece turbocharger did not make it easy but we got it done.
So far it seems pretty straight forward, it LOOKS like the evap mounts to the original bolt holes for the heater with the addition of one bracket.
I am going to install nutserts in the dash to mount the radio tray bracket so I do not have to try to get my hand up behind that dash.
So far so good, I did get a template off of G503 for the rear condenser mounting holes.
I still have no idea if I will be able to install the ducting that normally directs air to the drivers feet, there is a duct that goes through that dash the end of which can be seen in this photo on the far right, I will explore that possibility as well, it evidently is not used in the M1100 series trucks.
Heater removal.jpg

I am not sure what the 1100 series trucks do about the kick panel vent that on the basic was connected to the heater ass, I assume it just becomes a vent for the passenger.
 

Mogman

Moderator
Staff member
Moderator
Steel Soldiers Supporter
5,965
8,321
113
Location
Papalote, TX
I removed the old radio shelf brackets and installed the 5 nutserts and the adapter bracket, now to let my back recover from all that odd posture.
Sorry for the blurry pics, seems the darker it is the harder it becomes to get clear pictures.
Nutserts.jpg
bracket1.jpg
 

Mogman

Moderator
Staff member
Moderator
Steel Soldiers Supporter
5,965
8,321
113
Location
Papalote, TX
I even found the ding dang bar I needed to go under the radio tray legs, three more nutserts and they tray is back in place!
 

Mogman

Moderator
Staff member
Moderator
Steel Soldiers Supporter
5,965
8,321
113
Location
Papalote, TX
I got the front evap. mounted today, I am normally not a big fan of engineers but I am grateful they designed the front evap. to mount to the same mounting holes that the Basic heater mounted to....
If anyone does this or even just replace a bad heater core it was money well spent to get new rubber grommets for the heater core tubes, the old ones were so hard I was never going to be able to get the tubes through the firewall.
IMG_20231115_141054150.jpg
 

AmarokK9

New member
7
17
3
Location
Montreal, Canada
24v Alternators are easy to find...they're just not cheap. I would personally keep the 24v system...that's what I'm doing with my LS swap...as all the systems are designed to run that way. My M1152A1 has the OEM front mount HVAC, but I find it a bit lacking in the winter. My solution for that is to replace the blower motor with a slightly higher rpm custom motor from a local electrical specialist.

Good luck with the build! FYI... 150A 24v all billet alternator pictured below is from...


Attachments

  • Like
Reactions: cwc

Mogman

Moderator
Staff member
Moderator
Steel Soldiers Supporter
5,965
8,321
113
Location
Papalote, TX
24v Alternators are easy to find...they're just not cheap. I would personally keep the 24v system...that's what I'm doing with my LS swap...as all the systems are designed to run that way. My M1152A1 has the OEM front mount HVAC, but I find it a bit lacking in the winter. My solution for that is to replace the blower motor with a slightly higher rpm custom motor from a local electrical specialist.

Good luck with the build! FYI... 150A 24v all billet alternator pictured below is from...


View attachment 910814

View attachment 910815
I already have two alternators, one 12V one 24V.
But because I want to use 2 6TL AGM batteries I am going to go to a 12-24V inverter and two 12V alternators.
 

Mogman

Moderator
Staff member
Moderator
Steel Soldiers Supporter
5,965
8,321
113
Location
Papalote, TX
I have been racking my brain on how to get some air to my feet on this install.
The monster Fleece Turbo on that Duramax cancels any attempt to run a duct similar to the original on inside the doghouse.
So I trimmed up the bracket used in the original Basic heater that has the hose that goes to the drivers feet and will bore a hole in the end of the ducting where it turns up to go over the dash and will seal the two together the best I can.
It may sweat so I may have to replace the hose with an insulated one but all worth having some air to the foot well..
duct_mod.jpg
 

Mogman

Moderator
Staff member
Moderator
Steel Soldiers Supporter
5,965
8,321
113
Location
Papalote, TX
I had some time this morning so I cut the holes for the condensers and mounted the grills.
I understand the factory installs only have the two holes close together used for footman loops on top but it only cost me about $.75 a side to add the screws and rivnuts.
right grill.jpgright holes.jpgleft grill.jpgleft holes.jpg
 

Mogman

Moderator
Staff member
Moderator
Steel Soldiers Supporter
5,965
8,321
113
Location
Papalote, TX
So an awesome tip came my way about the driver floor vent.
IMG_20231210_184807.jpgIMG_20231210_184818.jpg
Part number 6088815, only $200 (Mac Motors)
It does cure the basic/A1 lack of vent, just bore a matching hole in the cross vent!
 

Mogman

Moderator
Staff member
Moderator
Steel Soldiers Supporter
5,965
8,321
113
Location
Papalote, TX
Well my right condenser should be here Tue. I ordered it in Nov. from SECO and they told me it was in stock :(
 

Mogman

Moderator
Staff member
Moderator
Steel Soldiers Supporter
5,965
8,321
113
Location
Papalote, TX
I finally got my sisters Kubota RTV1140 out of my "lift" bay (blown head gasket)
So I got the DuraVee into the bay and installed the right condenser, the wife helped me get into place.
I went ahead and removed the fill pipe, this is made easier by the fact there is a rubber hose connection just past the support clamp where the AirDog fuel preparator feeds back into the fuel fill pipe.
I used some 2"X1/8" Neoprene to create the seal which is better than any factory seal I have seen.
I guess it is time to start making hoses!!!!
IMG_20240110_133747606.jpgIMG_20240110_133753697.jpgIMG_20240110_140234659.jpgIMG_20240110_141757545.jpgIMG_20240110_143758108.jpg
 

Mogman

Moderator
Staff member
Moderator
Steel Soldiers Supporter
5,965
8,321
113
Location
Papalote, TX
I got the DuraVee back in the shop today and started to make hoses, cutting the holes and installing the bulkhead pass-through was a PITA, my arms are just not nearly long enough to work both sides of the bulkhead, but we goterdone!
Plenty of foot room for the passenger.
IMG_20240126_134808410.jpgIMG_20240126_134931524.jpgIMG_20240126_135048462.jpg
 

Mogman

Moderator
Staff member
Moderator
Steel Soldiers Supporter
5,965
8,321
113
Location
Papalote, TX
I installed one of the three circuits hoses today, the compressor discharge to condensers, I took that down the drivers side, one because the right side is going to be crowded as it is and I figure feeding the condensers on the left side and taking the output on the right side will tend to make the flow more even between the two condensers than having both the feed and the discharge on the same side as they run parallel to each other.
I am glade I ponied up the extra shekels for the hydraulic crimper, the manual one is cheaper but it has to be held in a vise which would make installing connectors "in place" rather difficult.
I was glad to find Air Components out of AZ, they will custom make bolt on compressor fittings with any clocking you desire, there was no way I was going to be able to use the common vertical bolt on connectors designed for the LS swaps as there just is not enough clearance, and at $52 ea. they were very reasonable and they got them to me FAST!
The suction fitting is a little wonky but will still work fine.
Once all the hoses and wiring is complete I will order a OEM DENSO high capacity compressor (10S20F) so all the components will be new...
IMG_20240203_141804438.jpgIMG_20240203_151504750.jpgIMG_20240203_151834784.jpgIMG_20240203_151912370.jpgIMG_20240203_151936145.jpg
 
Top
AdBlock Detected

We get it, advertisements are annoying!

Sure, ad-blocking software does a great job at blocking ads, but it also blocks useful features of our website like our supporting vendors. Their ads help keep Steel Soldiers going. Please consider disabling your ad blockers for the site. Thanks!

I've Disabled AdBlock
No Thanks