corvette9
Member
- 184
- 2
- 18
- Location
- new haven ct
Steel Soldiers now has a few new forums, read more about it at: New Munitions Forums!

Yes. If you look close at the last pic you will see the burn through from the diamond shaped plate on the inside. Thats the way ICAR says a frame section should be done.When you fishmouthed the frame, did you place a re-enforcement plate on the inside too?
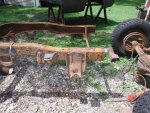
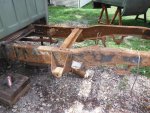
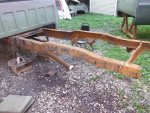
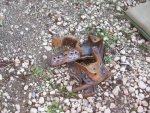
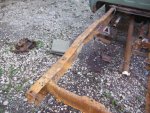
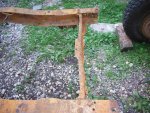
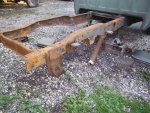
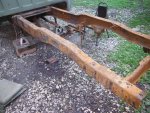
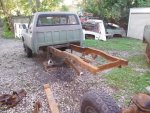 I had a very good day after work today. I removed all the frame attachments from the left frame rail. It looks much better without the brackets in place. And with all the beating and punching I did not see anywhere that the frame is thru and that goes for the brackets. The only thing that is junk is the cross members. I did all this work with the gas wrench , a hammer and a center punch. It knocked a lot of scale rust off. I think it is coming along quite well. So far I have a total of 8 hours into the job. This is a time and materials job so I am moving along as quickly as possible. I may send some of the brackets to the powdercoater and get them blasted and coated. But only the ones that I don't have in stock. At this point I don't think there are any that I don't have. We shall see. Thank you for looking. Have a nice day. Tomorrow is another day for fun in the sun.
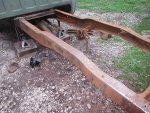
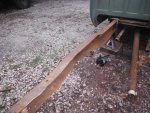
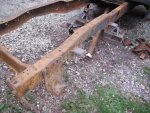
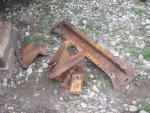
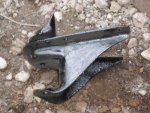 Things are going along well. I had many of the parts/brackets that I needed up in my barn. I used the pneumatic needle scaler and the 8" 40 grit soft pad sander/grinder a bit to clean up the frame. Not sure i will need to sand blast. I am happy with the results. Remember I am not building a show truck or a museum piece. it is a snow plow truck. I could not believe how clean some of the parts got from needle scaling them. I have a 5 gallon bucket of brackets to take to the powder coater. Thank you for looking. And I will post more as I progress with this project.
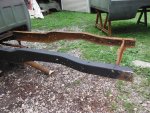
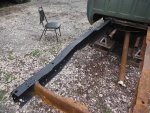
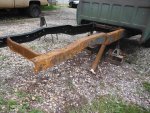
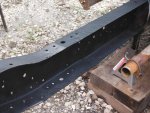
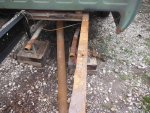
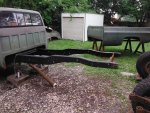
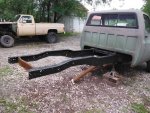
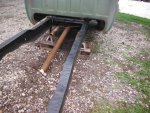
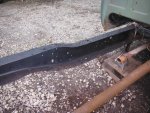
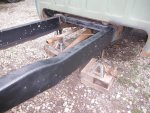
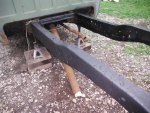 Made a lot of progress today on my Mr. Rusty project. I scaled it, sanded it, ground it, and sanded it again. I washed it down and applied Rustoleum Rust Reformer to the frame. When I get all the frame brackets and attachments back from the powdercoater I will reassemble the entire frame. I have a set of NOS M1028 rear springs I have been storing for years/decades. I was dodging rain drops most of the day. And that is why the left rail was the only one painted in the first pictures. I thought I was rained out. But to my surprise I was back at it an hour later and it only started to rain after the reformer was dry to the touch. That is one dirty labor intense job cleaning rust from the frame. I found only 1 small hole at the rear of the frame where the bumper attaches. I will begin putting cross members in tomorrow. I will keep you posted. Thank you for looking have a nice day.
