vrzff
Active member
- 55
- 151
- 33
- Location
- Mont Vernon, NH
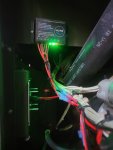
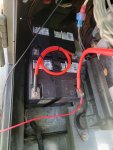
I had a little time today to play around. My goals were to finish rodent proofing, and install battery straps to keep them from bouncing around since I'm not using giant Optimas (and also have no trays).
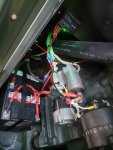
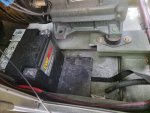
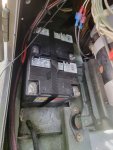
In the process of installing the straps, I realized that I could get both batteries sideways on the starter side with slight modification to the platform / engine cantilever bracket.
The batteries I'm using are 400CCA ES-TX30L AGM from Walmart, and come with a small plastic platform. I'm sure the TX20 would also work just fine, but they had two 30's on the shelf-- more CCA anyway.
After cutting a small notch out of the cantilever, I riveted down the pull straps with 3/16" rivets and washers. It's nice to have them both on one side, and not have to worry about the cables going across the engine compartment.
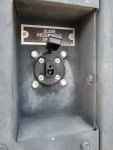
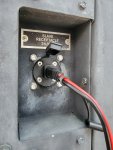
Next step is to remove the NATO receptacle, and install an SAE bulkhead plug for the solar panel.


