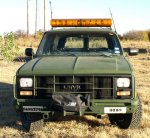
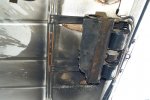
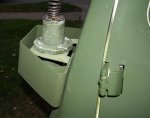
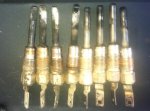
Allot going on with the Suburban since I last posted and put on about 100 miles driving it around town to just get a feel of it between projects. It drives and sounds great and tracks perfect with no sway to one side and is tight. Seems the city did take good care of it and only found one issue where they got lazy. I changed out the glow plugs and the passenger side 3 of them were slightly swollen and all looked original, but the driver side looked replaced (Picture, first 4 on left are pass side, next 4 are driver). I did not have to use my GP tool to get them out, but they took some extra care to remove. After that the truck started fine as it did have a slight problem on the last few cold days, but is all good now.
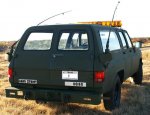
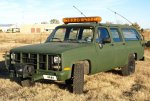
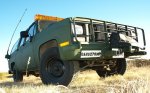
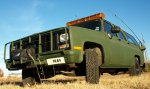
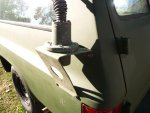
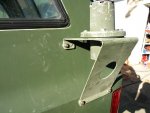
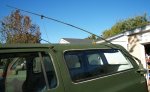
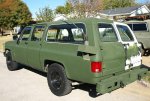
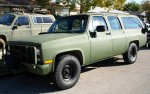
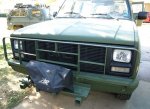
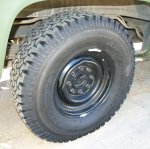
I also added the antenna brush guards and some 265/75R16 Treadwright Warden tires. These are the same tires I have on my M1031 and they are retreads that are just like the BF Goodrich TA off road tires, but only $110 each. They are great tires and smooth ride and fixed my issues with sloppy driving as the old tires are from 2005 and all dry rotted. In addition I put my 10K winch on the front that was on my M1031, but is not wired yet. It is the design that another SS member came up with using parts from Harbor Fright. I think it adds a meaner look to it and gives it more of the appearance of a 4X4 when it is just a 2500 2wd.
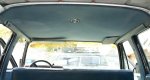
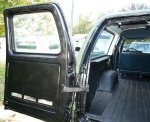
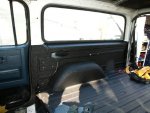
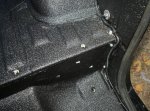
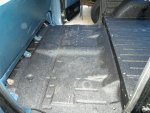
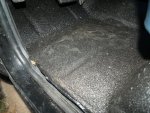
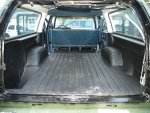
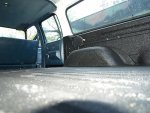
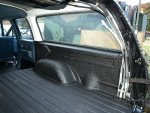
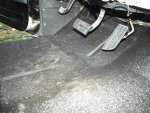
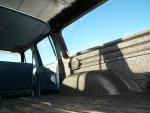
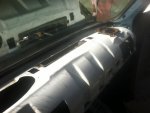
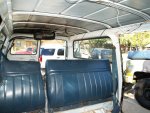
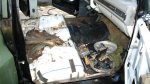
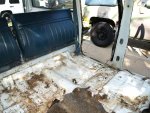
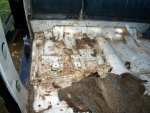
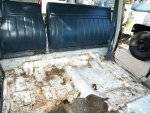
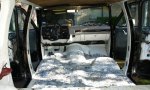
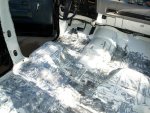
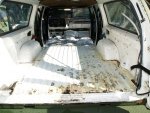
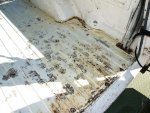
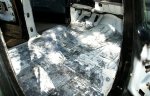
Saturday the inside gets Line-X (Edit 11-17-2012 It is Bullet Liner, I noted Line-X as this is the old product the shop used) from front to back and is about the same price as buying the rubber floor mats, but it 10x better where it will really cut down on road noise. I did this with the last M1009 I sold and looks great when it is done. As this is to be based on a military truck, no fancy carpet and easy to clean the floors. The rubber mats hold water under them and rust, I spent about 2 days just stripping down the surface rust that was there. No holes, but allot of small rust spots that had to be cleaned before it got lined. I will add those pictures after I get it back on Monday.
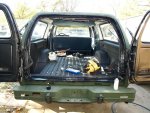
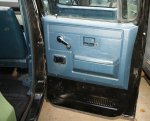
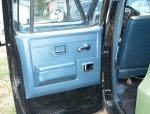
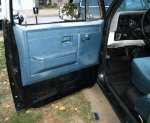
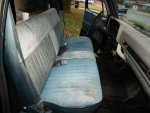
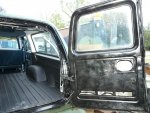
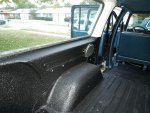
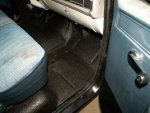
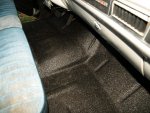
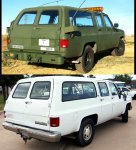
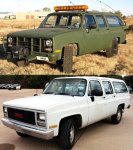
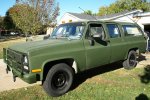
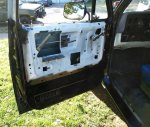
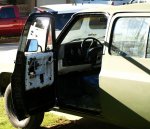
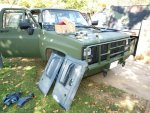
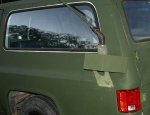
Well here are a few pictures, still have to get that door replaced but hopefully my parts run Saturday will take care of that. Have a lead on a base suburban with blue interior and cargo doors that I will strip as much as I can. It is really hard to find a base suburban, as in one that has manual windows and not ratted out.
.

 39.3 KB Views: 75
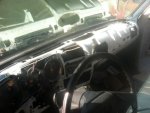 51.8 KB Views: 83
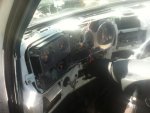 51 KB Views: 74
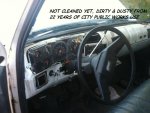 57.5 KB Views: 102
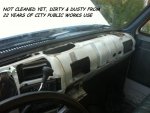 57.9 KB Views: 96
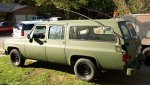


")