• Steel Soldiers now has a few new forums, read more about it at: New Munitions Forums!

  • Microsoft MSN, Live, Hotmail, Outlook email users may not be receiving emails. We are working to resolve this issue. Please add support@steelsoldiers.com to your trusted contacts.


My New Project - 1942 Ford GPW

clinto

Moderator, wonderful human being & practicing Deuc
Staff member
Administrator
Super Moderator
Steel Soldiers Supporter
Supporting Vendor
12,596
1,123
113
Location
Athens, Ga.
OK...here's the story I heard/read/made up. On the GP's Good ole Henry actually had "FORD" in script letters embossed on the rear panels of his jeeps but the government wanted the GPW (Ford) and the MB (Willys) to be identical with 100% of the parts interchangeable and no trademark name on the jeeps.

Yes, Henry was proud of his jeeps and believed the quality to be above that of the Willys MB and he had nearly every single part embossed/stamped with the "Script F". That way if a part failed they would know if it was a Ford or Willy's issue.
This is the story I believe. The warranty issue explains why pieces were marked that would never see the light of day.
 

Tinwoodsman

Well-known member
Steel Soldiers Supporter
3,923
75
48
Location
Comfort, Texas
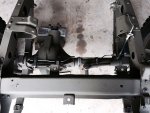
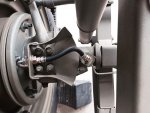
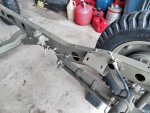
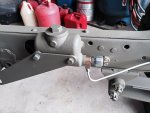
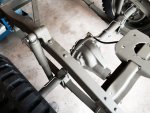
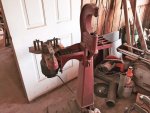
Got all the brake lines and master cylinder installed today. Then on to refurbishing the steering gear but had to fix the steering tube surrounding the shaft which was bent. I have a friend who is 89 years old and knows just about all there is to know on early model vehicles and he came up with a contraption that allowed us to straighten it without distorting the tube integrity. Hope to get that put together tomorrow. Then on to the tranny and transfer case. Here are some pictures.

Front-Axle.jpg Front-Wheel-Guard.jpg Front-Line-Run.jpg Master-Cylinder.jpg Rear-Brake-Lines.jpg
 

Tinwoodsman

Well-known member
Steel Soldiers Supporter
3,923
75
48
Location
Comfort, Texas
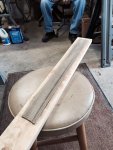
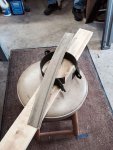
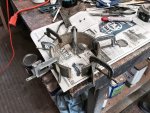
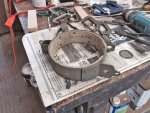
Started the day by preparing to relign the parking brake band. Could not find any replacement 5/32" lining material at a reasonable price so my mechanic friend happend to have some left over woven lining strips. We put on masks and other protection because the material contains asbestos and surface the lining to 5/32" and then trimmed it to the required 2" width. Then we used his rivet press to drill the holes and recess the rivets. My cost was zero dollars versus $70 for a reproduction band or $100 for materials. Not a difficult choice.

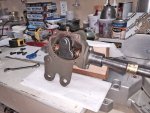
Also completed the refurbishment of the steering gear buy replacing the worn sector shaft and bearings. Was able to straighten a bend in the steering tube so it is back together and I hope it does not leak since they are notorious for that. I will use 140 weight oil for the gear box refill. Wish me luck.

Lining-before-sizing.jpg Lining-and-band.jpg Sized-and-drilled-for-rivets.jpg Rivet-Press.jpg Completed-Brake-Band.jpg New-Sector-Shaft.jpg Refurbished-Steering-Gear.jpg
 

Tinwoodsman

Well-known member
Steel Soldiers Supporter
3,923
75
48
Location
Comfort, Texas
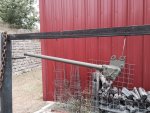
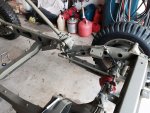
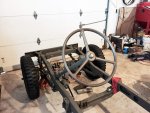
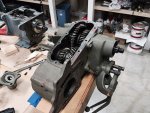
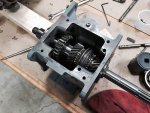
Soldier B is out of town and I got the rest of the tranny and transfer case parts so spent some time in the shop. Adjusted the steering gear and centered the pitman arm and then installed the drag link. Temporarily installed the steering wheel. Will fine tune once tub is installed. The finished up the transfer case with the exception of the lower cover. Moved on to the tranny and installed all the gears in the case. Have a few issues with the synchronizer which I hope to work thru tomorrow. Goal is to install the transfer case to the tranny and adjust all linkages. Here are some photos......

Drag-Link.jpg Steering-Wheel.jpg Transfer-Case.jpg Tranny.jpg
 

papabear

GA Mafia Imperial 1SG
13,508
2,383
113
Location
Columbus, Georgia
The day you take the first "check ride" in that baby will be a proud day for us all Brother.

I think we can truly say that NO ONE has ever done a more complete restoration of an MB!:beer::goodjob:
 

Tinwoodsman

Well-known member
Steel Soldiers Supporter
3,923
75
48
Location
Comfort, Texas
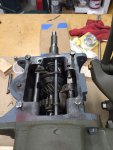
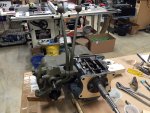
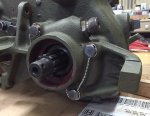
Almost wrapped up the transmission and transfer case today. Waiting on two parts which need to be installed prior to marrying with the engine and bell housing. Did check end play on both components so once I have the parts I will be ready to move forward. Also decided to replicate the early WW2 lock wire method and think it came out fine. Here are some photos:

Tranny-Internals.jpg Tranny-and-Transfer-Case.jpg WW2-Style-Lock-Wire.jpg
 

zout

Well-known member
7,744
154
63
Location
Columbus Georgia
Instead of PB headed to my DZ with the backhoe and loader - I think he is now headed to your DZ to build you a 100 ft sq cement pad to put a pole barn rebuilt center together - how do ya like them apples. When ya hear a rumble in the background - ITS PB and CAMO Crew to make ya a rebuild restore center.
 

Another Ahab

Well-known member
17,838
4,191
113
Location
Alexandria, VA
Instead of PB headed to my DZ with the backhoe and loader - I think he is now headed to your DZ to build you a 100 ft sq cement pad to put a pole barn rebuilt center together - how do ya like them apples. When ya hear a rumble in the background - ITS PB and CAMO Crew to make ya a rebuild restore center.
The Crowded Masses are Begging for Photos of the Grand Event. :not worthy:
 
Top
AdBlock Detected

We get it, advertisements are annoying!

Sure, ad-blocking software does a great job at blocking ads, but it also blocks useful features of our website like our supporting vendors. Their ads help keep Steel Soldiers going. Please consider disabling your ad blockers for the site. Thanks!

I've Disabled AdBlock
No Thanks