Recy Mech
Member
- 42
- 0
- 6
- Location
- Western Australia
Great thread read - subscribed.......so I can learn a bit more.
Everyday a school day.
Everyday a school day.
Steel Soldiers now has a few new forums, read more about it at: New Munitions Forums!


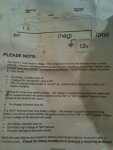
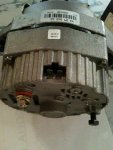
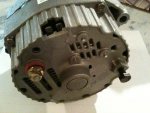
You'll need to have 12 VDC to get the alternator excited. This can be a seperate switch, or use a 24 VDC relay off your ignition switch and use the contact closure on that to excite the alternator. Wire #57 would be a good point to energize your relay from.Here is the 12V alt and a wiring diagram that came with it. Only question I have is if I can use the the deuce's ignition switch being that it is a 24V system to match the drawing?
Diggin the relay idea over the switch. Thanks alot for the reply.You'll need to have 12 VDC to get the alternator excited. This can be a seperate switch, or use a 24 VDC relay off your ignition switch and use the contact closure on that to excite the alternator. Wire #57 would be a good point to energize your relay from.
Andy, Do you need a drawing, or do you have her figured outDiggin the relay idea over the switch. Thanks alot for the reply.![[thumbzup]](https://www.steelsoldiers.com/images/smilies/icon_smile_thumzup.gif "Thumbs Up [thumbzup]")
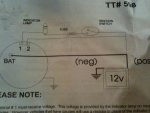
Flipping thru my TMs that should be "instrument panel ground" correct?Andy, Do you need a drawing, or do you have her figured out
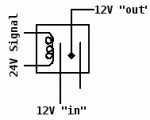
Your diagram is spot on. #57 should come off of terminal "B" of the ignition switch. It should be a switched leg that feeds the fuel pump, and the low air pressure buzzer. Here is a good place to get Mil-Spec connectors, if you want to do it that way.Flipping thru my TMs that should be "instrument panel ground" correct?
Do the relay like this?
Great! Thanks so much for the assistance. I'd like to keep it as clean an install as I can so I'll check that site.Your diagram is spot on. #57 should come off of terminal "B" of the ignition switch. It should be a switched leg that feeds the fuel pump, and the low air pressure buzzer. Here is a good place to get Mil-Spec connectors, if you want to do it that way.
ELECTRICAL CONNECTORS & TERMINALS
I'll check again on that wire number, I'm having some dfficulty reading my wiring schematics, the print is too small!
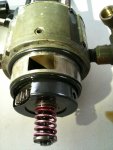
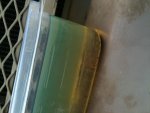
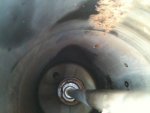
Thanks for some guidance on that.I would say a bad lower o-ring in the HH could cause that
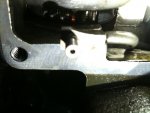
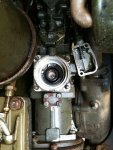
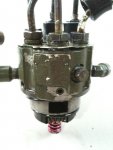
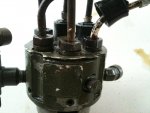
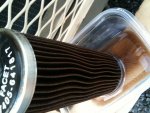
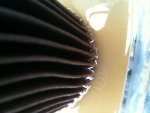
 I haven't come across that in the threads covering the HH removal and the TM9-2910-226-34 only shows it when the entire inj pump is off the motor.
Awesome! Thanks so much for the help. I guess I was stumped since I was also putting on my 12V alt and had those belts loose. I'll tighten them up so I can spin it over.Actually that is easier than you might think. Stand on the front bumper and turn the engine with the fan blades with one hand while using the other hand to tension the belts. You will be only able to turn it in one direction.
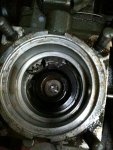
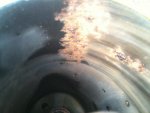
For removing the HH I would turn the red tooth exactly under the mark. The hint for one valley before the mark is only important if you time the HH. If you don't turn the engine with the HH off, no need. Just reinstall as removed. If you put it exactly at the mark no guesswork later. In any case the HH must come off with no force at all. Only if it won't , you will need to turn the engine at little further. For removing and installing the HH only, you can ignore the mark under the door with the four screws.