

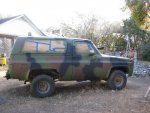
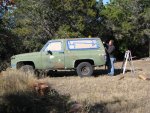
Well I had some vacation time around new years so I used it to work on my M1009 some more.
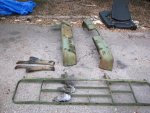
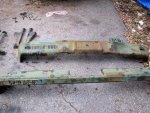
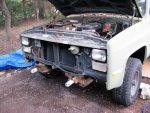
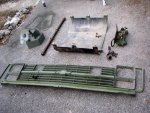
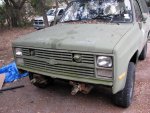
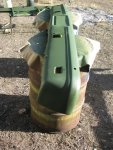
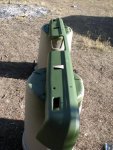
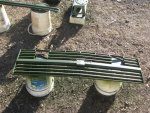
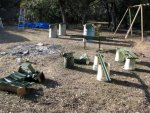
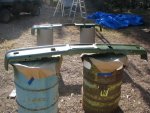
I completely removed the front and rear bumpers, brush guard, antenna mounts, the grill, wipers, and the gas tank guard plate.
The bumpers were a pain in the ass! Rusted carriage bolts suck! Took me all day just to get the bumpers off, I had to end up cutting some of the bolts apart.
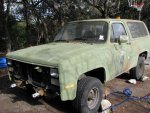
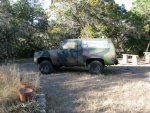
With this stuff off I was now ready to prep it for paint.
I sanded the entire truck down using a dual action sander with a mixture of 220 grit and 320 grit sanding pads.
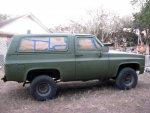
I also used a marine body filler to fill in smooth out some imperfections on the rocker panels where I had welded new metal in. This stuff is great; unlike bondo it does not absorb water.
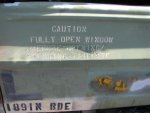
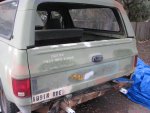
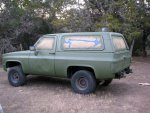
As I was sanding I noticed I forgot to remove the reflective stickers on the rear of the vehicle. Whatever you do, do not try to remove these things with a sander. I just creates a gooey mess! I discovered a hairdryer works much better.
I completely removed the front and rear bumpers, brush guard, antenna mounts, the grill, wipers, and the gas tank guard plate.
The bumpers were a pain in the ass! Rusted carriage bolts suck! Took me all day just to get the bumpers off, I had to end up cutting some of the bolts apart.
With this stuff off I was now ready to prep it for paint.
I sanded the entire truck down using a dual action sander with a mixture of 220 grit and 320 grit sanding pads.
I also used a marine body filler to fill in smooth out some imperfections on the rocker panels where I had welded new metal in. This stuff is great; unlike bondo it does not absorb water.
As I was sanding I noticed I forgot to remove the reflective stickers on the rear of the vehicle. Whatever you do, do not try to remove these things with a sander. I just creates a gooey mess! I discovered a hairdryer works much better.
Attachments
-
 73.4 KB Views: 94
 -
 100.2 KB Views: 88
 -
 101.3 KB Views: 85
 -
 86.4 KB Views: 82
 -
 101.8 KB Views: 77
 -
 65.3 KB Views: 90
 -
 95.2 KB Views: 77
 -
 87.7 KB Views: 110
 -
 90 KB Views: 93

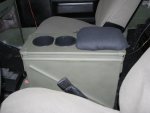

") Truck looks good! I like the console.
Truck looks good! I like the console.