• Steel Soldiers now has a few new forums, read more about it at: New Munitions Forums!

  • Microsoft MSN, Live, Hotmail, Outlook email users may not be receiving emails. We are working to resolve this issue. Please add support@steelsoldiers.com to your trusted contacts.

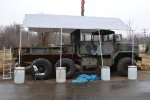
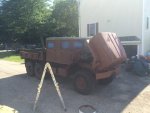
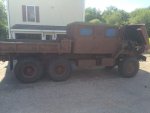
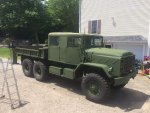
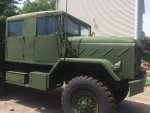
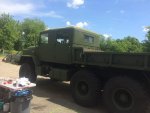
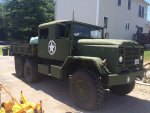
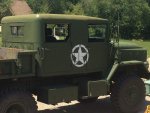
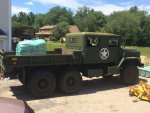
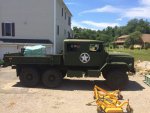
Starting my 5 ton crew cab project

Jeep Nasty

Active member
379
244
43
Location
NH
Just a note - do not put anything acid under a 2k surface. If you have the deep imbedded rust out the bare metal 2k primer will take care of killing any oxygen getting to the rest. With anything acid underneath 2k it will not adhere.

Many forums like SPI will advise the same.
I unfortunately have no idea what you are talking about. Ill have to do some research. Is acid in a self etching primer?
 

Jeep Nasty

Active member
379
244
43
Location
NH
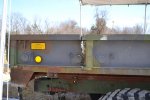
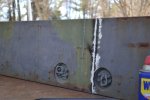
The bed is welded together, I sanded, put "rusty metal primer" to the underneath and I put it back on the truck. I wanted to put a coat of paint on underneath but I was in a rush to get the bed back on with the excavator, since the owner came to pick up the excavator and I no longer have access to it. The bed it back on after some messing with getting it lined up. I welded the seam on the inside of the bed, grinded it down and put primer on it.
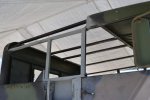
I put the dropsides back on, I need to grind the cuts on them and weld the pieces back together. I'm still waiting on my metal which should be in tomorrow, then I can get to finishing the hardtop and walls.
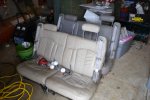
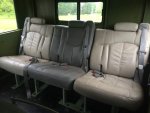
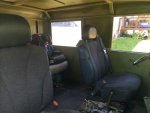
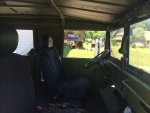
I picked up some 3rd row seats out of a yukon for cheap money that I will use in the interior. I can put one and a half sets in the rest making seating for 4 children with seat belts. I needed the shoulder belts built in since my kids are in booster seats. I may use the other section for the passenger seat front. I am looking for a cheap pair of front seats with the belts built in at the salvage yard, depending on what I find, I may get 2 fronts or just use the remaining section, for the passenger. I'm going to keep some space between the two front seats, for some type of console/ storage, I plan on putting some 12v electronics in like a radio.
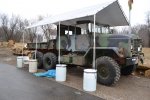
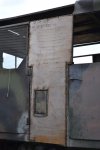
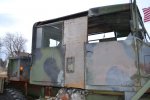
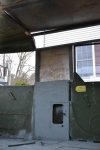
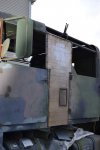
DSC_0342.jpgDSC_0344.jpgDSC_0343.jpg
 

Jeep Nasty

Active member
379
244
43
Location
NH
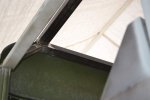
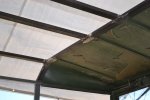
I welded on the side wall pieces and attempted to weld the hardtop together. Apparently you can't weld steel to aluminum without a friction welder.

So i'm thinking of pop riveting the center piece on and then applying an adhesive to seal it before Bondo.
DSC_0344.jpgDSC_0343.jpgDSC_0346.jpgDSC_0345.jpgDSC_0347.jpg
 

muthkw25

Well-known member
Steel Soldiers Supporter
473
544
93
Location
Sayre, PA
Looks good so far, How many hours have you invested so far in the project?
 
Last edited:

Jeep Nasty

Active member
379
244
43
Location
NH
Looks good so far, How many hours have you invested so far in the project?
Not sure, maybe 80 hours with no help. It's tough to add up time when I usually get 2 hours at a time. If we have decent weather, I try to get Ina hour or two once my kids go to bed, or once a week, I work a evening shift and get a few hours before work.
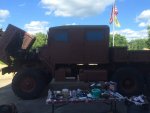
 

Jeep Nasty

Active member
379
244
43
Location
NH
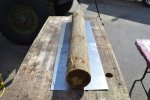
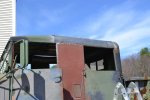
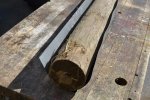
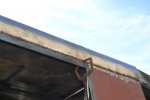
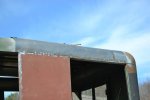
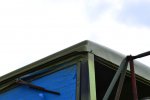
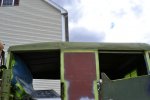
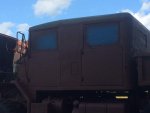
Hardtop is on and almost done. I put on the corners for the hardtop extension. I cut the pieces to size and then used a spare piece of landscaping post to roll the corner to the approximate curve of the top. It seemed to line up pretty well. I got it welded to the subrame alright and I need to finish pop riveting the steel to the existing aluminum pieces of the top. My manual pop riveter gave out and my forearms are smoked, so i'm stoping at a buddies to borrow his pneumatic riveter to finish the seems. I was planning on using some automotive seam sealer on the riveted seams, but I'm not sure if I should go with something a little heavier duty like "sem quickset 50". the sem is a little pricey since I need to buy the quick 50 and the special epoxy gun to use it.
Any input as to weather the seam sealer with be sufficiant?
I will be using the seam sealer on all the interior seams before apply the u-pol tintable bed liner that I am spraying the interior with.
 

Attachments

Last edited:

Jeep Nasty

Active member
379
244
43
Location
NH
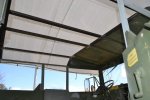
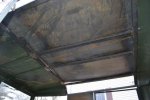
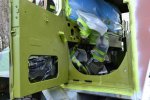
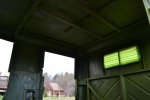
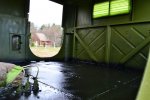
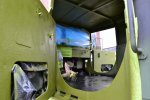
Well, a lot of rain and yard work has held things up for a couple weeks. I sprayed some tintable u-pol raptor bed liner for the interior and on the exterior of the hardtop. I liked the 2 part epoxy bedliner for exterior of hardtop to really seal up any gaps that may have been present after the automotive seam sealer, rivets and welding. I wanted an OD green color for the interior that was lighter and a little more fun for the kids, plus when I get a dome light in their I think it will light up better than the Behr 383 I'll be spraying the exterior. The raptor went on pretty easy yesterday and felt nice and hard today. I bought 2 kits (8 liters) thinking this would be enough for the exterior of hardtop and all of the interior (dash, walls, ceiling, floor). I came up short, I had just enough to get 1 thick coat everywhere as opposed to having enough to do 2 medium coats. I wanted the floor a little thicker, but due to cost, shipping, time, ect. I found a gallon of the rustoleum bed liner for $40 bucks and used about half (with the raptor spray gun) to put a nice second coat on the floor. I don't mind if it doesn't hold up as well since the epoxy raptor is adhered to the base primer and metal, protecting it. The seam sealer, seemed to keep all the water before the bed liner, but if there is any long term leaking, I may get another raptor kit and get the top nice and thick.
Anyway, I wanted to get an update and some more pictures up.
DSC_0351.jpgDSC_0352.jpgDSC_0353.jpgDSC_0355.jpgDSC_0354.jpgDSC_0356.jpgDSC_0357.jpg
 

Jeep Nasty

Active member
379
244
43
Location
NH
It's not as bright as those pictures make it seem. The pics look like neon OD green. It's much better in person.
 

Jeep Nasty

Active member
379
244
43
Location
NH
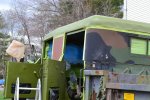
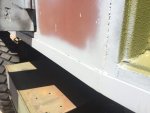
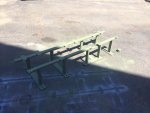
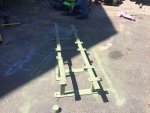
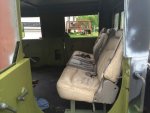
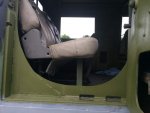
Well she's getting there I took a piece of flat steel and ran a line down the bottom edge of the cab to clean it up and reinforce it. I built a seat frame for my seats that are going in the rear. I got it mounted in the cab with the seats bolted down it's nice having a set up with the seatbelts already built into the seats. I have a whole free weekend to work on her this weekend I'm hoping to get Bondow primer and paint them to the exterior and she'll be just about done and then I'll finish up the front seats.ImageUploadedByTapatalk1401884354.011386.jpgImageUploadedByTapatalk1401884367.165675.jpgImageUploadedByTapatalk1401884377.353441.jpgImageUploadedByTapatalk1401884386.226969.jpgImageUploadedByTapatalk1401884397.572929.jpgImageUploadedByTapatalk1401884404.569953.jpgImageUploadedByTapatalk1401884412.269891.jpg
 

tobyS

Well-known member
4,832
833
113
Location
IN
Looks great!

The man I sold my 923 to is doing something very similar but he has contacts at an RV company and they custom made front and back seats for him.
The rear pulls down into a bed.
 

Jeep Nasty

Active member
379
244
43
Location
NH
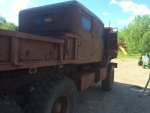
My buddy came over today and did the Bondo work for me, then we got the "rusty metal" primer put on all over.
She'll be turning green again tomorrow.ImageUploadedByTapatalk1402176255.332999.jpgImageUploadedByTapatalk1402176266.897937.jpgImageUploadedByTapatalk1402176275.217912.jpgImageUploadedByTapatalk1402176283.440857.jpgImageUploadedByTapatalk1402176295.906028.jpg
 

tactical45

New member
20
0
1
Location
pgh pa
I am new to this forum but just read your entire thread. Good to see the snow has left you for a few months. Fantastic transformation! I know alot of us who are planning a cab extension will use your photos and notes soon.
 

Jeep Nasty

Active member
379
244
43
Location
NH
Looking good!..Love the rear seats. Are they dodge seats ? I went with storage under my rear seats..comes in handy.
Thanks, rear seats are 3rd row (1 1/2 sets) out of a Tahoe. Front seats are 40/20/40 out of silverado. I would have liked some storage but I needed intergrated shoulder belts for kids booster seats and better safety for front passengers.
 

Jeep Nasty

Active member
379
244
43
Location
NH
ImageUploadedByTapatalk1405185100.235436.jpgImageUploadedByTapatalk1405185123.414148.jpgImageUploadedByTapatalk1405185137.368275.jpgImageUploadedByTapatalk1405185153.202894.jpgImageUploadedByTapatalk1405185174.670277.jpgImageUploadedByTapatalk1405185186.719305.jpg
Most of the major stuff is donee.
I still need to complete
Bed liner in rear
Insulation in cab and on floor
Radio and interior lights

Time is limited, so just a couple hours here and there to play.
 
Top