- 418
- 0
- 0
- Location
- Joseph, OR
Always enjoy reading your posts, Mike. Congrats on the soon to be delivery. Childbirth has to be one of God's greatest miracles! Blessings and best wishes for Mom, Baby and Dad.
Doug
Doug
Steel Soldiers now has a few new forums, read more about it at: New Munitions Forums!


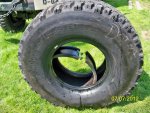


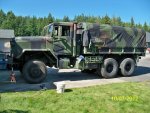
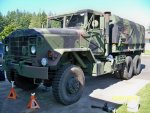
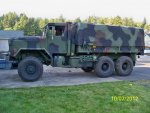
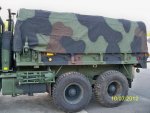
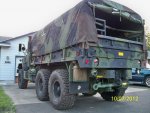
Oh Peter, this M923 project is my sanity project now. I took 6 weeks paid leave from work for our new baby. However, I am not one who can sit in the house all day. I've got to be doing something. After sitting idle for the better part of this week, this tire project is keeping my sanity...LOL. Not sure what other projects I can come up with for the remaining 5 weeks but I'm brainstormingSo has your wife decided that you have been moping around the house so she sent you out to work on the truck?
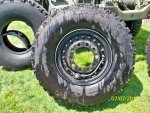
Nice job on the tires and wheels.
") .
.Thanks for the offer Peter. I wish I had room in my garage...LOL. I do need to find a foldable one or something. In the meantime, I'll need to rig up something to get one of those 395's in the back of the truck. Thinking about constructing an A-frame with 4x4 posts and the chain fall for the spare.Mike, I have a small roll around engine puller that would probably work great for your project. You are welcome to use it. I think it is rated for 2000. P
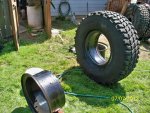
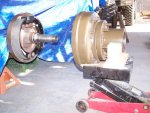
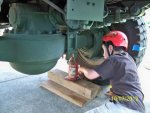
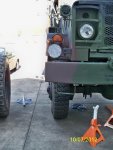
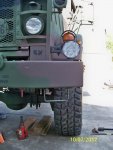
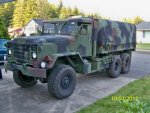
I made a little holder for a 3 ton floor jack that the hub will fit on to take it off and put them on. They are very heavy.I do need to rip into the hubs...I think. Those hubs look heavy. Might be time to invest in a cherry picker
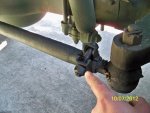
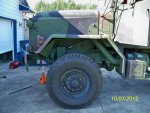
How did you get your tow bar cradle mount from?I went through and cleaned up a few projects that were completed. I lowered the solargizer mount down and made a swivel type system. This will allow me to raise the mount and point it towards the sun. I used stainless steel hardware with nylock nuts to keep the nuts from back out from use. I can access the mount via rear window on the hardtop.
I also got around to painting the towbar mounting bracket assy (finally had a break in the downpours). The tow bar is brand new but it's been sitting in the elements for sometime so she's a bit faded. Almost looks like she needs a new coat of paint to match her surroundings.
Pics:
1- Solargizer swivel mount
2,3- Towbar mounting bracket assy completed


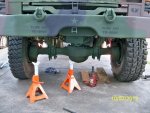
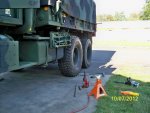

Alignment Cont
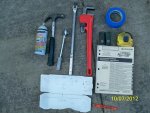
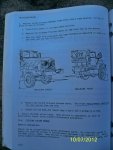
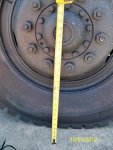
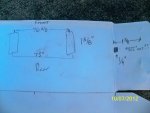
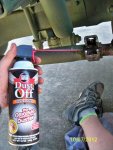
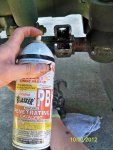
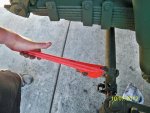
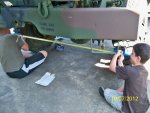
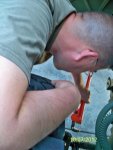
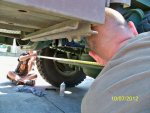
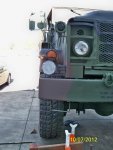
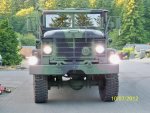
This procedure was pretty straightforward and very easy to do. It may sound like a big job but I think washing the truck is tougher. The most challenging part was freeing the threads on the tie rod ends to the shaft. It took a few whacks of the hammer and copious amounts of PB Blaster and muscle power. Eventually it will break free and you can turn the shaft. I ended up having to make four full revolutions of the shaft! Here's the measurements I ended up with:
Revolutions........Front measurement........Rear measurement
.......Two......................76 1/8"...........................75 3/8"..........
.......Four......................75 5/8"..........................75 7/8............Bingo!!
Pics:
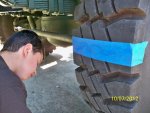
1- My son helping dad out with measurements
2- Wrenching the shaft with the pipe wrench
3- Taking more measurements
4- You guessed it, more measurements
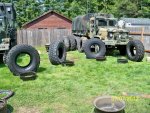
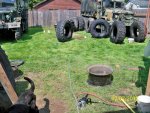
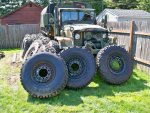
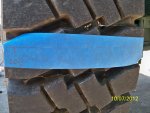
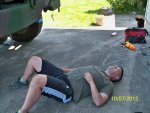
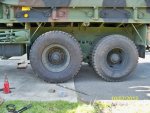
5- Task completed. A little rest before mounting my 395's.
 at me.
We get it, advertisements are annoying!
Sure, ad-blocking software does a great job at blocking ads, but it also blocks useful features of our website like our supporting vendors. Their ads help keep Steel Soldiers going. Please consider disabling your ad blockers for the site. Thanks!