Heater / Defroster Duct Removal.
Based on the abject failures of earlier this week and last, I decided to focus less on taking pictures. Why bother if it's not going to work out, am I right?
That being said, one thing led to another, and now all of the heater and defroster ductwork is being replaced. This is a good thing, as the cabin would just fill up with dust (sand) anytime either were turned on.
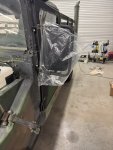
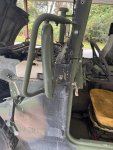
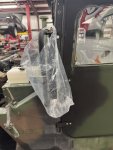
Any pictures I have then are post-mortem, rather than in-process, but I'll explain the best I can.
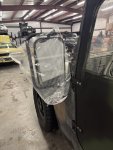
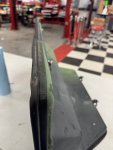
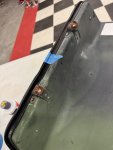
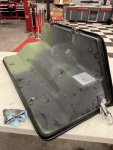
The first step is to remove the access cover on the passenger side. The fasteners don't quite match what's shown in the manuals, but mine was two bolts at the top right, and one screw at the lower left.
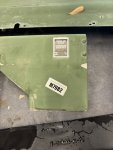
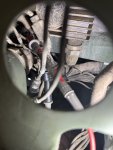
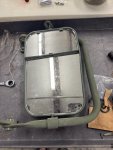
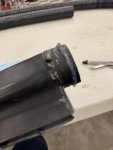
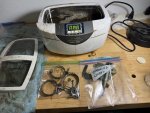
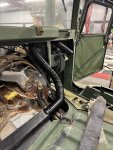
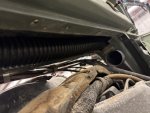
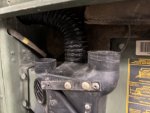
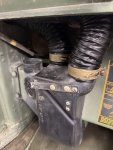
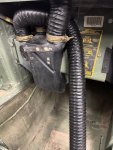
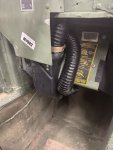
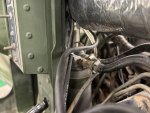
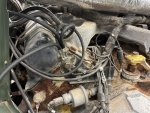
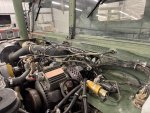
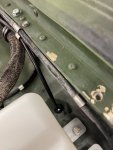
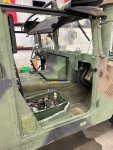
Once the cover is removed, you'll have full access to the entire unit, including both duct assemblies and all of the flex ducts. Obviously, I took this picture after the flex ducts were removed.
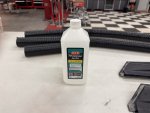
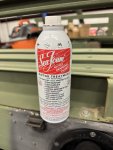
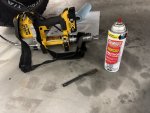
The bug sprayer is filled with soapy water, as I like to clean as I go.
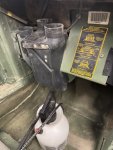
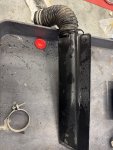
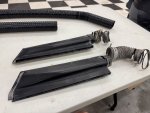
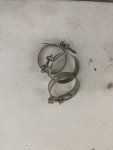
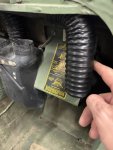
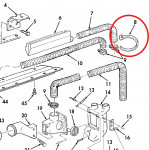
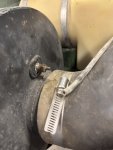
The right-hand defroster duct and nozzle are pretty easy going. Just unscrew the lower clamp and wiggle the nozzle out of its channel.
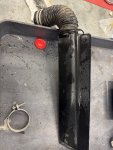
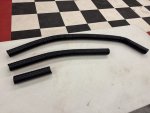
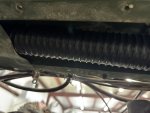
The large heater duct which bridges across the doghouse will need to be removed. For me, this needed to be replaced anyways. Mine didn't have any clamps, so it was just a slip-on/slip-off situation.
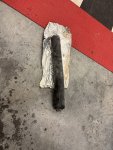
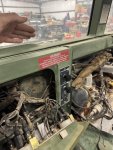
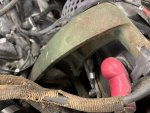
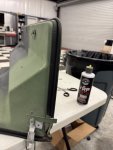
Once the heater duct is out of the way, there is a body panel and a retaining strip that will need to be removed from under the windshield frame. There's a total of eight screws inside the cabin, and three bolts in the engine compartment.
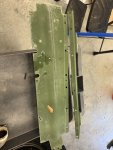
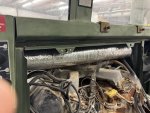
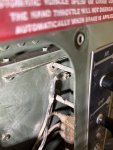
Once the body panel is removed, there will be some insulation strips that will also need to removed. In my case, they just fell out, so I didn't need to do much. The question is, how we will put this back together once the time comes to reinstall.
My money is on double sided tape, but we'll see.
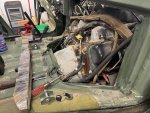
.
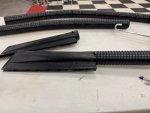
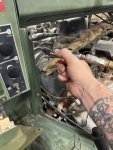
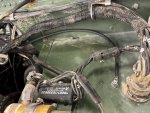
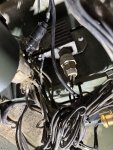
The left-hand duct and nozzle are almost more trouble than it's worth. From the doghouse side, pulling on the duct will get you a big handful of shredded duct work, but removal of the nozzle requires access from behind the dash.
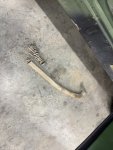
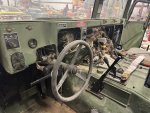
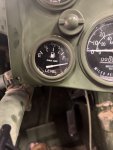
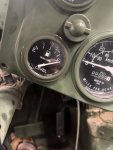
You're going to need to drop the steering column for this part. Also, I had already managed to break both my turn signal lever and air restriction gauge during my earlier exploits, so be careful.
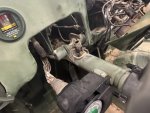
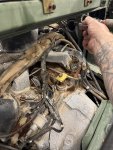
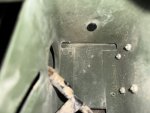
Once the steering column is dropped, you'll be able to access the retaining pin that holds in the left nozzle. It's still pretty tight to get to, but not impossible.

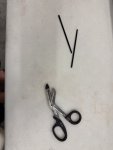
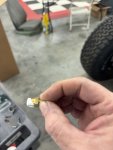
I ended up using an automotive trim tool and was able to get the retaining pin out, in mostly useable condition, for re-installation.
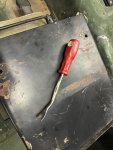
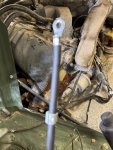
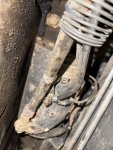
Retaining pin removed.
Considering how over-done, over-thought, and over-priced everything else is, it's like they got close to the end of building this truck and just said screw it. "We'll just use the interior trim pieces from a Chevy Cruze".
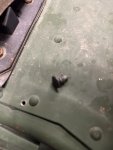
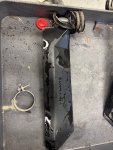
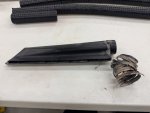
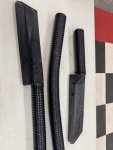
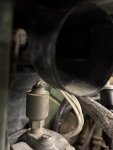
Left duct finally removed. It's a funny process getting this nozzle out, as you have to turn, twist, push, and then pull a few times, but eventually it does come out. Supposedly it should be turned clockwise to install, counterclockwise to remove. Supposedly.
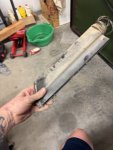
Once everything is cleaned up and organized, we'll start putting in the new parts; hopefully later today. More updates to follow...
