- 10,350
- 94
- 48
- Location
- Meadows of Dan, Virginia
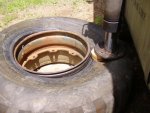
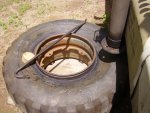
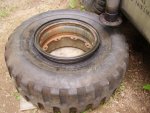
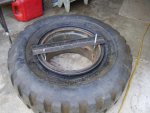
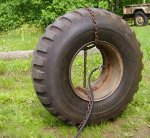
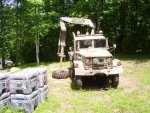
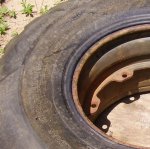
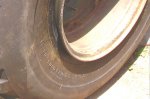
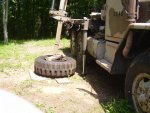
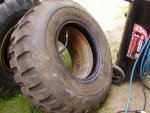
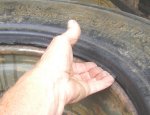
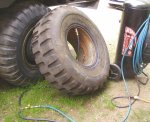
Well, got started anyway, couldn't get the bead over the "safety bump" (see other threads listed below), but the crane made the first stages of the mounting procedure relatively simple.
I used the "tire slick" soap and it seemed to help, but evaporated quickly in the sun.
Here are related threads:
http://www.steelsoldiers.com/conversations/35885-wheel-design-questions.html
http://www.steelsoldiers.com/deuce/35791-cranetruck-tire-bead-breaker.html
Question:
How do I proceed? What is the normal method used to get the bead further onto the tire? I'm guessing that air pressure will get the bead over the bump on the far side...
Thanks.
A couple of stats:
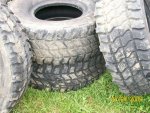
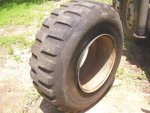
Tire weight: 139 lb
Wheel weight: 50 lb
I used the "tire slick" soap and it seemed to help, but evaporated quickly in the sun.
Here are related threads:
http://www.steelsoldiers.com/conversations/35885-wheel-design-questions.html
http://www.steelsoldiers.com/deuce/35791-cranetruck-tire-bead-breaker.html
Question:
How do I proceed? What is the normal method used to get the bead further onto the tire? I'm guessing that air pressure will get the bead over the bump on the far side...
Thanks.
A couple of stats:
Tire weight: 139 lb
Wheel weight: 50 lb
Attachments
-
 104.9 KB Views: 106
 -
 101.9 KB Views: 100
 -
 101.1 KB Views: 93
 -
 91.2 KB Views: 94
 -
 51.8 KB Views: 92
 -
 100.4 KB Views: 108
")