Snarky
New member
- 378
- 9
- 0
- Location
- Brazosport, TX
The following images were taken with a cellphone.
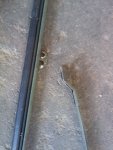
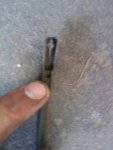
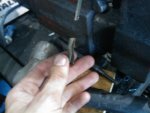
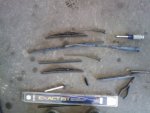
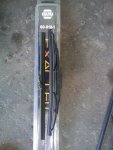
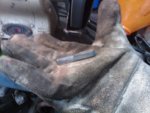
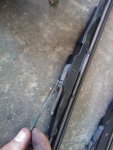
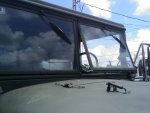
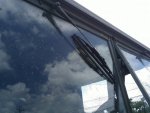
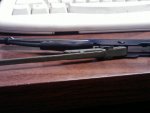
I found some 10 inch hook style wipers at napa (image 1), and I wanted to modify my stock wipers to accept them (image 2). Using assorted tools and a pair of ford wiper arms free from the junkyard I got 'er done. I figured I would share for anyone else that's curious.
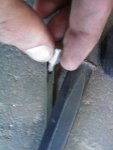
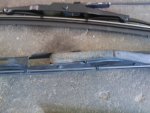
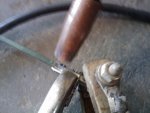
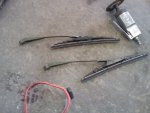
Your first step should be to remove your wiper arms from the truck. I used a 10mm nut driver. Then you should remove the blade from the arm (image 3).
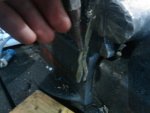
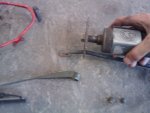
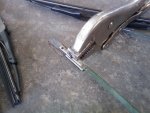
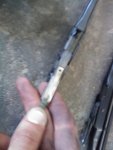
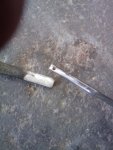
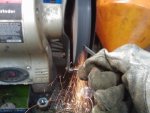
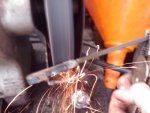
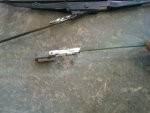
Next you need to remove the wiper arm end by punching out the little indention that locks the wiper end to the wiper arm (image 4). I used a screw driver bit and a hammer (image 5). I then completed the separation using a vice, punch, and hammer to knock the end off (image 6 and 7).
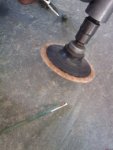
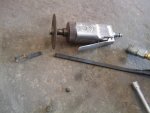
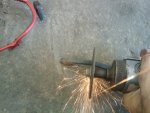
I used a wiper arm from a ford vehicle with a hooked end (image . I marked a cut off point about where the bend in the arm starts (image 9) and prepared to cut it with a cut off wheel (image 10).
More to follow.
I found some 10 inch hook style wipers at napa (image 1), and I wanted to modify my stock wipers to accept them (image 2). Using assorted tools and a pair of ford wiper arms free from the junkyard I got 'er done. I figured I would share for anyone else that's curious.
Your first step should be to remove your wiper arms from the truck. I used a 10mm nut driver. Then you should remove the blade from the arm (image 3).
Next you need to remove the wiper arm end by punching out the little indention that locks the wiper end to the wiper arm (image 4). I used a screw driver bit and a hammer (image 5). I then completed the separation using a vice, punch, and hammer to knock the end off (image 6 and 7).
I used a wiper arm from a ford vehicle with a hooked end (image
More to follow.
Attachments
-
40.3 KB Views: 59
-
42.8 KB Views: 56
-
30.9 KB Views: 56
-
33.3 KB Views: 55
-
46.6 KB Views: 56
-
45.2 KB Views: 55
-
54.1 KB Views: 56
-
66.3 KB Views: 59
-
50 KB Views: 58
-
41.5 KB Views: 58
Last edited:


