• Steel Soldiers now has a few new forums, read more about it at: New Munitions Forums!

  • Microsoft MSN, Live, Hotmail, Outlook email users may not be receiving emails. We are working to resolve this issue. Please add support@steelsoldiers.com to your trusted contacts.


Extreme RV from M36a2

SteelWarrior

Member
31
0
6
Location
portland, maine
You could always make up a quick double-wall heat shiels out of a couple pieces of muffler pipe - if you stopped by a shop I bet they'd give you a few short pieces for nothing... - Good idea being safe than sorry, your safety is paramount.
 

daddy2

Member
276
3
18
Location
Easton, PA
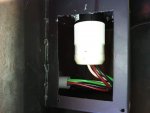
Ok guys it has been a while since the last post. I have made a lot of progress. I plan on flooding the site with current pics on Friday. for now I have a question about the turn signals. I apologize about not searching the history but time is not much I have right now. yesterday the turn signals worked fine. A few miles down the road the turn signal indicator on the steering column turned on but didn't flash for either right left or 4 ways. I pulled into a parking lot and checked everything. Brakes lights worked fine, driver side turn signals came on but didn't flash. Passenger side front came on solid with no flash but rear passenger did not come on at all. This morning I checked again. Drivers side now came on and flashed, passenger front came on and flashed but the rear passenger didn't come on. The indicator light on the column came on and blinked just fine for both right and left. The bulb looks fine and as I said, the brake lights are fine. Even changed bulb. but same thing. Any thoughts would be greatly appreciated.
 

RAYZER

Well-known member
3,380
58
48
Location
sanford/florida
razer, where exactly is the flasher module located? And on what side is the ground found on the fender wall. Thanks
The flasher module is located on the left fender well under the hood, the ground wire is grounded by one of the bolts that fastens the module.
 

daddy2

Member
276
3
18
Location
Easton, PA
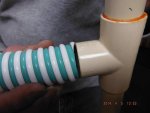
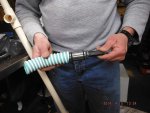
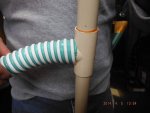
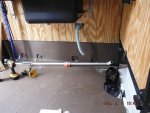
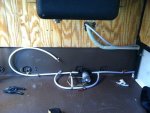
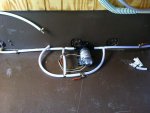
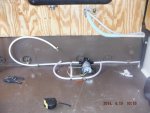
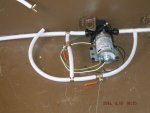
OK as promised, here begins a night of pic downloads. The first set of pics is of the water hook-up. Water lines, holding tanks and pump. I had a **** of a time getting the corrugated fill line to fit over the fittings. I ended up using a pipe expander to stretch out the hose a bit.


5082014 358.jpg5082014 360.jpg5082014 365.jpg5082014 363.jpg5082014 366.jpg5082014 367.jpg5082014 368.jpgIMG_0250.jpgIMG_0251.jpg5082014 359.jpg
 

daddy2

Member
276
3
18
Location
Easton, PA
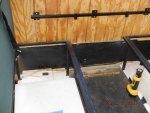
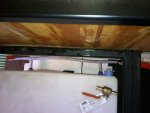
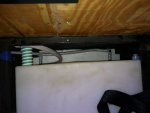
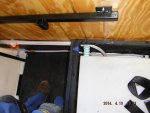
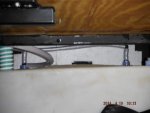
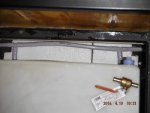
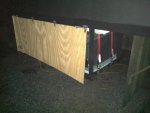
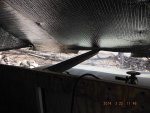
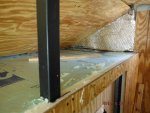
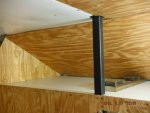
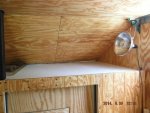
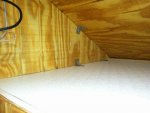
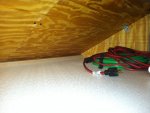
Next set of pics is the cab-over flooring re-do. I used 3/16 aluminum sheet metal with 3/4" foam board. The surface facing the outside is coated with rustoleum flat black truck bed liner, for looks only.


5082014 349.jpg5082014 350.jpg5082014 351.jpgDSCF5245.jpgDSCF5244.jpgDSCF5243.jpgDSCF5246.jpgDSCF5247.jpgDSCF5248.jpg
 

daddy2

Member
276
3
18
Location
Easton, PA
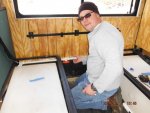
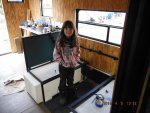
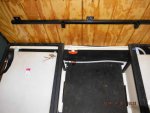
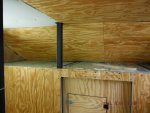
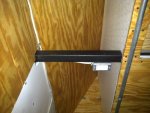
You might have noticed the center column 2*2 square tubing. That was a after thought. I actually noticed a 1/2" sag in the roof. So my engineering genius thought of doing this.[thumbzup] I guess a smart person would have used a better beam to spread across the front, but then half the fun is fixing the mistakes.aua The white material is the Lowes shower wall stuff that comes in a 4*8 sheet.

IMG_0335.jpgIMG_0336.jpg
 

Ferroequinologist

Resident railroad expert
Steel Soldiers Supporter
4,806
724
113
Location
Liberty Hill, SC
Great progress! I love seeing a project come together.

A tip for the hose- when I have that happen, I soften the hose up by boiling a pot of water, then setting the end of the hose in it till it softens up, then it will slip over what you need it to. Also when it cools it will be a nice tight fit. I have done this with many different types of hoses and sizes.
 

rustystud

Well-known member
9,071
2,388
113
Location
Woodinville, Washington
Great progress! I love seeing a project come together.

A tip for the hose- when I have that happen, I soften the hose up by boiling a pot of water, then setting the end of the hose in it till it softens up, then it will slip over what you need it to. Also when it cools it will be a nice tight fit. I have done this with many different types of hoses and sizes.
We use that trick at work all the time ! Works great. The only problem is you have to cut off the hose if you need to change it later.
 

daddy2

Member
276
3
18
Location
Easton, PA
We just got back from a week trip camping. It was a success. We had a great time. I learned we use a looooot of water. 84 gallons goes quick with four people taking baths. Also learned we have to get better organized. All in all we had a lot of fun. Hot showers felt really good.

Still having the turn signal problems. if anyone can post a pic of the module, that would help a lot. I also have to change the center axle wheel cylinders. Passenger side is leaking.

I did try the boiling water trick, but the problem was that the actual green hose was so thin that when I placed it in the boiling water, it shriveled up. It couldn't take the heat.

I will post more pics tomorrow to get caught up.
 

daddy2

Member
276
3
18
Location
Easton, PA
Hainebd, you obviously don't know my wife. Baths are not an option. She can get very very mean.

Thanks farmer, We hope to get up to the fall rally this year.

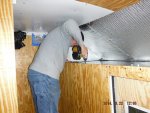
Now more pics of me setting up the electric.

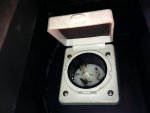
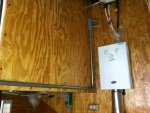
I decided on the 50 amp set up. I didn't like the idea of getting a 50amp to 30 amp adapter. 50 amp wires were 8 gauge thhn. This is expectable if the run is less than 100 feet. 30 amp is 10 gauge. It just didn't seem right to step down in wire size and up in amps. Just my two cents.

IMG_0294.jpgIMG_0293.jpgIMG_0292.jpgIMG_0297.jpgIMG_0298.jpgIMG_0324.jpgIMG_0325.jpgIMG_0326.jpgIMG_0327.jpg
 

daddy2

Member
276
3
18
Location
Easton, PA
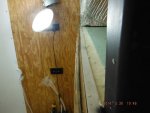
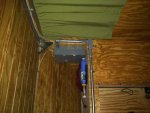
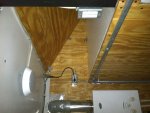
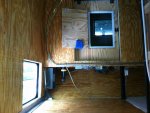
Sorry for the upside down and side ways pics, Not sure why the uploaded like that. Now the electrical configuration is simple. Bath room has a three switch box. It is the box on the cab over 2*2 brace. Top switch works the Bathroom light. The bottom two work the outlet in the last pic. One plug is for the exhaust fan and the other plug is for a .5 watt led night light. I am too lazy to unplug it in the morning. The kitchen counter top/sink area has a gfci on the right side and the left. The left side is for the air conditioner and the refrigerator. The right side is for the cooking griddle or what ever else she may want to use. The gfci outlets are in a double gang box so I was able to put a switch next to both of the gfci's. The switch on the left side is for the water pump and the switch on the right is for the kitchen light. The kitchen light is on a three way, meaning, for those who are not so familiar with electric, the light can be turned on and off from two different locations. The other switch is next to the refrigerator and the door wall. That way as soon as you enter the camper, you can turn on the light. I plan on adding three outside outlets and one next to the breaker panel. The nice thing is I am drawing less that 10 amps with all things running, not including the electric griddle. The A/C, the fridge, and the all the lights and water pump only was giving me 9.5 amps. That is including the initial draw when the air conditioner compressor kicks on. I think I will be good with solar and a nice battery bank in the future.
 
Top
AdBlock Detected

We get it, advertisements are annoying!

Sure, ad-blocking software does a great job at blocking ads, but it also blocks useful features of our website like our supporting vendors. Their ads help keep Steel Soldiers going. Please consider disabling your ad blockers for the site. Thanks!
I've Disabled AdBlock
No Thanks