• Steel Soldiers now has a few new forums, read more about it at: New Munitions Forums!

  • Microsoft MSN, Live, Hotmail, Outlook email users may not be receiving emails. We are working to resolve this issue. Please add support@steelsoldiers.com to your trusted contacts.

Fixing the 1998 HMMWV

mrandig

Member
44
70
18
Location
Houston, TX
For Day 5, I did get in a set of new doors, a soft top and a rear curtain. But that's about all for today. The rest of the time was spent researching, ordering, and now just waiting on parts.

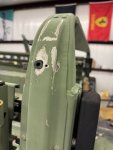
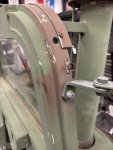
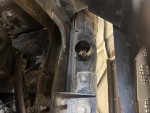
However, I was able to figure out the holes where my roof rails are supposed to mount. They looked like someone went at them with a drill and then followed up with a grinder.

Then, thanks to the -24P, my "ah-ha" moment arrived; someone did just that. There used to be riv-nuts installed in these holes.
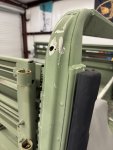
20250108-230636-001.jpg

20250108-230641-002.jpg

So basically, the solution here is similar, but I went with rubber well nuts instead. These should work just fine, assuming the holes aren't too dogged out and oversized. Well nuts are rubber and expand as they're tightened, versus riv-nuts, which are metal and expand using a special tool.
20250108-230652-003.jpg

20250108-230707-004.jpg

20250108-230712-005.jpg

Unfortunately, that's where my story ends for today. The fasteners that came included with my roof rails are too short. Rather than being 10-32 x 3/4, they were 10-32 x 1/2, which isn't going to be long enough.

So, I'm now back to waiting. While the first 5 posts for working on this truck were daily, it's going to be longer now, just because of parts. It was a good run, and lots of work got accomplished, but now it's up to ebay and amazon.
 
Last edited:

Mogman

Moderator
Staff member
Moderator
Steel Soldiers Supporter
7,150
9,967
113
Location
Papalote, TX
For Day 5, I did get in a set of new doors, a soft top and a rear curtain. But that's about all for today. The rest of the time was spent researching, ordering, and now just waiting on parts.

However, I was able to figure out the holes where my roof rails are supposed to mount. They looked like someone went at them with a drill and then followed up with a grinder.

Then, thanks to the -24P, my "ah-ha" moment arrived; someone did just that. There used to be riv-nuts installed in these holes.
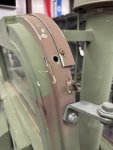
View attachment 938781

View attachment 938782

So basically, the solution here is similar, but I went with rubber well nuts instead. These should work just fine, assuming the holes aren't too dogged out and oversized. Well nuts are rubber and expand as they're tightened, versus riv-nuts, which are metal and expand using a special tool.
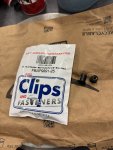
View attachment 938783

View attachment 938784

View attachment 938785

Unfortunately, that's were my story ends for today. The fasteners that came included with my roof rails are too short. Rather than being 10-32 x 3/4, they were 10-32 x 1/2, which isn't going to be long enough.

So, I'm now back to waiting. While the first 5 posts for working on this truck were daily, it's going to be longer now, just because of parts. It was a good run, and lots of work got accomplished, but now it's up to ebay and amazon.
Those were originally rubber well nuts IIRC
 

mrandig

Member
44
70
18
Location
Houston, TX
Now we're on to Day 3. Good times all around.

That sand is so fine, gets everywhere, and just won't come off easily.

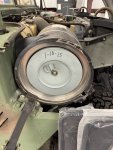
Today's lesson: DO NOT try to clean your air filter with a hose. It doesn't work that way. Just go ahead spend the $75.00...
View attachment 938677
Honestly, it looks like the water-washed air filter turned out all right after all. After a few days of drying, it seems fine, (and now it's totally clean).

That being said, I had already put in a new replacement, so it's just headed to the trash anyways.
20250111-151001-001.jpg
 

mrandig

Member
44
70
18
Location
Houston, TX
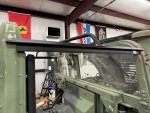
Rubber well nuts in place, new screws, and side rails installed. Considering how bad the holes were screwed up, I wouldn't call this assembly structurally strong, but I guess it will be sturdy enough. We'll see how it holds up.

I'm going to hold off on putting the rest of the door and soft top kit on, until everything else inside is complete. I still need to replace the main light switch, the stoplight switch, the parking brake lever, and troubleshoot the gauges. And I also need to replace the driver's seat. The more ambient light I have, the better to work with.
20250111-160258-003.jpg
 
Last edited:

mrandig

Member
44
70
18
Location
Houston, TX
New turn signal. It's supposed to be self-cancelling, but it looks like I'll also need to replace the ring on the steering wheel, in order for it work that way.

I also managed to break off the tiny reset button on the air filter restriction gauge in the process.

So truly one step forward, two steps back...
20250111-160318-004.jpg
 
Last edited:

mrandig

Member
44
70
18
Location
Houston, TX
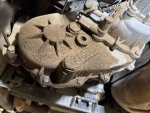
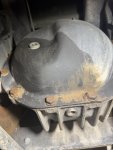
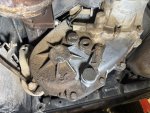
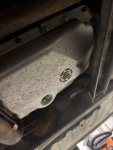
If anyone is keeping track, I had mentioned earlier that the transfer case had a leak, but I wasn't going to worry about it.

As it turns out, the leak is from a bad front seal, and it had just migrated to the rear cover. I guess that before I refill the transfer case, I am actually going need to fix it.
20250106-212340-009.jpg
 

mrandig

Member
44
70
18
Location
Houston, TX
Based on the parts I have available today, I'm left with 3 options:

A) Drop the crossmember, the transmission pan, and replace the transmission filter; or
B) Replace the fuel filter and water separator; or
C) Replace the Driver's seat.

Both options "A" and "B" just seem like pure pain. I decided to go with option "C", which is to replace the seat.

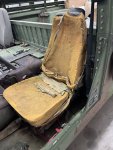
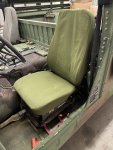
This is what is being replaced. It's pretty wasted.
20250112-151002-001.jpg

My hands are almost too big, but I was able to get underneath and remove the nuts holding the seat in. I originally thought the base had been painted, but it actually was just dirt.
20250112-155349-002.jpg

If only I could get the seat to move back, forward, up or down. Maybe we'll let everything soak for awhile
20250112-155404-003.jpg

Final result - the new seat is in. Not adjustable (yet), but it is installed. Now the Commander's seat definitely needs to be re-covered, as this new seat makes the old one look pretty worn out.
20250112-163247-004.jpg
 
Last edited:

mrandig

Member
44
70
18
Location
Houston, TX
I almost forgot that I still had re-filling the differentials and bleeding the brakes on my "to-do" list. I figured I might as well get that knocked out today also.

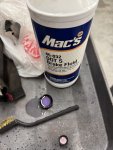
I did not know the new brake fluid was going to be purple. That's cool. It actually makes it easier to see when all of the old brake fluid has been flushed out.

I actually ended up using two full bottles of new fluid, so we should be pretty cleaned out by this point.
20250112-173217-006.jpg

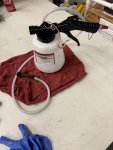
For the brake bleeding, I went over to Harbor Freight and got a new brake bleeding kit. I've been thinking about getting one of these kits for years, and it absolutely does make one-man brake bleeding so, so, so much easier. At Harbor Freight they're less than $30.00.

If you've also been thinking about getting one of these also, don't wait. Get in now.
20250112-173027-005.jpg
 

mrandig

Member
44
70
18
Location
Houston, TX
I just realized that today is the 10-day anniversary of starting this project.

We started this work on 01/04/25, and I still have a list of 25 items left to complete. Can we get this entire project completed in 2 weeks' time?

It's going to be tight, but the goal is to be back running and roadworthy by 01/18/25. We'll have to see how things turn out...
 
Last edited:
mrandig

Member
44
70
18
Location
Houston, TX
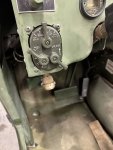
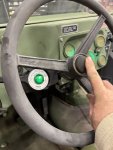
New main light switch.

This one is easy. The switch is on the lower left of the dash. Remove the electrical connector from the rear of the switch, then remove the four screws holding the light switch in place. The switch will pull out from the rear. Installation of the new part is the reverse of removal.
20250114-091330-001.jpg

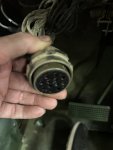
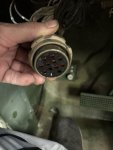
Electrical plug.
20250114-091805-007.jpg

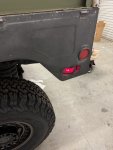
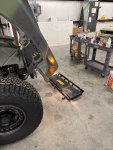
Side marker lights now work.
20250114-092051-008.jpg

20250114-092105-010.jpg

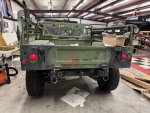
Taillights now work.
20250114-092056-009.jpg

Headlights now work.
20250114-092112-011.jpg

Blinkers and horn now work also. Still waiting on the stoplight switch for the brakes, but that should be arriving here later today.
20250114-092123-012.jpg
 

mrandig

Member
44
70
18
Location
Houston, TX
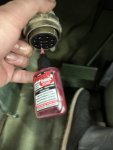
Cleaning procedure.

I've been revising my cleaning procedure for electrical connections over the last few days. This seems to work really good for me and this particular truck. Your results may vary.

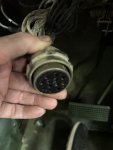
The following shows a female plug. Obviously, the male end wouldn't have as many steps.

Step one.

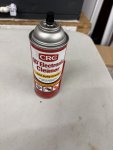
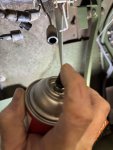
QD Electronics cleaner (quick-drying spray).
20250114-091531-004.jpg

Spray across face of the connector. Let dry.
20250114-091505-003.jpg

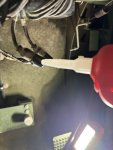
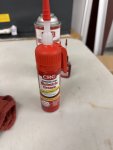
Step two.

DeoxIT D100L-25C Precision Needle Applicator, More Than A Contact Cleaner, 25 mL.
20250114-091658-006.jpg

Insert needle fully, then use one drop per connection.
20250114-091644-005.jpg

Step three:

Dielectric grease.
20250114-092209-013.jpg

Place a dab of the connector. Don't overdo this step, as it's not supposed to go into the connectors. Just use a small amount and then spread across the plug face.
20250114-091805-007.jpg

Step four:

Reassemble the female and male plugs. Function test. Easy Peasy.

Step five:

Beer.

The End
 

mrandig

Member
44
70
18
Location
Houston, TX
I'm a little behind on my posts here. What was supposed to be one week, has now become a month.

Part of the delay has been due to parts availability and delivery times, but it's also been one surprise after another. And I dont mean that in a good way...

I've got a few new posts to follow, but there's still more work to go.
 
Last edited:
mrandig

Member
44
70
18
Location
Houston, TX
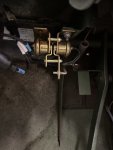
New brake switch.

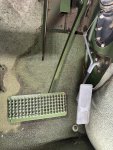
One of the problems I had on my list was the brake lights. They did work, but not until the last inch or so of brake pedal travel. Basically, my foot was down at the floor before the brake lights would turn on, if they did at all.

The brake switch is located under the dash on the driver's side.
20250116-134152-001.jpg

Remove the clip and the rod linkage.
20250116-134454-002.jpg

20250116-134606-003.jpg

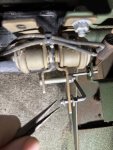
There will be three electrical connectors. Two are female connectors, one is male. Disconnect these and clean the contacts. Obviously, you won't need to clean the switch-side that being replaced.
20250116-134620-004.jpg

20250116-134649-005.jpg

20250116-134937-006.jpg

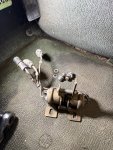
Here's the old switch after being removed.
20250116-135300-007.jpg

Once the contacts are cleaned, I put a little dielectric grease on the boots just so there's a good seal.
20250116-135909-008.jpg

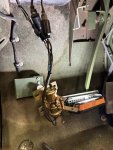
Here's the replacement switch connected. Now's a good time to function test.
20250116-140337-009.jpg

Replacement switch installed. You'll need to slide it back and forth until it works properly. Too far forward, and the lights will stay on continuously. Too far rearward, and they won't come on until after you've started braking.

Regardless of how hard I tried, I couldn't set it perfectly, but it does work now as intended.
20250116-141446-010.jpg

Here's a final pic of the lights working on/off.

OOPS. I forgot to take a picture. Since the batteries are now out of the truck, and on a trickle charger, I guess we'll have to do without. Moving right along...
 
Last edited:
mrandig

Member
44
70
18
Location
Houston, TX
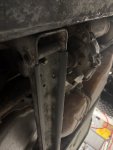
Speaking of surprises, did anyone see this in the previous post? Look closely...

20250116-135300-007.jpg

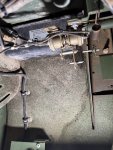
Look closely at where the floor transitions to the toe panel.

It seems like I've sprung a new leak.

20250216-231134-016.jpg

I've got my opinions as to what this is from, but since this isn't a repair that I'm working on at the moment, I'm open to any and all thoughts or suggestions. Thanks in advance.
 
Last edited:
mrandig

Member
44
70
18
Location
Houston, TX
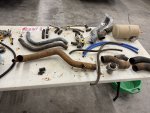
New coolant hoses (Part 1)

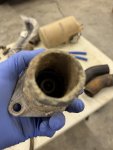
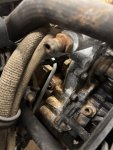
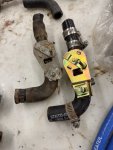
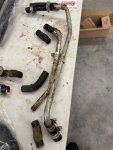
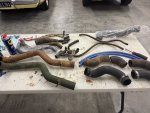
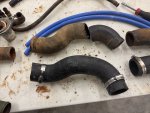
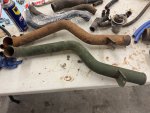
Ignoring the surprise leak that has sprung up inside the cabin, I took a long pause and decided to change coolant hoses. All of them. Every single one. At the same time.

I had purchased a full car set of hoses a few weeks ago, and I have to say it was pretty good. The kit that arrived was complete, sized correctly, and good quality.

In full disclosure, I would never have removed all of the hoses at once, but that's just me. I would have removed and replaced these one at a time, so if I got interrupted, I'd be able to figure out where I left off. Lacking motivation, I found some help, and now I remember why I don't let other people work on my cars.

Now, I have to sort out all of these hoses. I also need to find my missing tools.
20250216-223350-002.jpg

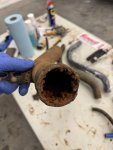
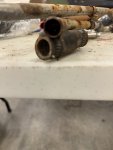
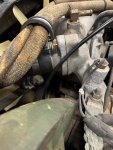
Turns out, the situation here was more dire than I had expected. I don't know when this system was flushed last, but I swear it was filled with just water. It was filled with only water a long time ago, by the looks of it. I once had a car that I left in storage filled with only tap water for 10 years, and it wasn't close to being this bad.
20250216-223405-003.jpg

20250216-223535-006.jpg

20250216-223753-015.jpg

The fittings should probably go also.
20250216-223418-004.jpg

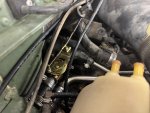
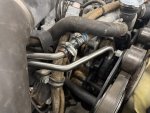
I can see now why my heater control was so stiff.
20250216-223621-008.jpg

20250216-223634-009.jpg

I titled this post as "Part 1", as I only got as far as a installing a new thermostat and water neck. I'll do a "Part 2" to this post once I get in some new parts. More new parts.
20250216-223607-007.jpg
 
Last edited:
Top
AdBlock Detected

We get it, advertisements are annoying!

Sure, ad-blocking software does a great job at blocking ads, but it also blocks useful features of our website like our supporting vendors. Their ads help keep Steel Soldiers going. Please consider disabling your ad blockers for the site. Thanks!

I've Disabled AdBlock
No Thanks