- 152
- 176
- 43
- Location
- Houston, TX
Right splash shield removal.
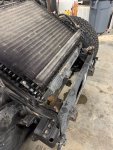
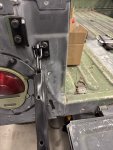
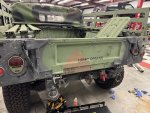
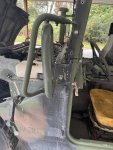
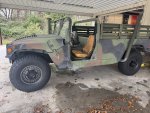
Now to remove the right splash shield. This time, we've got the correct picture. In general, this is almost the same process as the left side, just with fewer parts.
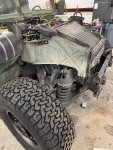
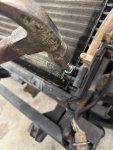
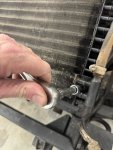
Remove the bolt, washers and nut at the lower front of the splash shield. These were 14mm for me.
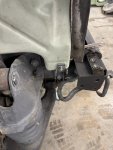
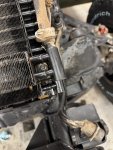
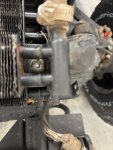
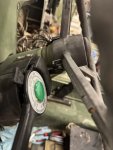
Remove the nuts from the studs at the control arm. There will be one upper and one lower, securing the shield to the airlift bracket. For me, these were also 14mm.
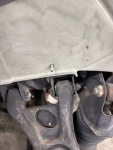
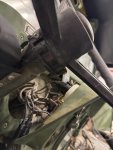
There will be a bolt aft of the control arm. Beyond indexing the shield into position, this doesn't seem to do anything. Somebody here might know more about this than me.
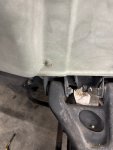
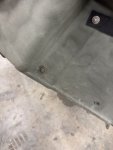
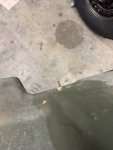
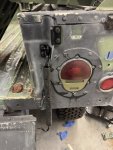
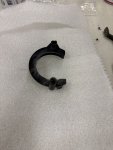
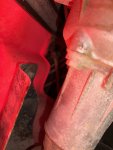
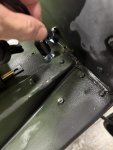
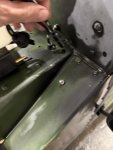
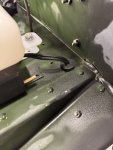
The final bolt will be at the rear, towards the very bottom. Rather than securing the shield to the frame, this secures the fuel line to the body. For me this was 13mm.
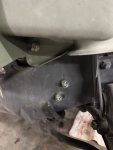
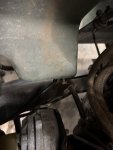
Give the shield a few wiggles and it should come out. Be gentle.
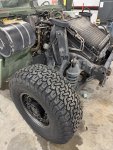
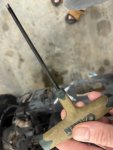
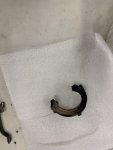
Lastly, I like to give everything a good rinse off after removal. Wife's dishwashing brush works well.
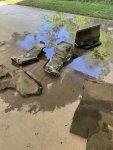
Now to remove the right splash shield. This time, we've got the correct picture. In general, this is almost the same process as the left side, just with fewer parts.

Remove the bolt, washers and nut at the lower front of the splash shield. These were 14mm for me.

Remove the nuts from the studs at the control arm. There will be one upper and one lower, securing the shield to the airlift bracket. For me, these were also 14mm.

There will be a bolt aft of the control arm. Beyond indexing the shield into position, this doesn't seem to do anything. Somebody here might know more about this than me.


The final bolt will be at the rear, towards the very bottom. Rather than securing the shield to the frame, this secures the fuel line to the body. For me this was 13mm.


Give the shield a few wiggles and it should come out. Be gentle.

Lastly, I like to give everything a good rinse off after removal. Wife's dishwashing brush works well.

Last edited:


