- 161
- 181
- 43
- Location
- Houston, TX
Hydro Boost Unit - Removal
I noticed the driver's side toe board / firewall was wet back in February, when I was replacing the brake switch. It's pretty obvious that the hydro boost unit was leaking. That, and also the fact that it didn't work.
IIRC, if the hydro boost unit is leaking on the engine side, it's repairable, as it's probably just a seal; leaking inside the cabin means the unit is un-repairable, as it's from the pushrod. In this case, I don't believe it's repairable at my level, but I'll let others chime in if I'm wrong.
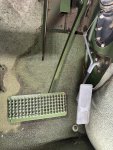
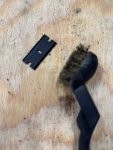
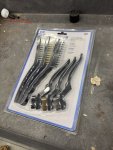
For this one, I'm going to need to get out some new brushes for scrubbing.
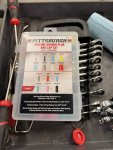
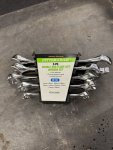
I'm also going to need a set of metric flare nut wrenches.
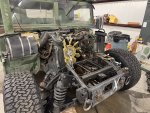
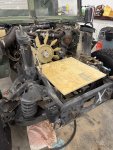
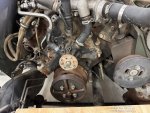
The hydro boost unit bolts directly to the firewall, sitting behind the brake master cylinder. The first step then, is to get the brake master cylinder out of the way.
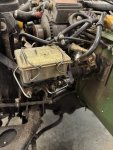
The master cylinder only has two nuts holding it onto studs at the hydro boost unit; one is on the left (outboard) and one on the right (inboard). Both have some hardware attached, so it will take a few extra steps to remove.
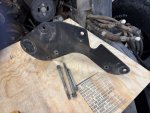
First, this bracket goes from the master cylinder to the left splash shield and will need to be removed, as the nut you need to access is underneath. In my case, I had already removed the splash shield, so this was no big deal.
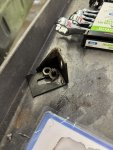
15mm seems like a good place to start.
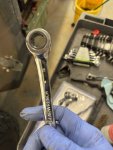
With the splash shield bracket removed, the outboard (left) master brake cylinder nut can be removed from the stud on the hydro boost unit.
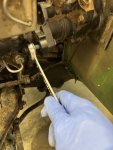
Second, on the inner (right) side, remove the nut and washer holding the proportioning valve in place. The nut you need to access to remove the master cylinder is also underneath on this other side.
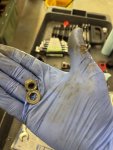
Once it's loose, gently move the proportioning valve out of the way. In my case, it didn't need to be disconnected.
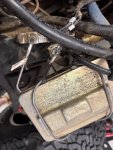
With the proportioning valve out of the way, the inboard (right) master cylinder nut can be removed from its stud on the hydro boost unit.
Once loose, the entire master cylinder can be moved to the side. In my case, there was plenty of length in the brake lines to do this without pinching or bending anything. Since we didn't remove any brake lines, the brake system shouldn't need to be bled afterwards either. Added bonus.
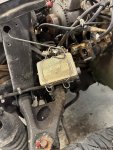
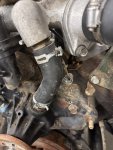
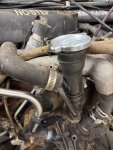
Keep track of the hoses, and which ones are supposed to go where. I'm replacing these hoses at this same time, so I'm not super-concerned with dirt, but otherwise I would be.
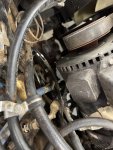
There should be two high-pressure hoses, and one low pressure return hose. Of the high-pressure hoses, the outboard one goes to the steering gear; the inboard one, and the low-pressure hose, both go to the power steering pump.
I damaged the low-pressure hose getting it off, but again, I'm replacing all of these.
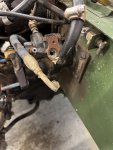
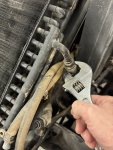
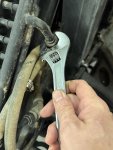
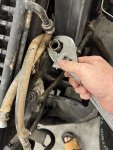
A 19mm flare nut wrench will get the high-pressure hoses off without any damage.
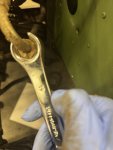
Both high-pressure hoses will also have O-rings that will need to be replaced.
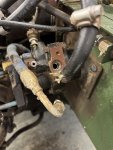
Finally, there is a small drain tube at the bottom of the hydro boost unit. This isn't shown in the TM -20; this is actually a leftover group 3305 part for the DWF kit. Just remember it's there before yanking out the unit.
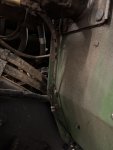
Here's the same picture, only cleaner with better lighting.
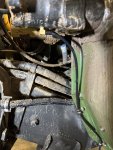
Inside the cabin, there are 4 nuts, with lock washers and flat washers, to remove the hydro boost unit.
The hydro boost pushrod is connected to the pedal with two washers and cotter pin. The outer washer is a 1/2" flat washer, while the inner washer is a 1/2" spring tension (wave) washer. I'm not quite sure at the moment how the later will be replaced.
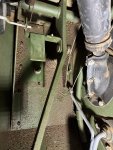
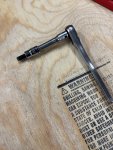
A long socket extension with a universal joint makes this pretty easy.
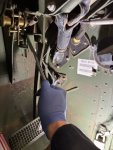
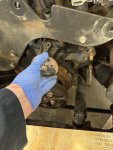
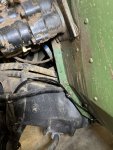
I don't remember what this picture was for, but obviously the entire unit is disconnected; make sure the hydro boost unit doesn't fall out once the fasteners are removed. You might want someone to hold it on the opposite side.
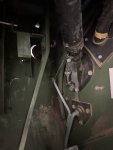
Again, don't forget to remove the drain hose.
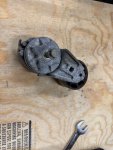
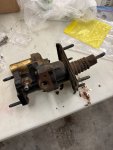
Here's the old unit. Still leaking, even while it's sitting on a table...
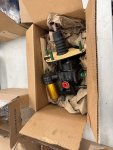
Here's the new one.
We'll save what happens next for another post, probably later today.
I noticed the driver's side toe board / firewall was wet back in February, when I was replacing the brake switch. It's pretty obvious that the hydro boost unit was leaking. That, and also the fact that it didn't work.
IIRC, if the hydro boost unit is leaking on the engine side, it's repairable, as it's probably just a seal; leaking inside the cabin means the unit is un-repairable, as it's from the pushrod. In this case, I don't believe it's repairable at my level, but I'll let others chime in if I'm wrong.

For this one, I'm going to need to get out some new brushes for scrubbing.

I'm also going to need a set of metric flare nut wrenches.

The hydro boost unit bolts directly to the firewall, sitting behind the brake master cylinder. The first step then, is to get the brake master cylinder out of the way.

The master cylinder only has two nuts holding it onto studs at the hydro boost unit; one is on the left (outboard) and one on the right (inboard). Both have some hardware attached, so it will take a few extra steps to remove.
First, this bracket goes from the master cylinder to the left splash shield and will need to be removed, as the nut you need to access is underneath. In my case, I had already removed the splash shield, so this was no big deal.

15mm seems like a good place to start.

With the splash shield bracket removed, the outboard (left) master brake cylinder nut can be removed from the stud on the hydro boost unit.

Second, on the inner (right) side, remove the nut and washer holding the proportioning valve in place. The nut you need to access to remove the master cylinder is also underneath on this other side.

Once it's loose, gently move the proportioning valve out of the way. In my case, it didn't need to be disconnected.

With the proportioning valve out of the way, the inboard (right) master cylinder nut can be removed from its stud on the hydro boost unit.
Once loose, the entire master cylinder can be moved to the side. In my case, there was plenty of length in the brake lines to do this without pinching or bending anything. Since we didn't remove any brake lines, the brake system shouldn't need to be bled afterwards either. Added bonus.

Keep track of the hoses, and which ones are supposed to go where. I'm replacing these hoses at this same time, so I'm not super-concerned with dirt, but otherwise I would be.

There should be two high-pressure hoses, and one low pressure return hose. Of the high-pressure hoses, the outboard one goes to the steering gear; the inboard one, and the low-pressure hose, both go to the power steering pump.
I damaged the low-pressure hose getting it off, but again, I'm replacing all of these.

A 19mm flare nut wrench will get the high-pressure hoses off without any damage.

Both high-pressure hoses will also have O-rings that will need to be replaced.

Finally, there is a small drain tube at the bottom of the hydro boost unit. This isn't shown in the TM -20; this is actually a leftover group 3305 part for the DWF kit. Just remember it's there before yanking out the unit.

Here's the same picture, only cleaner with better lighting.

Inside the cabin, there are 4 nuts, with lock washers and flat washers, to remove the hydro boost unit.
The hydro boost pushrod is connected to the pedal with two washers and cotter pin. The outer washer is a 1/2" flat washer, while the inner washer is a 1/2" spring tension (wave) washer. I'm not quite sure at the moment how the later will be replaced.

A long socket extension with a universal joint makes this pretty easy.

I don't remember what this picture was for, but obviously the entire unit is disconnected; make sure the hydro boost unit doesn't fall out once the fasteners are removed. You might want someone to hold it on the opposite side.

Again, don't forget to remove the drain hose.

Here's the old unit. Still leaking, even while it's sitting on a table...

Here's the new one.

We'll save what happens next for another post, probably later today.
Last edited:


