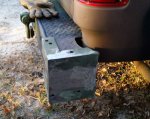
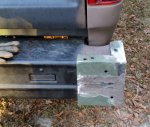
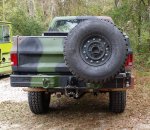
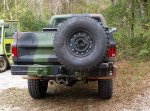
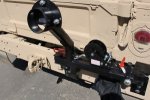
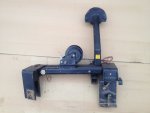
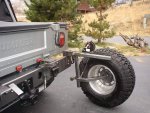
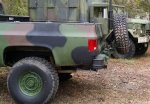
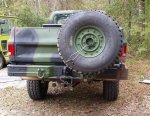
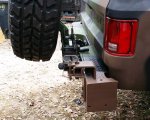
After drilling the two holes for the mounting bolts I was able to install the corner piece I fabricated yesterday. I cut a 1/4" thick plate 3-1/2" x 5-1/4" plate that I used to reinforce the inside of the bumper. I removed the 2 original bolts from the bumper corner. Then I marked the backing plate and drilled 2 holes in it to line up with the existing holes in the bumper. I then reinstalled the bolts throught the new plate and tightened them up. I then drill 2 holes through the plate using the existing holes I had drill thought the corner piece i had fabricated yesterday. I was then able to insert the bolts through the tire carrier bracket into the bumper and the backing plate I installed. I secured the mounting brackets for the tire carrier with one 5/8" x 4" long bolt and one 1/2" x 4" bolt.
I then inserted the rest of the tire carrier into the corner bracket and secured it in place using the provided bolt. I noticed the left side of the bumper bracket was interfering with the tailgate when I tried to lower it. I cut 1/2" off the side of the mounting bracket to allow the tailgate to be lowered down.
When I swung the tire carrier to the closed position it was hitting the right shackle mount. I had to custom cut the tire carrier to make it fit correctly.
Once I had the tire carrier moving properly it was time to fabricate a bracket to secure the left side of the arm to the bumper. (That bracket was missing when I got the tire carrier) I used two pieced of heavy angle welded together in a L shape to make the mounting bracket. I used two 1/2" bolts to attach it to the bumper on the other side of the shackle mount. I then lined up the tire carrier tube over the bracket and drilled a 1/2" hole into the top of the bracket. I then inserted a pull pin to secure the tire carrier in "travel" mode.
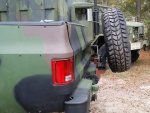
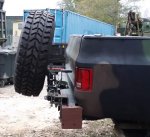
I mounted the tire to the carrier and secured into place. Looks good.
![Thumbs Up [thumbzup] [thumbzup]](https://www.steelsoldiers.com/images/smilies/icon_smile_thumzup.gif)
I will paint it the next dry day we have.


