• Steel Soldiers now has a few new forums, read more about it at: New Munitions Forums!

  • Microsoft MSN, Live, Hotmail, Outlook email users may not be receiving emails. We are working to resolve this issue. Please add support@steelsoldiers.com to your trusted contacts.

goldneagle's 1985 M1008 recovery and restoration thread...

goldneagle

Well-known member
4,537
1,067
113
Location
Slidell, LA
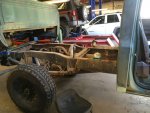
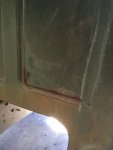
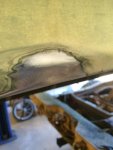
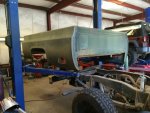
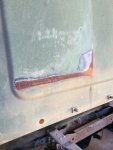
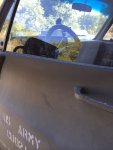
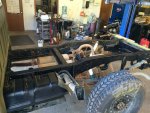
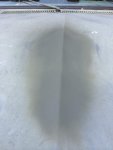
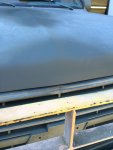
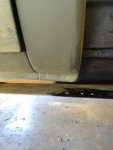
I took my truck in for some body work to repair some rust spots on the pillar behind the doors. The mechanic also removed the truck bed so he could repair some body rust on the back of the cab. We also filled in some screw holes and 1 bullet hole in the back of the cab. There were also cracks in the rear wheel wells welded as well as separation between the inner and outer metal of the wheel well. There was some nasty rust pitting right next to the window on the driver's door that was fixed. Also rust pitting on the front of the hood we took care of. Here are some pictures of the work in progress.

He also power washed the frame in the back of the truck while we had the truck bed off. He then applied Chassis Saver Paint to the frame to protect it.
 

Attachments

goldneagle

Well-known member
4,537
1,067
113
Location
Slidell, LA
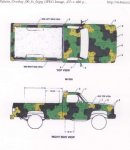
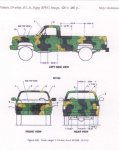
I ordered 1 case of Rapco CARC Green and 1 case of CARC Brown spray paint for the CAMO paint job i plan to do on my truck. I was also able to find a color schematic of the CAMO pattern for the M1008 truck in color. I will get the flat black paint locally since it is all the same and cheaper than the Rapco.
 

Attachments

goldneagle

Well-known member
4,537
1,067
113
Location
Slidell, LA
Rapco paint cans came in a couple of days ago. Been busy working on the forklift. Took the truck on the interstate today and noticed a death wobble. Well as luck would have it I drove by a truck tire service shop on the way to picking up a used air ride seat i got on Ebay.

So I stopped it on the return trip to see if they could balance HMMWV wheels. They said no problem! So I had the wheels balanced. One wheel took quite a bit of weight to balance it! In the end all 4 wheels were reading 0, 0 on the wheel balancer. Only cost $12 per wheel.

On the way home the truck ran a lot smoother. No more death wobble! Glad I had it done since I have a 10 hour round trip tomorrow morning to pick up my tow bars.
 

Whitfield

Member
116
5
18
Location
Richmond Virginia
Liking the new body work...

I can appreciate it. I spent 8 hrs working the bed sheet metal only no filler / no finish / no paint. Mainly working out the bed dents (fork lift dent pick up and carry dent left bed side / Rt Rear tail light fork lift dent from pushing in the bed corner to move the truck / and break over berm dent crushing the Rt bottom bed skirt up 18" or so.

*** Depending on the flat black you use ~ some that I bought from Wally World (for a previous project) faded to a purple color after 18 months or so.
 

goldneagle

Well-known member
4,537
1,067
113
Location
Slidell, LA
Liking the new body work...

I can appreciate it. I spent 8 hrs working the bed sheet metal only no filler / no finish / no paint. Mainly working out the bed dents (fork lift dent pick up and carry dent left bed side / Rt Rear tail light fork lift dent from pushing in the bed corner to move the truck / and break over berm dent crushing the Rt bottom bed skirt up 18" or so.

*** Depending on the flat black you use ~ some that I bought from Wally World (for a previous project) faded to a purple color after 18 months or so.
I picked up some Krylon Camouflage Ultra Flat Black Paint from ACE Hwr. I really like Krylon Paint.
 

goldneagle

Well-known member
4,537
1,067
113
Location
Slidell, LA
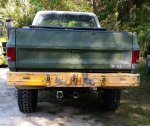
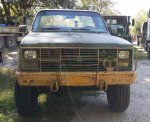
Started today by taking pictures of the truck before the paint job.

CUCV_Pre_1.jpgCUCV_Pre_1a.jpgCUCV_Pre_1b.jpgCUCV_Pre_1c.jpgCUCV_Pre_1d.jpgCUCV_Pre_1e.jpgCUCV_Pre_1f.jpg


Had some serious body work to do on the tailgate. Sanded the dented areas to bare metal and then applied several coats of BONDO to fill in the dents an nicks. Used my DA sander to sand between application of filler. Once I got it looking descent I primed the tailgate. Tomorrow I hope to start to paint some of the truck.


Tailgate_1.jpgTailgate_1a.jpg
 

goldneagle

Well-known member
4,537
1,067
113
Location
Slidell, LA
More progress today. I got about 1/3 of the truck painted. Here are some photos:


CAMO_1c.jpgCAMO_1d.jpgCAMO_1.jpgCAMO_1b.jpgCAMO_1a.jpgCAMO_1e.jpg Last picture was taken with the paint still wet.
 

goldneagle

Well-known member
4,537
1,067
113
Location
Slidell, LA
What a great transformation! Keep up the good work ...
Thank you. I appreciate the feedback. I had this truck for over 6 months without many comments from the people down here. After we did the lift and the HMMWV tires and rims I get a lot of compliments about how cool the truck is. Hopefully I will get even more with the paint work completed. It will look like a new truck!

I did find out the the Rapco paint cans last a lot longer than the Krylon Ultra Flat Black paint. I am still on the first can of Green and Brown but the Black Krylon is at the end of can 2. Next time I might as well get the Rapco flat black.
 

goldneagle

Well-known member
4,537
1,067
113
Location
Slidell, LA
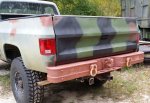
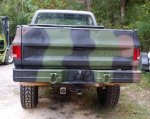
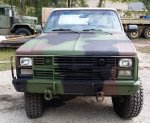
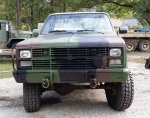
Today I started by sanding the front bumper and brush-guard. Both had spots of flaking paint and surface rust. Once sanded I applied a coat of Rusty Metal Primer to the bumper and brush-guard. After cleaning the rest of the surfaces with wax and grease remover I continued to paint the front and side of the truck. Here are the pictures:
 

Attachments

scottladdy

Member
538
8
18
Location
CT
Looks great. Who says you can't get a great paint job with rattle cans?

Then I plan to clean and paint the rims CARC Green.
I'm interested to see the wheels in green. So far my personal preference is black for the wheels. Will be great to see them. Thanks for posting your progress!
 
Top