

Scarecrow1
New member
- 1,355
- 1
- 0
- Location
- Florence , S.C.
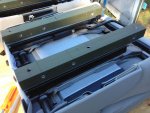
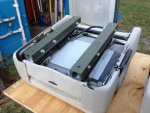
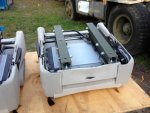
LOL I agree about the knife but, it's what they don't see that will do the most damage . I was amazed at the amount of light the 24 volt did put out. I have a problem with guys who have head lights that 1 are so bright that I can not see the road due to their friggin head lights . Then to top it off the stupid people jack up the truck so the light is level with your windshield . I have stopped more than one person and tell them their lights need to be adjusted to the height of the truck because of the angle has become such it is a hazard . Some take it well some don't . I have decided to bring this matter up before our State Senator to see if a bill can be passed to prohibit the use of such dangerous set ups . Lights are designed to see not to blind on coming traffic . So if you guys do use these super bright light kits please correct the angle to compensate the height .......Just saying


 I was only planning on doing one but now i think i will do 2 as you did.