GPrez
Member
- 208
- 0
- 16
- Location
- Mt. Airy, MD
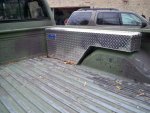
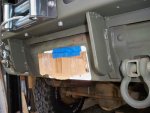
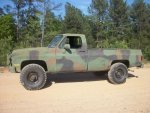
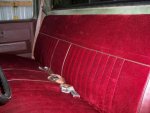
Keeping the stock spring capacity was one of my goals and the rear looked a good bit higher than the front. I figured the zero rates with 2" springs in the front would level me out or come close and it did. The bed sets 1" higher in the back than it does at the cab.Another thing I like is that you kept the stock rear springs which keeps the overloads.
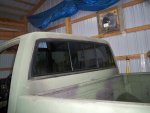
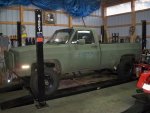
What color of green you going to do, 383?
I will probably use the Restoration Shop Olive Green Hot Rod Flatz paint. I used this stuff on my M1009 and it came out great.
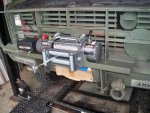
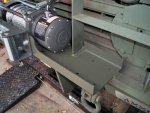
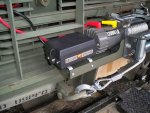
I just recently got started powdercoating and it is really easy and inexpensive. I actually started doing it for parts on my motorcycle, but it works great on anything metal. I bought the kit on ebay. It is the Eastwood Hotcoat powder coating kit. It came with everything you need except an oven. Paid $175 and it came with 4-different colors of powder with it. It has already more than paid for itself. The powdercoating is the easy part. The prep leading up to it is what takes some time. You will need a blasting cabinet. Anything you want to powdercoat has to be taken down to the bare metal. Applying the powder can be done with nothing more than a dust mask on, and cleanup is easy too. Any powder that goes on the floor just gets swept up, and the gun cleans out with a air gun in about 10-seconds. While curing in the oven the fumes are more harmful and they recommend a respirator when opening the oven door, but still not bad unless your curing in your basement. You do not want to use your oven in your kitchen for this reason. Old ovens are easy to find and very reasonably priced. I picked up a used double oven for free. You can also use a toaster oven if your parts will fit in it.Great looking truck! I was wondering if you could post a little about your powdercoating, how you did it, where you got the powdercoat. I have done a cpl of fire arms with Gun Kote in the oven but did not know you could do small parts like that. Is there alot of odor? Also, please make sure and post some pics of your headliner when installed, I have been thinking about one of those and would love to see how it looks. I had read someplace you need the civi headliner trim to finish out the install with those.
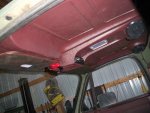
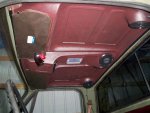
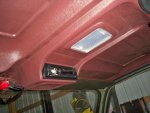
I will post some pics of the headliner when I get it in. I was on the fence about buying it at first because it is a little pricy for plastic, but I think in the end it will work out for the best. One advantage to it I didn't realize when I bought it though was it has a light built into it. I tapped into the light under the dash that works on the headlight switch so I can turn it on and off with that. I ran all the wiring last night so hopefully I'll get it installed this week.
It comes with a edge molding that goes on the perimeter so I do not believe there is any need for the stock headliner trim. When you order from LMC there are 2 options for the headliner. One for trucks with an existing headliner and one for trucks without the existing headliner. Order the later.
")