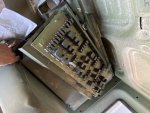
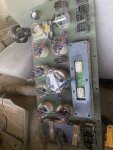
I don't say this at all trying to be condescending but have you seen sheets 2-5 in the schematic? There's a list of all the tags, plugs, receptacles, relays, CBs and their corresponding grids.
")
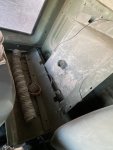
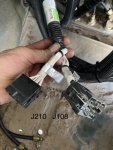
210 and what is likely 209, 209A or 209B is for the options panel. This is a separate harness for the 8-ish(?) optional switches and tach that bolt on top of the heater.
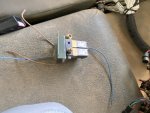
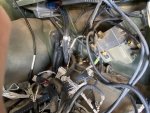
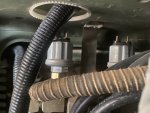
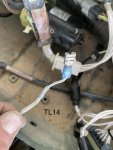
TL14 - rotary beacon ground. This should plug into that long black block, shown as "TB2" all over the place. It doesn't really matter which terminal but if you want to put it back where it shows on the schematic, terminal 12. See Sheet 16, F141.
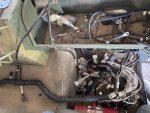
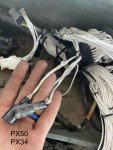
PX50 - Axle lock - plugs into the solenoid that I had a picture of, above.
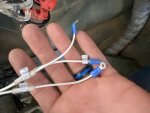
The other ones in your hand, assuming they're the same as what I have;
P34 - Fan solenoid
P99 - chemical alarm
P65 - Rotary beacon connector
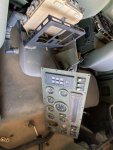
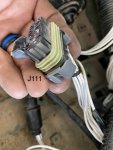
J111 - CTIS Control unit. This plugs into P111 which is part of the harness that connects the Control Unit (buttons) to the controller under the passenger dash. You may or may not have the harness(?)


 168.5 KB Views: 59
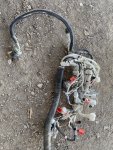 186 KB Views: 58
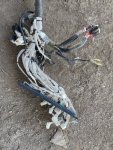 173.7 KB Views: 58
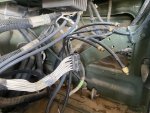 147.9 KB Views: 56