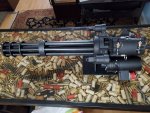
Absolutely beautiful. Looks extremely realistic!!!
If you don’t mind saying
What cad software are you using
What slicer program are you using
And finally what printer do you run.
I have been wanting to get in to 3D printing for some time but just have not pulled the trigger yet.
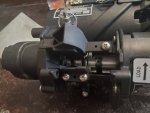
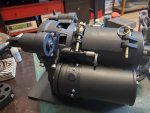
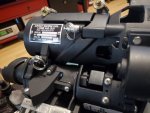
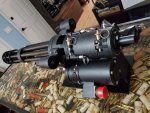
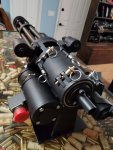
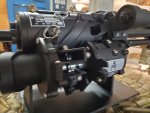
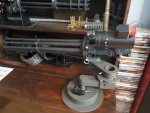
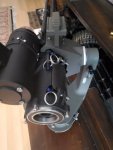
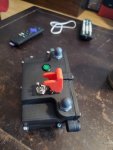
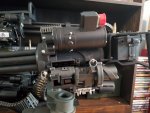
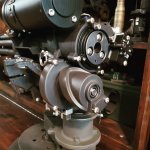
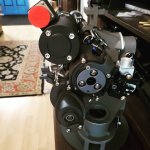
Yeah no worries. So the files were designed by a very talented graphic design engineer and technical artist. Mr. Jon Watson.
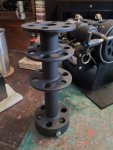
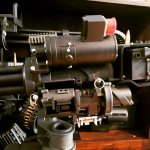
Mr. Watson worked with the Degroat firm using parts supplied by them to take measurements and build the digital 3d files. This along with Mr. Watson's talent is why the files are so accurate, as in dead on. I have had a buddy who builds real m134's examine some parts I printed and he was very impressed.
So the files aren't widely available and cost me a pretty penny, but to me, they are worth it.
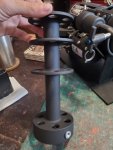
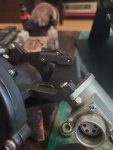
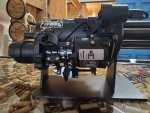
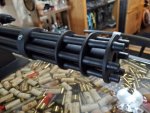
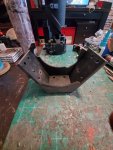
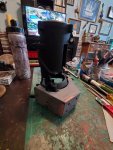
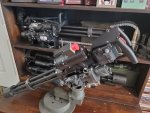
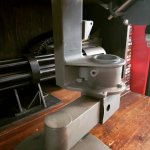
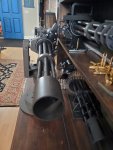
So i use a Creality Cr 10 printer, basicslly a $400 printer with one of the biggest build volumes available( about a square foot with a little over a foot in the vertical axis), this allows me to print even the largest pieces(except the barrels) in one solid part.
I use the old Cura slicer program that comes free with the cr10 prinfer to slice the files. Nothing too fancy. As anyone who has 3d printed anything will tell you, its not as easy as just printing the part then slapping it together.
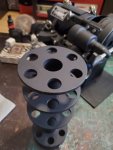
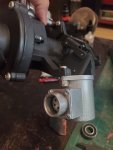
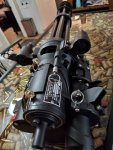
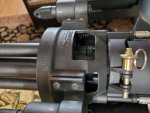
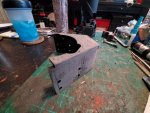
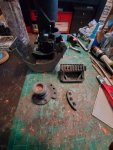
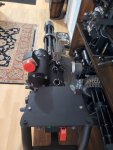
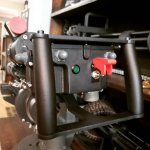
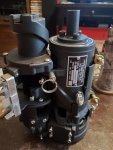
Most of the work comes from post processing, in my case it means lots of filling and sanding to get rid of layer lines, while also being careful not to affect the fit of the parts.
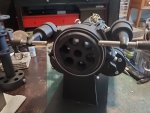
I basically give them a once over with a palm sander with 180 grit, then some real filler primer spray(SEM brand , expensive but worth it). Then paint with the appropriate colors of any spray.
I use black 1.75mm pla filiment from Overture. Amazon has it and its probably the best and smoothest filiment for the price.
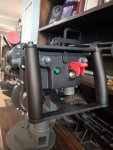
Now, I did make some aftermarket adjustments to my printer, axis stabilizing braces, a 12" square mirror tile from lowes covered in a stick on build tac surface(thats a must!) And a high temp tool steel grade nozzle.
Other than that I highly recomend getting into it. I have built things traditionally for years(see my other m134 thread from a few years ago) and 3d printing has opened unimaginable doors for me. I csn now take most of the hardest parts of building any replica put of the equation and focus on the finishing and painting. You will have failed prints and you will have to learn how to use some programs, but I am a caveman, so the computer stuff was scary but youtube is a godsend. You literally just type in ," how to use cura", or " how to set up a cr10 and start printing " and you will find countless videos walking you through.
If you have any other questions please feel free to ask.
-Hoyt

 64 KB Views: 25
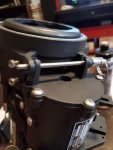 55.3 KB Views: 27
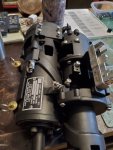 70.6 KB Views: 26
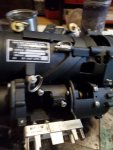 63.8 KB Views: 26