- 1,949
- 1,664
- 113
- Location
- Laramie County, Wyoming
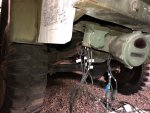
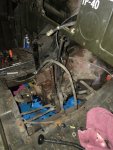
Thanks to hendersonj, I can start hanging wire. “From humble beginnings”
Attachments
-
 128.2 KB Views: 24
Steel Soldiers now has a few new forums, read more about it at: New Munitions Forums!


Haven’t been able to get out to the shop. Drifts a bit too tall for even me.Be safe, weather is all over the place, but no white stuff here.
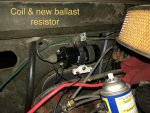
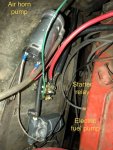
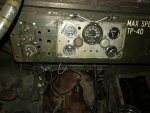
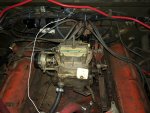
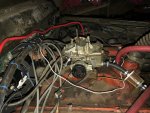
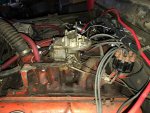
Th technical manual TM 9-8030 shows that wire 12 goes from the ignition switch to the center post on the distributor (see pg 180 - at least on my copy). My truck had been converted to a hybrid 12/24 v system. The ignition was 12v and did not have the military distributor. The ignition coil was mounted externaly from the distributor. If I recall correctly, the #12 wire was connected to one of the terminals on the ignition coil, which I think then also connected to the distributor. (the engine is pulled from the truck and accessories removed at a friend's shop now, so I can't check.)#12 is still not deciphered. According to the M37B1 wiring diagram, the #12 wire is supposed to got to the distributor. The only wire connected to the my distributor goes to the ballast resistor in one end and to the ignition switch on the other end. My thought is the 12 wire is unnecessary. If so, I can use the wire to power other lights, such as spot light, dash lights or maybe even an AM/FM stereo with a CD player!