Cdub
New member
- 1,082
- 2
- 0
- Location
- New Milford, NJ
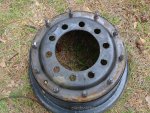
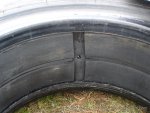
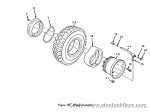
I have the need to dismount and mount a tire on the Super Single Combat Rim. Is it a job I should send out or attempt myself. I know I'll need to replace the large " O " ring between the rims and who to get it from would be a big help.
Thanks,
C'dub
Thanks,
C'dub
Attachments
-
 43.1 KB Views: 1,081
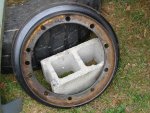
") The A2 o-rings come out looking like triangles, but that's just because they were memory-set down in the groove. I used a Parts Number correct o-ring the first time and it worked just fine. The second time I used a 1/4 x 20" commercial truck o-ring sourced from a friend and it worked just as well.
The A2 o-rings come out looking like triangles, but that's just because they were memory-set down in the groove. I used a Parts Number correct o-ring the first time and it worked just fine. The second time I used a 1/4 x 20" commercial truck o-ring sourced from a friend and it worked just as well.