• Steel Soldiers now has a few new forums, read more about it at: New Munitions Forums!

  • Microsoft MSN, Live, Hotmail, Outlook email users may not be receiving emails. We are working to resolve this issue. Please add support@steelsoldiers.com to your trusted contacts.

My 1-Ton restomod m1009 thread

camarossguy2

Member
80
87
18
Location
NE FL
I've had 3 previous k5s, including a m1009, all sold almost a decade ago when we started a family.
Ive had an itch to pick up another one so after a few months searching, I found a 1986 up northeast. It was spent nearly all its life in the california desert with the exception of the past year in NH.
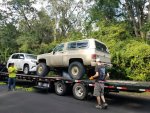
First hurdle was shipping, It took almost 40days for a transported to pick up the bid. I guess its busy time with all the snow birds shipping cars from the Northeast to FL. I finally found J&M Unlimited, a smaller outfit owned by former military guys.

Specs, just over 70k miles, dana 60/ dana 70, 700r4 with np208, banks turbo, and h1 wheels

My goal is to restore her, not exactly to original, but as I personally think the ideal m1009 should have come. This thread is to document the progress.
Thanks for looking
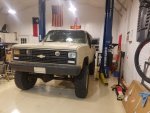
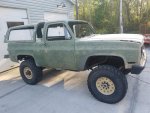
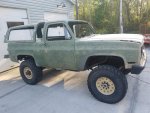
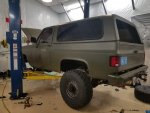
Here she is:


Attachments

Last edited:

camarossguy2

Member
80
87
18
Location
NE FL
sept 2018

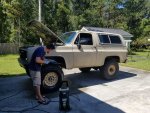
First thing was just give her a good cleaning, an inspection and start a to do list.
Inside was full of sand, broken glass and empty .223 shells, but over all in good shape. The batteries were relocated inside behind the pass seat. ??
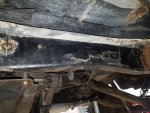
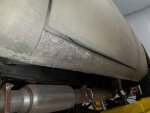
The paint looks like crap, probably someone just painted it with home depot paint, didn't bother taping anything off. The rear glass is gone, replaced with a truck topper rear glass. But no rust! Turned out all the orange on the bottom was actual the anti-corrosion coating and sand. underneath it was shiny black frame and sheet metal.
The engine seems good, few leaks, power steering reservoir is just setting on top, not bolted to anything. It's been converted to 12v, and the glow plus have been wired to a switch for manual operation.
It'sGoing to need a lot of minor things, but the main things are good.
 

Attachments

Last edited:
camarossguy2

Member
80
87
18
Location
NE FL
october 2018
The body was pretty straight minus a large dent on the drivers quarter panel. I decided it was a little beyond my level so I had the body shop pull the dent.
I began some light sanding just to see what i was up against, turns out the tan comes off very easy and i found a surprise! under the tan was all the US navy markings, as well as a circular emblem on the doors. I showed it to some friends and work and one recognized it as the Seabees logo, how cool!

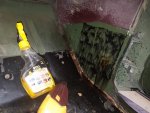
The previous owner had slapped a bunch of random dynamatt all over the place, there were a huge PITA to remove. Best way i found was to use a heat gun and goo gone.

Right now the plan is to disassemble as for a color change as I have bought 3 gal of GCI desert tan paint from rapco.
 

Attachments

camarossguy2

Member
80
87
18
Location
NE FL
January 2019
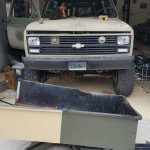
I removed all the glass, the interior and the topper.
I've found the sanding with 40-100 grit works fine, but if i use 180 grit and up it almost instantly make little balls of paint and gums of the pad. Very frustrating, I guess the only option is to do the best i can, then prime it and sand the primer.

Ive also had a change of heart on the color. I went back and forth about a dozen times between OD and the desert tan, I think I've switched to OD!

Lastly, I addressed the roof. Every K5 Ive had, the roof "pops" when Off Roading, and you can hear it flexing even over bumps on the road. This one had some small dents and so i had an idea. I drilled 3 holes into the roof at the windshield. I then tack welded a dozen nails on the low spots and used an assortment of junk in my shop as levers to hold the low spots up, in their original positions.
I then sprayed a bunch of expanding foam in the holes, then I welded up the holes.
The roof is now rock hard, You could probably stand on it! I hope this is a good long term fix with no draw backs.
 

Attachments

joshuak

Active member
747
215
43
Location
Slower shore, DE
Congrats on your purchase, looking great so far.

Question about axles. spacers? or 14b hubs on your d70 and dually front?

Thanks for sharing pics.
 

camarossguy2

Member
80
87
18
Location
NE FL
Congrats on your purchase, looking great so far.

Question about axles. spacers? or 14b hubs on your d70 and dually front?

Thanks for sharing pics.
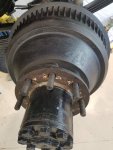
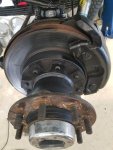
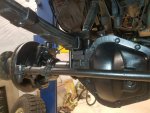
To be honest, I'm not sure. On my last Blazer I just did a 14bff. This one looks totally different, I know I've narrowed it down to a Dana 70. But I'm not sure from what. Here are pictures of the front and rear.
 

Attachments

camarossguy2

Member
80
87
18
Location
NE FL
April 2019

Finished all the sanding and prep work. I also trimmed the fenders for the tires.

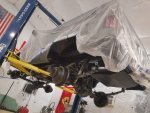
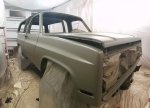
Time to build a paint booth on the cheap.
I bought a 16x350' roll of overspray plastic and simply draped it over the garage door rails. I added string to to make about 12x24 room. I added some box fans for both inlet and exhaust.
It was a bit of pain, but worked out. A little more down draft would have been nice.
 

Attachments

camarossguy2

Member
80
87
18
Location
NE FL
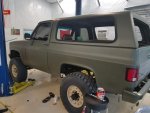
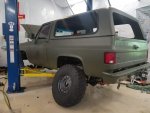
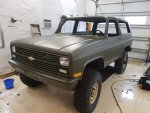
After a little priming and sanding, I used Rapco GCI 34086 current issue, lusterless olive drab. On the recommendation of this forum I added PPG hardener, thinned with xylene, shot with my good hvlp gun. I think the ratio on my mixing cup was 4:2:0.5
Shockingly, most of the truck got a full 3 coats and i only used 1 gallon.

For the inside, I bought 4L of raptors tintable bedliner from amazon. I purchased the tint from my paint shop, but unfortunately they mixed the wrong OD green. It was very light and yellowish. I ended up making a risky call, instead of mixing 10% tint, I mixed 10% of my GCI paint. Luckily, it came out perfect, matches the truck great!
 

Attachments

camarossguy2

Member
80
87
18
Location
NE FL
April

Started putting the truck back together.
Im very happy with the color, its has a nice sheen and isn't too green if you know what i mean.

I bought all new weather stipping for the entire truck, new window channels.
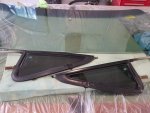
Probably the biggest pain was the triangle vent windows.
The windshield was already new, so while it was out, i tinted it with 55%, everything else is getting 20%.
 

Attachments

camarossguy2

Member
80
87
18
Location
NE FL
April

This week I addressed the interior.
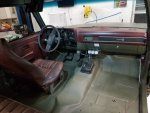
The dash pad was black, and cracked in several places. I read a couple threads where people used foam and bed liner, or re-vinyl it. I ended up sanding it with 100 grit. I then glassed the cracks and applied resin over the entire piece. I let the resin drain into the speaker and vent holes, it soaked into the fragile foam and totally reinforced them, while leaving the wholes.
I then sanded the whole thing smooth and painted it with SEM 15063.

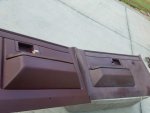
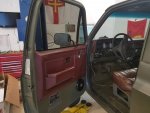
I also cleaned and repainted the door panels, seat belt plastics all with SEM 39863 adhesion promoter and SEM 15063 for a factory look.
 

Attachments

Last edited:

camarossguy2

Member
80
87
18
Location
NE FL
May 2019

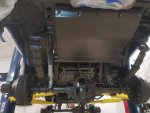
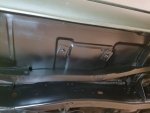
The bottom was in great shape, but still has 3 decades of grime an desert sand.
I used a combination of 240 grit, 3m roloc pads, wire brushes and degreaser to clean everything really good.
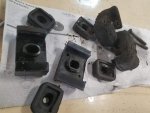
i also cut off all the unneeded exhaust hangers, shock mounts etc on the frame and axles.
Then i suited up and I sprayed every thing with por15. My previous k5 always struggled with rust, I'm so grateful to finally have one without the cancer!
 

Attachments

Last edited:
camarossguy2

Member
80
87
18
Location
NE FL
Tatted her up today!
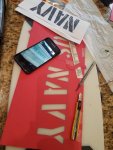
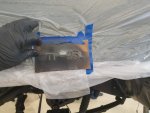
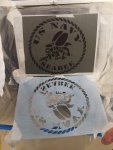
I was able to find the TP-35 and seabees stencils online, but I could not locate 3" lettering that matched the original font on my m1009.

It took several hours, but using measurements and pictures i took, I hand cut my own stencils and sprayed the truck.

Now starts the mechanical issues.
Currently my list includes:
thermostat,
wiper motor
Exhaust
Crossover steering
secure power steering reservoir
cleaning up the transmission lines
Motor and trans mounts.... just to name a few.
 

Attachments

Last edited:
camarossguy2

Member
80
87
18
Location
NE FL
I winter in Tampa....and fight off the noseeums....
Thats the biggest thing I miss, being about to go outside without being attacked. Luckly, I can control it on my property pretty well.


This weekend I was was trying to narrow down wheel paint choices. Black, OD, Tan or other.... I think I decided on other, Its a Flat iron.
 

Attachments

camarossguy2

Member
80
87
18
Location
NE FL
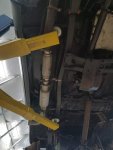
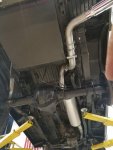
For some reason the previous owner had the exhaust running out the wheel well, and then down the outside of the frame, dumping before the tire.
I removed this and installed a bank's downpipe and full exhaust.
Hopefully, quiet it down a little.
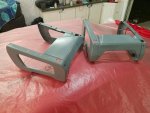
I also painted all the wheels and stripped and refinished the seat bases in factory grey.
Also tinted and installed rear windows
 

Attachments

Top
AdBlock Detected

We get it, advertisements are annoying!

Sure, ad-blocking software does a great job at blocking ads, but it also blocks useful features of our website like our supporting vendors. Their ads help keep Steel Soldiers going. Please consider disabling your ad blockers for the site. Thanks!

I've Disabled AdBlock
No Thanks