EXITNOONE
Member
- 137
- 3
- 18
- Location
- LOS ANGELES, CA
ACEHIGH- you have to add that info to the m35a3 unite thread
Steel Soldiers now has a few new forums, read more about it at: New Munitions Forums!


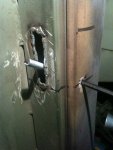
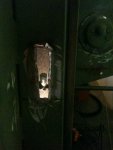
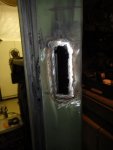
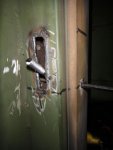
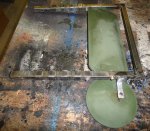
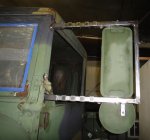
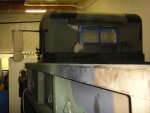
DOOR LOCKS
i just finished my version yesterday...
i wanted my door locks to be completely inconspicuous. when a wannabee thief or joyrider wants to get into your deuce, he's going to go straight for the cheap eye sore door locks which stick out like pink boots with bdu's...QUOTE]
So... your saying I shouldn't wear my pink boots with my BDUs? What if the BDUs are pink or a really fabulous mauve?
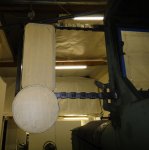
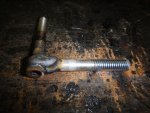
You know that aint a bad idea. I have one of those somewhere in the pile....now if I can only remember where...I just thought of a way to slightly improve your lock. Rather than a hex key, which is fairly common, what if you welded on a keyed lugnut like that found on wheel anti-theft lug nuts. Then you would have a unique pattern that could not be duplicated.
You know that aint a bad idea. I have one of those somewhere in the pile....now if I can only remember where...